Recognizing some of the planes of the face (the areas that catch the light) is helpful when drawing and painting more realistic faces. This can be a complicated process, so I’ve broken it down into some basic steps to give you a good reference that is easy to work from.
blending stump (optional)
kneaded eraser (optional)
drawing/sketching paper
pencils
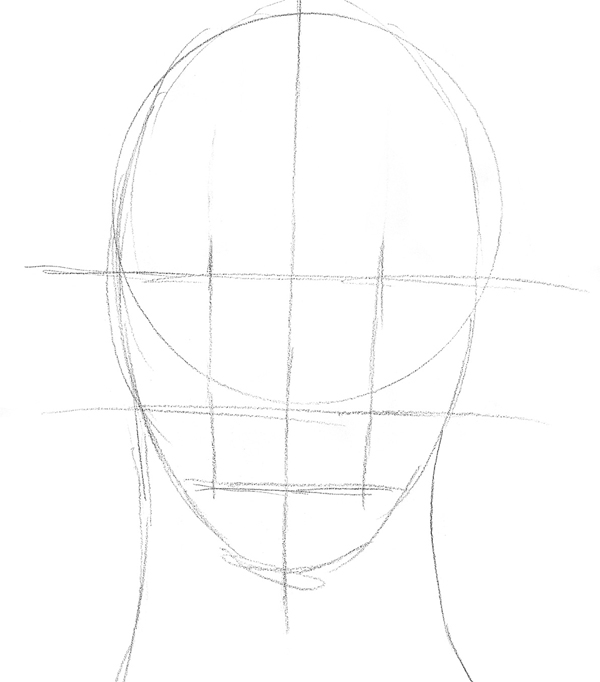
Sketch the basic circle and oval to form the front view of the face.

Draw the front view face-map lines and face details (or you can copy one of your front view sketches and work from that).
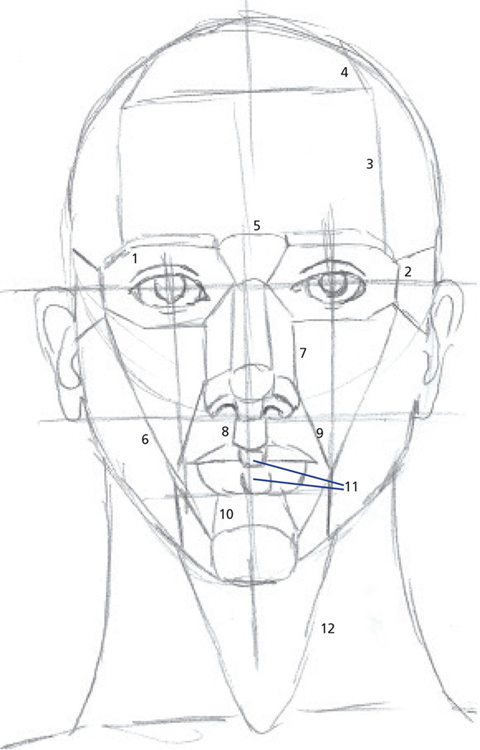
Using short, straight lines, enclose each eye area with an octagonal shape bordered by the eyebrow and the bridge of the nose (1). Draw two lines that splay out a bit from the side of each eye socket shape (2).
Draw two lines up from each side of the eyebrow, not quite to the top of the head, to form the rectangular forehead plane (3). Draw two lines angling inward from the top of the forehead plane to the top of the head (4). Connect the inside of the two eyebrows to form the bridge of the nose (5).
Draw a line from the lower end of the outside straight edge on each eye area to the ball of the chin area to form the jaw plane (6).
Draw a line down from the inside lower edge of the eye area to the nostril on both sides of the nose (7). Draw two lines on each of the nostrils that connect the area underneath the ball of the nose (8). Draw a line from the top of the nostril to the midline of the mouth on both sides that will intersect with the jawline (9).
Draw a line from the bottom of each side of the lower lip to the ball of the chin (10).
Draw a simple U shape in the middle of both the upper and lower lips (11). Draw a V shape that starts about where the midline of the mouth is, beginning underneath the neck to form the column of the neck and the hollow of the throat (12).