PanPastels are an easy, gorgeous and fun medium to work with, and by adding an encaustic layer, the pigment will be fixed in paintlike beauty on the paper. Adding a touch of wax to your mixed-media work doesn’t have to be hard or messy. Furthermore, PanPastels create little to no pastel dust, so these two mediums pair well and create amazingly beautiful artwork with little mess.
7" × 51⁄2" (18cm × 14cm) Fabriano Tiepolo printmaking paper
Burnt Sienna, Burnt Sienna Tint, Payne’s Gray, Raw Umber, Titanium White, Yellow Ochre
no. 8 round
2-inch (51mm) flat
encaustic medium, Enkaustikos Hot Cake, heat tool (optional), lightbox, melting pot or hot plate, paper towel, permanent black pen, Sofft Tools palette knife and sponge tips, Stabilo All black pencil or other water-soluble pencil
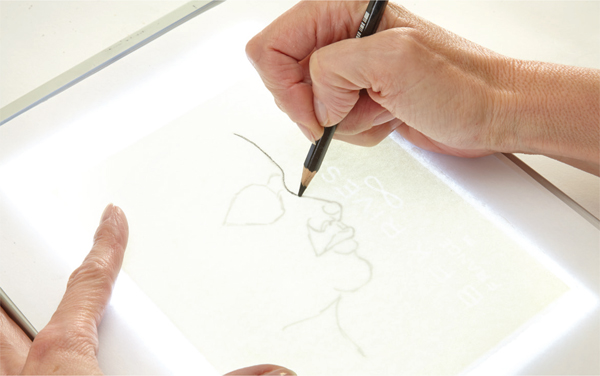
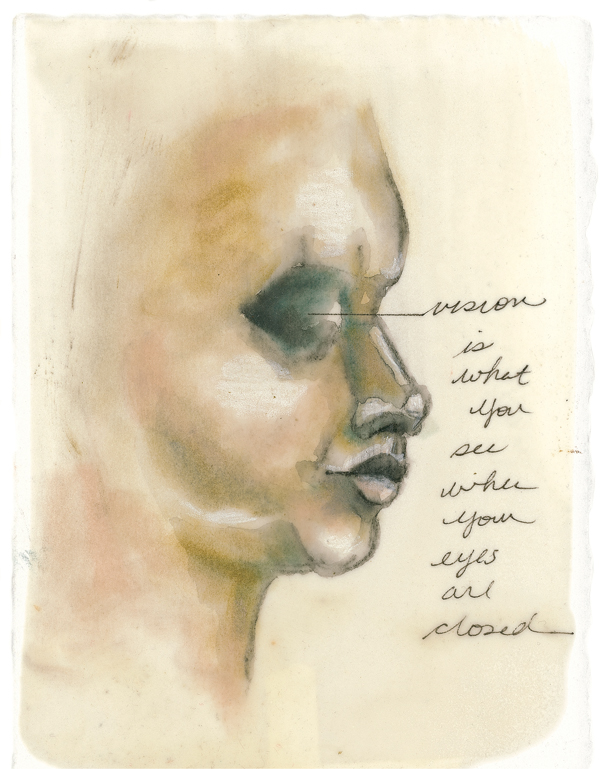
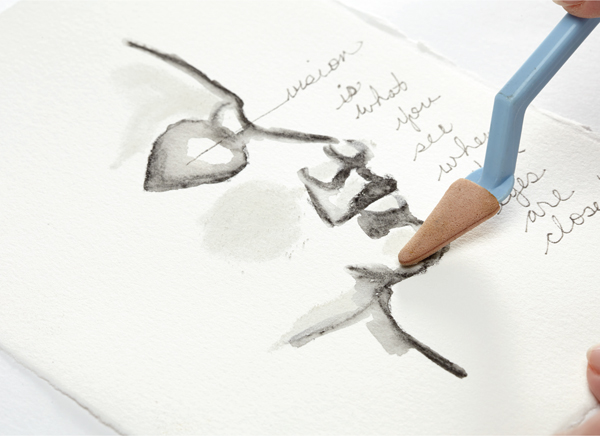
Trace or draw a face onto Tiepolo paper, using a Stabilo All pencil or another water-soluble pencil and a lightbox. Journal with a permanent black pen if desired.
Fabriano Tiepolo printmaking paper is strong and versatile. It is 140-lb. (300gsm), 100 percent cotton rag, neutral pH, chlorine- and acid-free, and comes in sheets 22" × 30" (56cm × 76cm) with four deckle edges. I use this paper for my printmaking projects and found it also works well with PanPastels and holds up extremely well to encaustic medium.
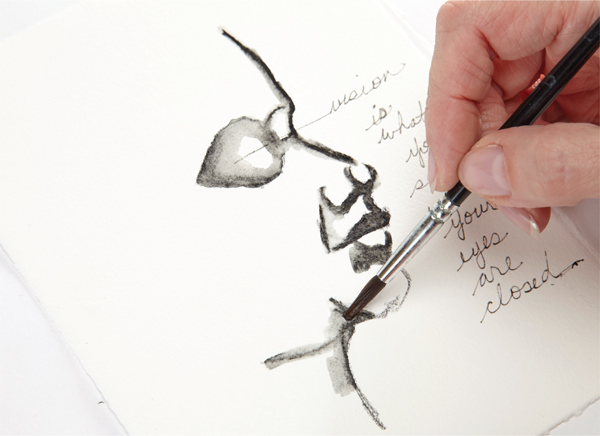
Activate the pencil using a wet no. 8 round. Rinse the brush often to keep it from getting too dark. Pull the pencil lines out to shade a little bit. Let air dry or use a heat tool.
Define highlighted areas with Titanium White PanPastel, patting it on with a Sofft Tool sponge applicator. Make a couple of swipes to lift the pastel onto the sponge applicator, and then pat the pastel onto the paper with short strokes. Add highlights to the forehead, cheekbone area, lower lip area, chin and jawline. Use a paper towel to clean off the Sofft Tool.
PanPastels and Sofft Tools are a perfect pairing.


Lift a little Yellow Ochre with one swipe of the Sofft Tool, then add a swipe of Raw Umber. Apply this shade color with small pats to the left of the eye socket, around the back side of the cheekbone, underneath the cheekbone and on the side of the nose. Reload the applicator as needed. Continue shading underneath the jaw on the neck. Once you’ve applied the Yellow Ochre/Raw Umber mixture, use the applicator tool to blend it into the white highlight areas.
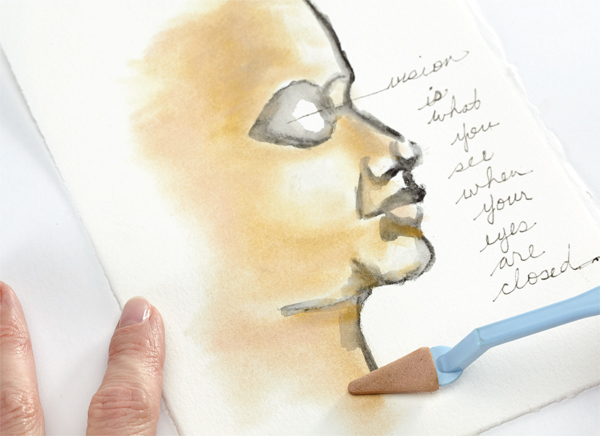
Develop midtones with a mixture of Burnt Sienna Tint and Burnt Sienna. Mix the PanPastels directly on the paper with the areas of Yellow Ochre and Raw Umber and into the white area, but don’t cover all of the white (save the highlights).
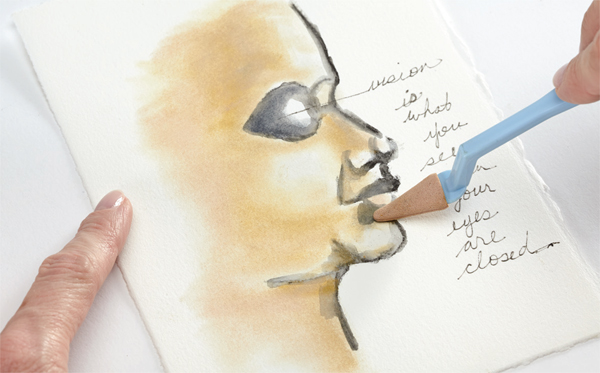

Clean the applicator, and use Payne’s Gray to further enhance shaded areas, particularly in the eye socket area, on the upper lip, beneath the lower lip and under the chin. Redefine the white highlights as needed.
Hot Cakes are encaustic paints made from damar resin, beeswax and pigments that come in a refillable metal tin. (The encaustic medium used in this project is damar resin and beeswax with no pigment.) They are easy to use, less messy than traditional encaustics and contain no bleach or synthetic adulterants.
The tin is designed be placed directly on a hot plate or melting pot; just unscrew the lid and peel off the label on the bottom of the tin. They melt between 150–175º F (66–79º C). When you’re finished with the Hot Cakes, let the medium cool and then replace the lid to keep it clean and free of dust.
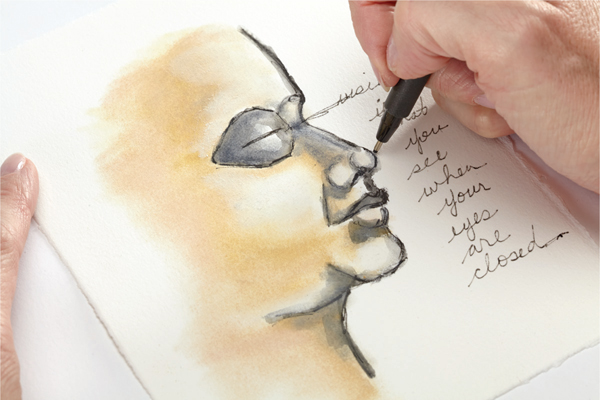
Redefine facial details as desired with a permanent black pen. Use sketchy strokes of the pen so it looks drawn rather than stamped. If your pen stops working, run it over a clean piece of scrap paper to clean off the pastel.
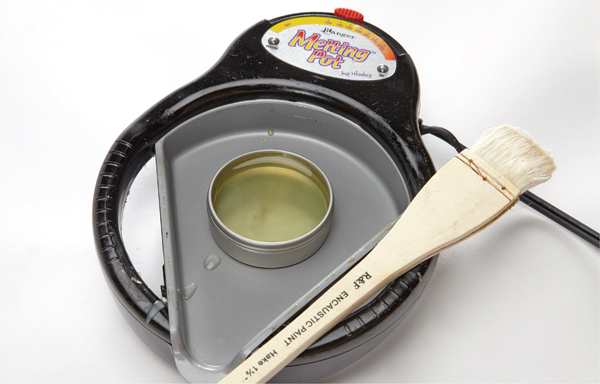
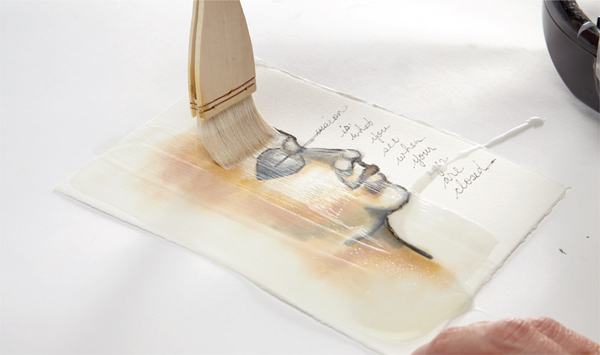
Heat the encaustic medium to 150–175º F (66–79º C) on a hot plate or in a melting pot (don’t use something you cook on!). Using a cheap 2-inch (51mm) flat brush, apply the encaustic medium using continuous strokes from the bottom to the top of the paper, laying the brushstrokes right next to each other. Avoid overlapping the brushstrokes.
If you have an encaustic drip, use a heat tool to melt the drip. It will flatten out as it melts. Alternatively, you could use a dedicated quilting iron to melt and flatten the drip.