When the mood for comfort food strikes, you’ll want to have basic ingredients and tools, and know how best to store extras—that is, if there are any leftovers! Here are good ideas to make sure you’re ready.
Comfort food relies on a variety of perishable ingredients for its rich flavor: butter, milk, cream, eggs, cheeses—and don’t forget the bacon! But stocking up on the following pantry ingredients will help ensure that you have what you need when it’s time to cook.
STOCK YOUR PANTRY
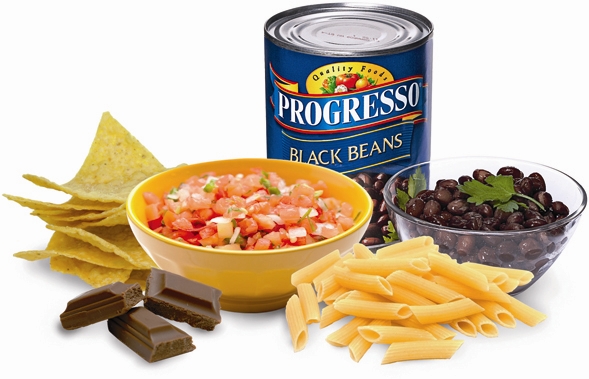
• Canned beans: From kidney beans to cannellini, you’ll want a selection on hand for soups, stews, and even brunch favorites like Huevos Rancheros.
• Canned tomatoes, tomato paste: A must for pasta dishes, including our crowd-pleasing Sausage and Pepper Baked Ziti.
• Marinara sauce: We provide an Easy Tomato Sauce recipe, but bottled marinara will come in handy again and again. If you want to make Hero Pizza for movie night, you’ll be ready.
• Jarred salsa: Beyond its obvious use as a dip for tortilla chips, we call for it in cozy dishes like Corn and Black Bean Tortilla Pie. Mild, medium, or hot—you decide.

• Canned chicken and vegetable broth: This is the basis for everything from soups and stews to slow-cooker dinners. We include recipes for homemade, but it’s smart to have canned on hand for ease.
• Dried pasta: Stock a range of shapes and sizes in your pantry, including some whole-wheat options. Those will come in handy for Penne Genovese with White Beans and Pesto, or any time you want to incorporate healthy whole grains in your comfort food.
• Cornmeal: If this isn’t a staple in your pantry it should be. You’ll need it for Chili Pot Pie with Polenta Crust and other soul-satisfying dinners.
• Chocolate chips, baking chocolate, cocoa powder: Keep an arsenal of chocolate at the ready for all your baking needs. Cocoa Brownies with Mini Chocolate Chips are best made with minis, though you could substitute standard ones in a pinch.
• Ice cream, sorbet: Keep vanilla on stand-by to pair with Easiest-Ever Apple Pie and other favorite desserts.
TIME-SAVING APPLIANCES
This basic equipment will help you prepare piping hot entrées and delectable sweet treats with ease.
• Food processor with changeable cutting disks for chopping, slicing, and shredding.
• Immersion blender for pureeing soups and making gravies, dips, and sauces.
• Microwave oven for defrosting frozen meats, fish, and poultry; precooking ingredients that take a long time to cook, such as potatoes and winter squash; reheating leftovers; steaming vegetables; melting butter and cheese.
• Ridged grill pan to make it easy to grill indoors in your kitchen. It uses very little oil, preheats fast, and leaves the familiar grill marks on the food.
• Slow cooker for soups, stews, poultry and meat casseroles, and even lasagna! It allows you to prep, set, and forget—then enjoy a hot homemade dinner at the end of a long day. For tips, see Slow-Cooker Success.
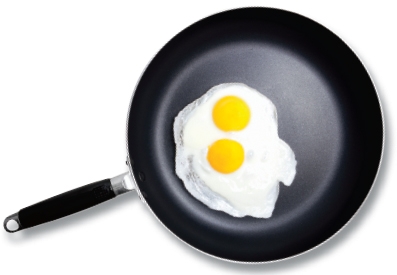
Easy to clean and very popular, nonstick skillets are the go-to pan for many comfort foods. Just follow these cooking guidelines to keep your pans safe and in good shape.
1 Never preheat an empty nonstick pan, even one with oil in it.
2 Don’t cook over high heat. Most nonstick manufacturers now advise consumers not to go above medium. (The coating may begin to break down at temperatures over 500°F.)
3 Ventilate your kitchen. When cooking, turn on the exhaust fan to help clear away any fumes.
4 Don’t broil or sear meats in a nonstick pan. Those techniques require temperatures above what nonstick can usually handle.
5 Choose a heavier nonstick pan. Lightweight pans generally heat up fastest; heavier cookware is worth the extra money.
6 Avoid scratching or chipping the pan. Use wooden spoons for stirring, don’t use steel wool for cleaning, and don’t stack the pans when you store them. (If you do, place a paper towel between them.)

Our recipes provide cooking times and visual cues, but here are some general tips on how to know when a dish is done.
• Stews and pot roasts: Beef, pork, lamb, and other meats in braised dishes need to cook longer to break down the connective tissue, whether you’re using the oven or a slow cooker. To test: Insert a fork into the meat. If it’s tender throughout, and pulls apart with no resistance, it’s done.
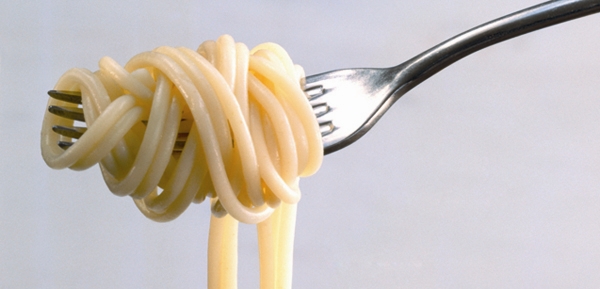
• Pasta: Forget about throwing spaghetti against the wall; if it sticks, it’s overcooked. To test: Do as the Italians do and take a taste. Start taste-testing early, two-thirds of the way through the cooking time. The pasta should be al dente—tender but still firm and chewy.
• Chicken breasts: Boneless chicken breasts are a great lean choice, but are easy to overcook. They should end up moist and juicy, not dried out. To test: Insert an instant-read thermometer horizontally at the thicker end of the breast, and stop cooking when it reads 165°F. Or pierce the breast with the tip of a sharp knife; if the juices run clear, it’s done.
• Green vegetables: There’s a fine line between undercooking and overcooking green veggies, especially if you’re steaming or boiling. Check them first after they’ve cooked 3 to 4 minutes to see if they’re getting close. Broccoli, green beans, snow peas, asparagus, and the like, should be tender but still have a bit of crispness. To test: Pierce one piece with the tip of a sharp knife, or take a small bite—it should resist just slightly. (To stop cooking and maintain color, rinse with cold water immediately after draining.)

• Sweet and savory pies: A beautifully browned crust isn’t always the best indicator of doneness. To test: Check the filling. Fruit pies and pot pies are ready to come out of the oven when the filling bubbles through the openings or slits in the crust. For custard pies, like pumpkin, insert a knife 2 inches from the crust’s edge—if it comes out clean, the pie is ready.
FREEZE WITH EASE
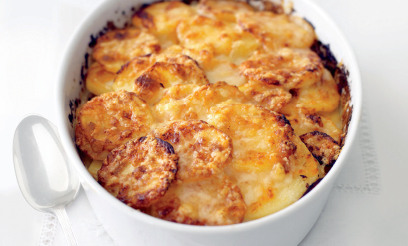
Many of the stews, casseroles, and pies in this book are perfect candidates for freezing. Make two and freeze one for double-duty dinners you can enjoy on a busy weeknight.
TO FREEZE
Before freezing, refrigerate soups or stews for 30 minutes. Casseroles need 30 minutes at room temperature plus 30 minutes in the fridge before they can be transferred to the freezer. Wrap casseroles tightly in foil or plastic wrap. Seal soups and stews in zip-tight plastic bags or freezer containers, which are usually made from thicker plastic. To maximize space, stack bags horizontally until frozen, then store upright. Or line your baking dish with heavy-duty greased foil before making the casserole; once the meal is frozen solid, remove the frozen food and transfer it to a large zip-tight plastic bag.
TO THAW
STEWS, SOUPS, AND CHILIS
Place frozen food, still sealed in a plastic bag, in a bowl or sink of hot water for 5 to 10 minutes or until it can be broken into pieces. If the food is in a sealed freezer-weight container, leave it in hot water until the food separates from its sides. Open the bag or container; invert contents into a saucepan (for stovetop heating) or into a microwave-safe bowl.
CASSEROLES AND PIES
At least 24 hours but no more than 2 days before reheating, refrigerate the frozen casserole to thaw slightly. If the casserole was frozen in a foil-lined baking dish and then removed from the dish for storage, unwrap it and slip it back into the baking dish to thaw.
STEWS, SOUPS, AND CHILIS ON A STOVETOP
Add ¼ to ½ cup water to the saucepan to prevent scorching. Cover and heat to boiling over medium heat, then boil 1 minute to be sure it’s fully heated; stir frequently throughout the process.
CASSEROLES IN A CONVENTIONAL OVEN
Unwrap the frozen casserole; loosely cover it with foil, and bake about 1 hour, then uncover and bake 20 to 30 minutes longer or until the center of the casserole reaches 160°F on an instant-read thermometer.
CASSEROLES, SOUPS, STEWS, AND CHILIS IN A MICROWAVE
Don’t remove the carousel in your microwave to accommodate large casseroles—a microwave that rotates food won’t do its job without turning. Unwrap the casserole; cover the top of the microwave-safe dish with waxed paper or plastic wrap and turn back a corner to vent. Put soups, stews, and chilis in a microwave-safe bowl and cover with waxed paper or vented plastic wrap. Note: Do not allow plastic wrap to touch food during microwaving because it may melt.
Heat casseroles about 30 minutes in microwave; heat soups, stews, and chilis about 10 minutes, first on Low (30%) until ice crystals are gone and you can easily insert a knife into center of casserole, or can stir soup, stew, or chili. Then heat on High 5 to 15 minutes longer, until food is heated through, and the internal temperature of your casserole is 160°F.
