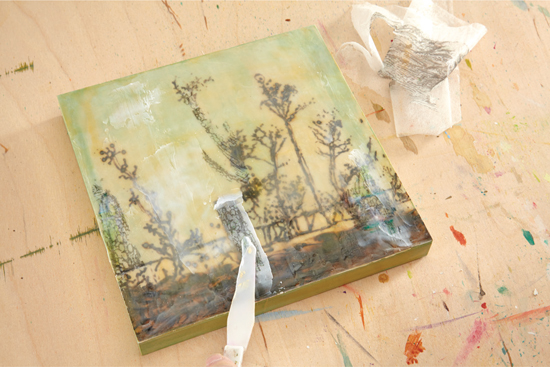
Burn it up—the wood that is. I did wood-burning projects when I was a kid so this took me back to my childhood. I coated the finished piece with “wax” that I made with heavy gel matte.

In the Fields
8" × 8" (20cm × 20cm)
Mediums
clear gesso (or acrylic ground for pastels), heavy gel matte
Paints
green, Quinacridone Gold, Sepia
Misc.
laser black-and-white print, natural wood panel, wood-burning tools
Try the wood burning free-hand. This eliminates transferring the image from a laser print.

Select your image and print a black-and-white copy from a laser printer. Tape the laser print onto a natural wood panel, image side down. Attach the transfer tip onto your wood-burning tool and press down over the print to transfer the outline of the image.

Once the general outline of the image is transferred to the wood, begin burning the image into the wood using alternating tips on the heat tool. (Take precautions with hot tools.)

Once the design is burned in, apply diluted clear gesso over the surface (or substitute with diluted acrylic ground for pastel). Apply a layer of watered-down acrylic paints and let it dry. Continue to develop your painting with more paint, but keep the paint transparent.

Then cover with heavy gel matte.