In order to get started creating your own custom views, you only need what you'll normally need to develop Android mobile applications. In this book, we will be using Android Studio, as it's the tool recommended by Google.
We can get the latest version of Android Studio from its official site:
https://developer.android.com/studio/index.html.
Once we've downloaded the package for our computer, we can proceed with the installation:
Now, we can create a new project that we'll use to take our first baby steps on custom views.
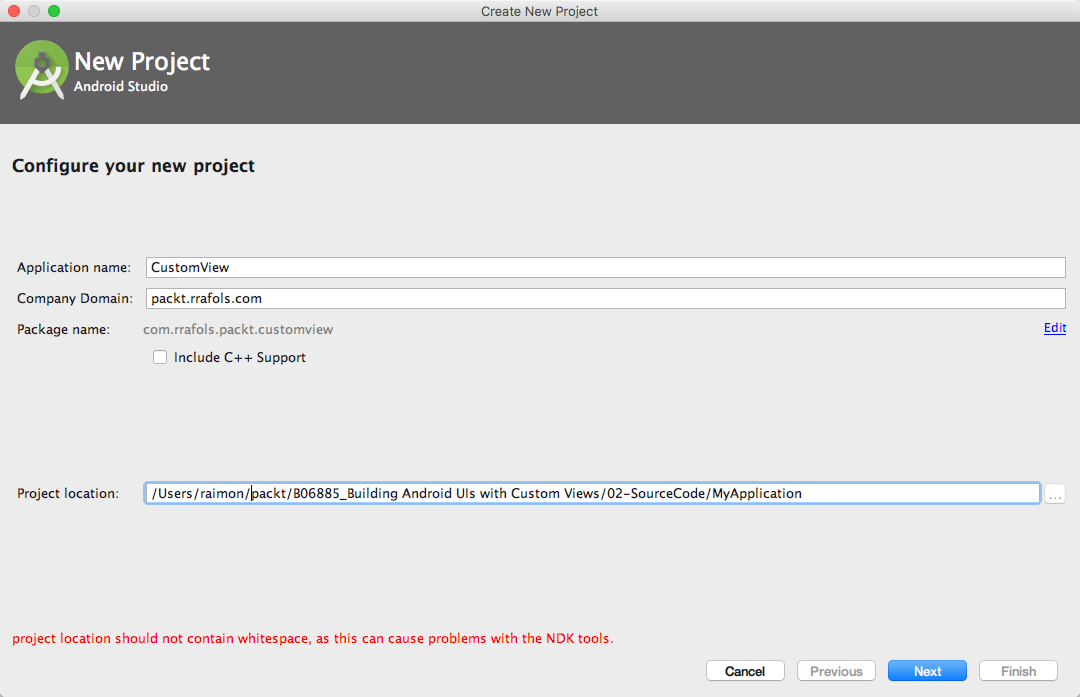
After selecting the Application name, the Company Domain, which will be reversed into the application Package name and the Project location, Android Studio will ask us what type of project we want to create:
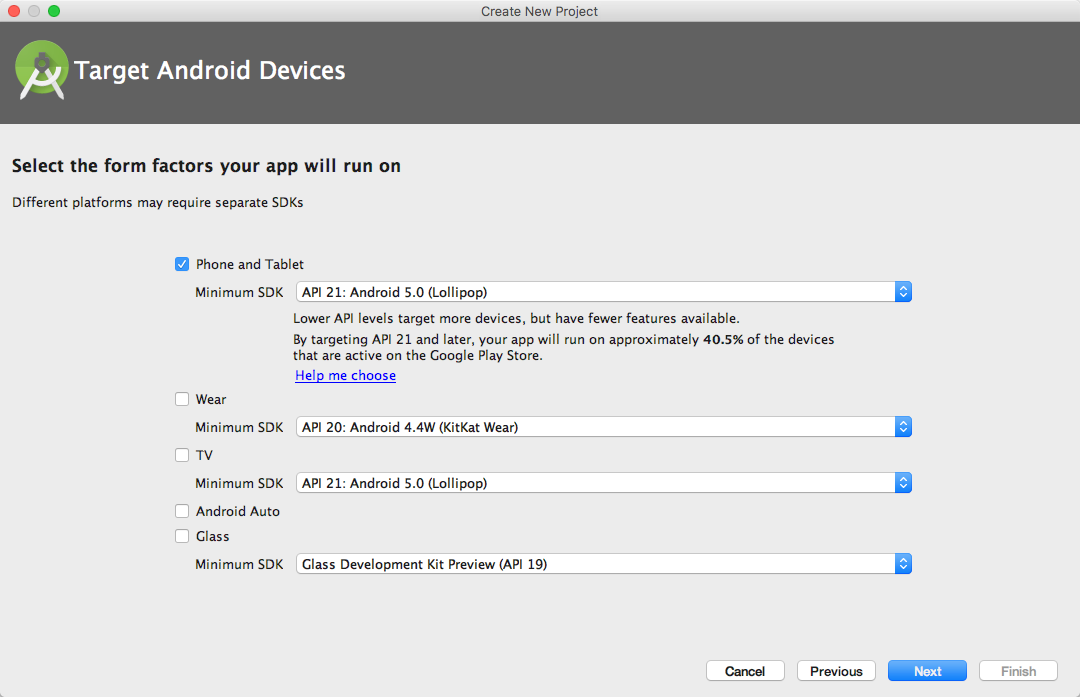
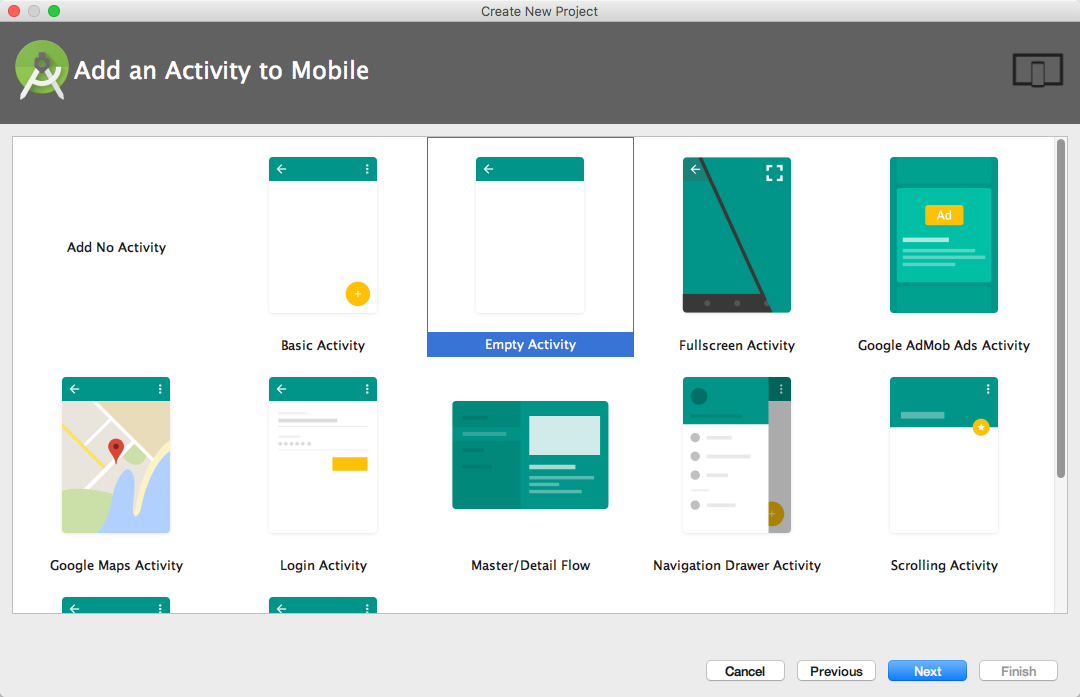
For this example, we don't need anything too fancy, just phone and tablet and API 21 support is more than enough. Once we've done that, we can add an Empty Activity:
In the case you need help installing Android Studio, there is a step by step guide on the Learning Android Application Development, Packt Publishing or there is always plenty of information on the Android developer documentation site. For more information, refer to:
https://www.packtpub.com/application-development/learning-android-application-development
Now, we are ready to run this app on a device emulator or on a real device.