It's very easy to create a 3D-enabled custom view. We can do it by simply extending GLSurfaceView instead of just extending from the View class. The complexity comes in the rendering part, but let's go step by step. First, we'll create a class named GLDrawer and add it to our project:
package com.packt.rrafols.draw;

import android.content.Context;
import android.opengl.GLSurfaceView;
import android.util.AttributeSet;

public class GLDrawer extends GLSurfaceView {
    private GLRenderer glRenderer;

    public GLDrawer(Context context, AttributeSet attributeSet) {
        super(context, attributeSet);
    }
}
Like our previous examples, we created the constructor with the AttributeSet, so we can inflate it and set parameters, if needed, from the XML layout file.
We might have the impression that OpenGL ES is only used in full screen games, but it can be used in non-full screen views and even inside ViewGroups or a ScrollView.
To see how it behaves, let's add it to the layout file between two TextView:
<?xml version="1.0" encoding="utf-8"?>
<LinearLayout
    xmlns:android="http://schemas.android.com/apk/res/android"
    xmlns:tools="http://schemas.android.com/tools"
    android:id="@+id/activity_main"
    android:layout_width="match_parent"
    android:layout_height="match_parent"
    android:orientation="vertical"
    android:padding="@dimen/activity_vertical_margin"
    tools:context="com.packt.rrafols.draw.MainActivity">

<TextView
        android:layout_width="match_parent"
        android:layout_height="100dp"
        android:background="@android:color/background_light"
        android:gravity="center_vertical|center_horizontal"
        android:text="@string/filler_text"/>

<com.packt.rrafols.draw.GLDrawer
        android:layout_width="match_parent"
        android:layout_height="100dp"/>

<TextView
        android:layout_width="match_parent"
        android:layout_height="100dp"
        android:background="@android:color/background_light"
        android:gravity="center_vertical|center_horizontal"
        android:text="@string/filler_text"/>
</LinearLayout>
We need to do an additional step before our GLDrawer class can work. We have to create a GLSurfaceView.Renderer object to handle all the rendering and set it to the view by using the setRenderer() method. When we set this renderer, GLSurfaceView will additionally create a new thread to manage the drawing cycle of the view. Let's add a GLRenderer class at the end of the GLDrawer class file:
class GLRenderer implements GLSurfaceView.Renderer {
    @Override
    public void onSurfaceCreated(GL10 gl, EGLConfig config) {

    }

    @Override
    public void onSurfaceChanged(GL10 gl, int width, int height) {

    }

    @Override
    public void onDrawFrame(GL10 gl) {
        gl.glClearColor(1.f, 0.f, 0.f, 1.f);
        gl.glClear(GL10.GL_COLOR_BUFFER_BIT);
    }
}
The glClearColor() method tells OpenGL which color we'd like to clear from the screen. We're setting the four components, red, green, blue, and alpha, in a floating-point format ranging from 0 to 1. glClear() is the method that actually clears the screen. As OpenGL can also clear several other buffers, it'll only clear the screen if we set the GL_COLOR_BUFFER_BIT flag. Now that we've been introduced to some OpenGL functions, let's create a GLRenderer instance variable and initialize it in the class constructor:
private GLRenderer glRenderer;
public GLDrawer(Context context, AttributeSet attributeSet) {
    super(context, attributeSet);
    glRenderer = new GLRenderer()
    setRenderer(glRenderer);
}
When implementing a GLSurfaceView.Renderer class, we have to override the following three methods or callbacks:
- onSurfaceCreated(): This method will be called every time Android needs to create an OpenGL context-for example, the very first time the rendered thread is created, or every time the OpenGL context is lost. Context might be lost whenever the application goes into the background. This callback is the ideal method to put all the initialization code that depends on the OpenGL context.
- onSurfaceChanged():This method will be called when the view is resized. It'll also be called the very first time the surface is created.
- onDrawFrame():This method is responsible for doing the actual drawing, and will be called every time the view needs to be drawn.
In our example, we've left the onSurfaceCreated() and onSurfaceChanged() methods empty as, at this moment, we're only focusing on drawing a solid background to check if we have everything working, and we don't need the view size yet.
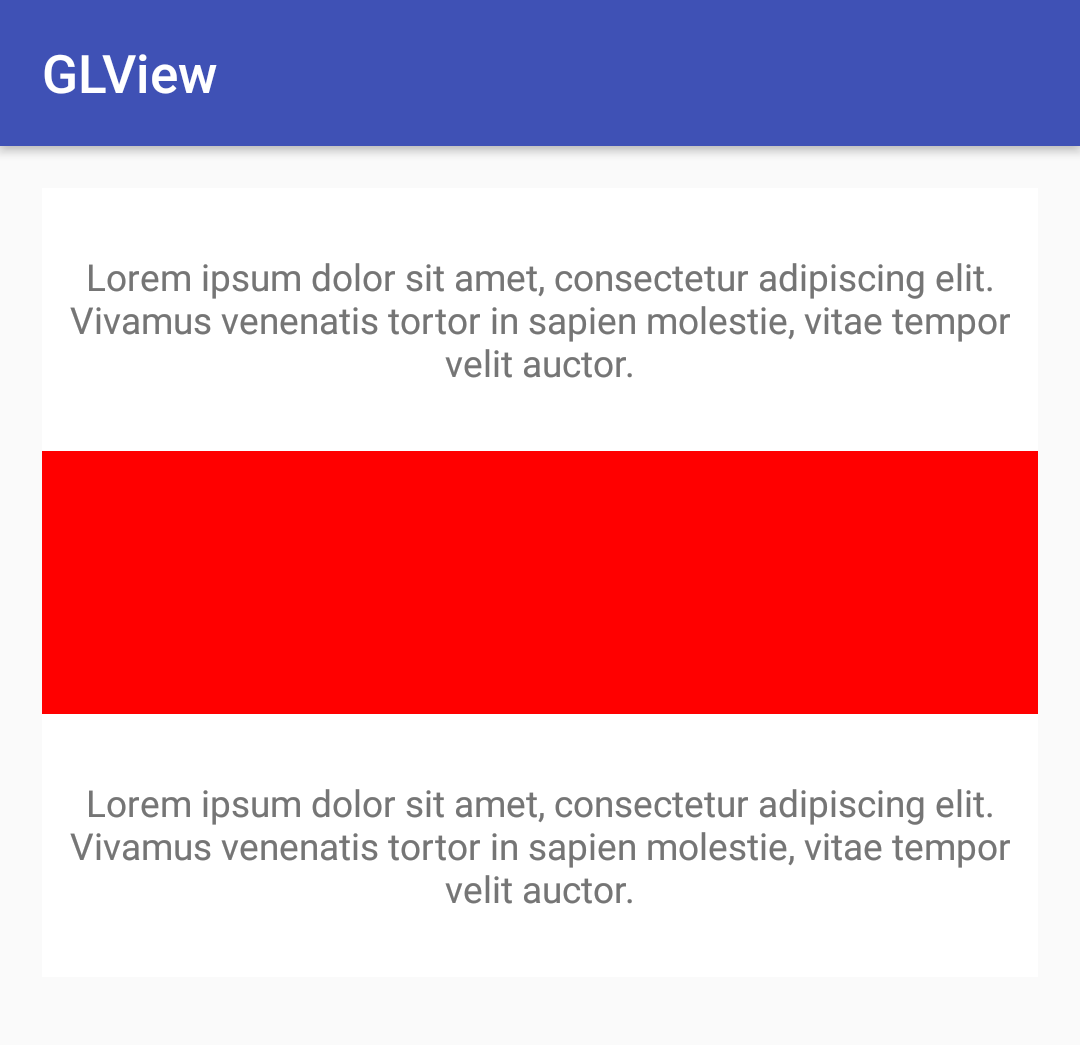
If we run this example, we'll see both TextViews and our custom view with a red background:
If we set a breakpoint or we print a log in our onDrawFrame() method, we'll see that the view is continuously redrawn. This behavior is different from a normal view, as the renderer thread will be continuously calling the onDrawFrame() method. This behavior can be modified by calling the setRender() method once we've set the renderer object. If we call it before, it'll crash our application. There are two render modes:
- setRenderMode(RENDERMODE_CONTINUOUSLY): This is the default behavior. The renderer will be continuously called to render the view.
- setRenderMode(RENDERMODE_WHEN_DIRTY): This can be set to avoid the continuous redrawing of the view. Instead of calling invalidate, we have to call requestRender in order to request a new render of the view.