In the initial chapters of this book, we introduced how to add parameters and, that way, easily customize our custom view. Following the same principles, we have created an attrs.xml file with all the customizable parameters:
<?xml version="1.0" encoding="utf-8"?>
<resources>
    <declare-styleable name="EPG">
        <attr name="backgroundColor" format="color"/>
        <attr name="programColor" format="color"/>
        <attr name="highlightedProgramColor" format="color"/>
        <attr name="currentTimeColor" format="color"/>
        <attr name="channelTextColor" format="color"/>
        <attr name="programTextColor" format="color"/>
        <attr name="highlightedProgramTextColor" format="color"/>
        <attr name="timeBarColor" format="color"/>

        <attr name="channelHeight" format="float"/>
        <attr name="programMargin" format="float"/>
        <attr name="timebarHeight" format="float"/>
    </declare-styleable>
</resources>
There are many other variables that could be added as parameters, but these are the main customizations from the point of view of the custom view look and feel.
Also, in our class constructor, we have added the code to read and parse these parameters. In a case where they're not present, we'd default to the previous values we hardcoded.
TypedArray ta = context.getTheme().obtainStyledAttributes(attrs, R.styleable.EPG, 0, 0);
try {
    backgroundColor = ta.getColor(R.styleable.EPG_backgroundColor,
    BACKGROUND_COLOR);
    paintChannelText.setColor(ta.getColor(R.styleable.EPG_channelTextColor
                          Color.WHITE));
    paintCurrentTime.setColor(ta.getColor(R.styleable.EPG_currentTimeColor,
                          CURRENT_TIME_COLOR));
    paintTimeBar.setColor(ta.getColor(R.styleable.EPG_timeBarColor,
                          Color.WHITE));

    highlightedProgramColor =
    ta.getColor(R.styleable.EPG_highlightedProgramColor,
        HIGHLIGHTED_PROGRAM_COLOR);

    programColor = ta.getColor(R.styleable.EPG_programColor,
    PROGRAM_COLOR);

    channelHeight = ta.getFloat(R.styleable.EPG_channelHeight,
    CHANNEL_HEIGHT) * screenDensity;

    programMargin = ta.getFloat(R.styleable.EPG_programMargin,
    PROGRAM_MARGIN) * screenDensity;

    timebarHeight = ta.getFloat(R.styleable.EPG_timebarHeight,
    TIMEBAR_HEIGHT) * screenDensity;

    programTextColor = ta.getColor(R.styleable.EPG_programTextColor,
    Color.WHITE);

    highlightedProgramTextColor =
    ta.getColor(R.styleable.EPG_highlightedProgramTextColor,
        Color.BLACK);
} finally {
    ta.recycle();
}
To make it simpler and clearer for anyone trying to customize it, we can do a small change. Let's redefine the parameters that map directly to pixel sizes as dimensions instead of floats:
<attr name="channelHeight" format="dimension"/>
<attr name="programMargin" format="dimension"/>
<attr name="timebarHeight" format="dimension"/>
Update the parsing code to the following:
channelHeight = ta.getDimension(R.styleable.EPG_channelHeight,
        CHANNEL_HEIGHT * screenDensity);

programMargin = ta.getDimension(R.styleable.EPG_programMargin,
        PROGRAM_MARGIN * screenDensity);

timebarHeight = ta.getDimension(R.styleable.EPG_timebarHeight,
        TIMEBAR_HEIGHT * screenDensity);
By using getDimension instead of getFloat, it'll automatically convert dimensions set as density pixels to actual pixels. It'll not do that transformation to the default value, so we still need to do the multiplication by the screenDensity ourselves.
Finally, we need to add these configurations in the activity_main.xml layout file:
<?xml version="1.0" encoding="utf-8"?>
<LinearLayout xmlns:android="http://schemas.android.com/apk/res/android"
    xmlns:tools="http://schemas.android.com/tools"
    android:layout_width="match_parent"
    android:layout_height="match_parent" xmlns:app="http://schemas.android.com/apk/res-auto"
tools:context="com.rrafols.packt.epg.MainActivity">

    <com.rrafols.packt.epg.EPG
        android:id="@+id/epg_view"
        android:layout_width="match_parent"
        android:layout_height="match_parent"
        app:channelHeight="80dp"
        app:highlightedProgramColor="#ffffdd20"
        app:highlightedProgramTextColor="#ff000000"/>
</LinearLayout>
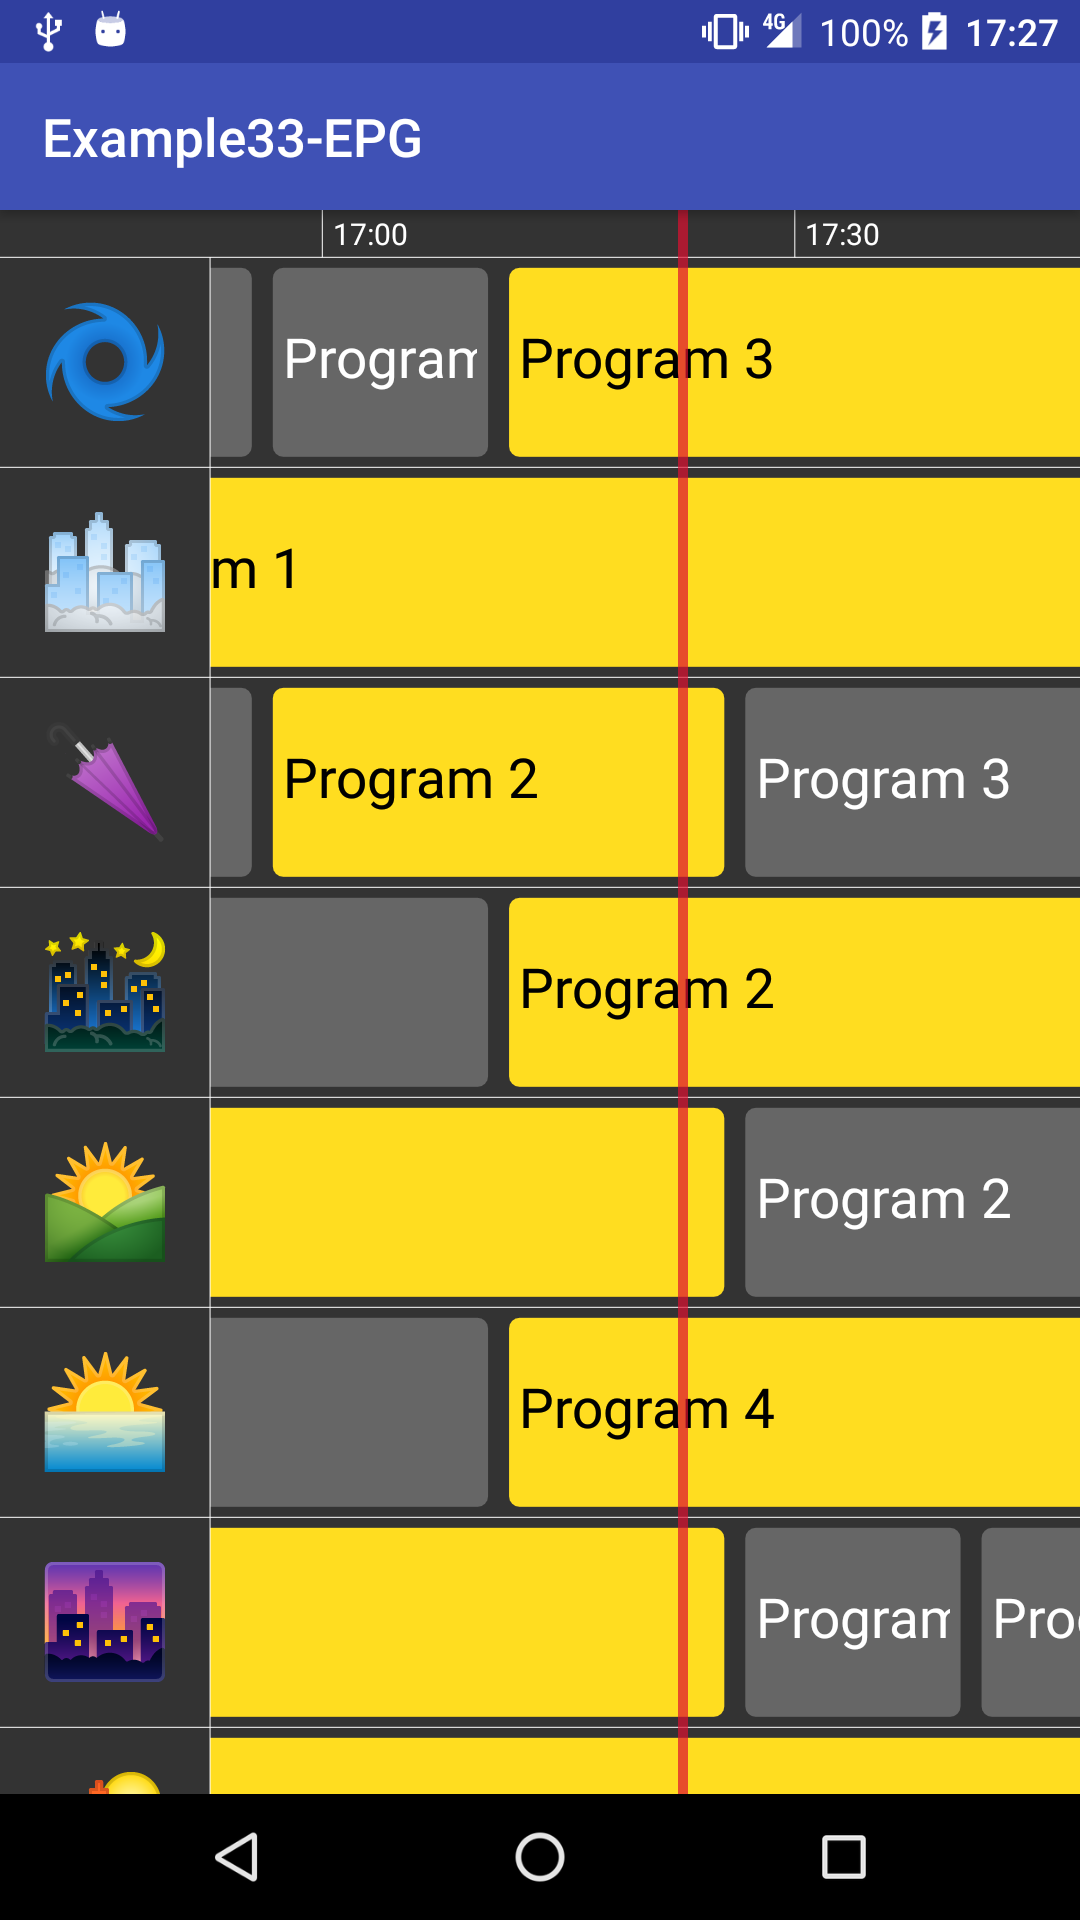
We can see the result of these changes in the following screenshot: