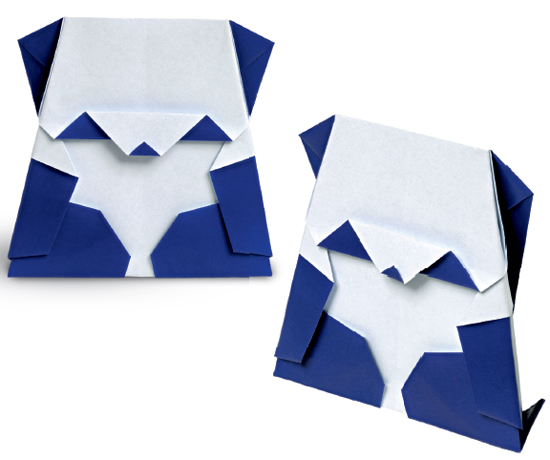
Simple Panda
In spite of the complex color pattern on this model, this is one of the easier pieces to fold. Only mountain folds and valley folds are used. Step 4 defines the angle of both the head and the body. It is important that the body gets a little wider at the bottom to give the model a feeling of weight. The folds for the head are left for last, so you can have the features magically appear from a single flap.
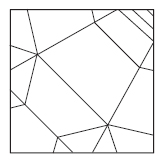

Begin with the darker color side facing down. Fold the diagonals. Unfold.
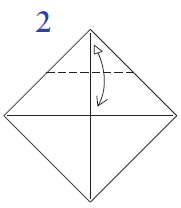
Fold the top corner to the center. Unfold.
Valley fold to the last crease.
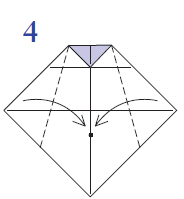
Valley fold, so the corners hit the center crease.
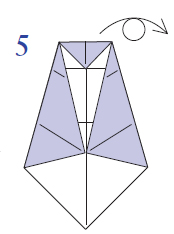
Turn over.
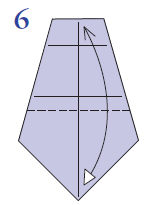
Fold in half.
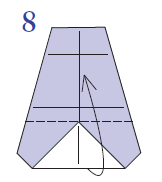
Valley fold to the last crease.
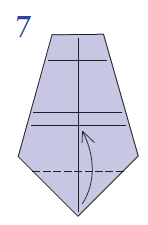
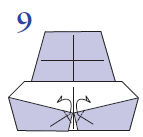
Valley fold along the existing crease.
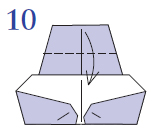
Mountain fold the corners in slightly.
Valley fold along the existing crease.

Mountain fold on the left and right, following the angle of the top edges.

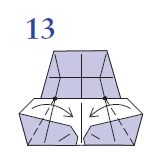
Unfold.
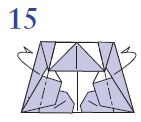
Valley fold the top flaps in, noting the indicated intersections.

Valley fold the top section back down.
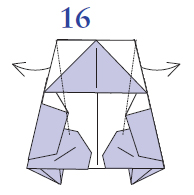
Mountain fold the sides.
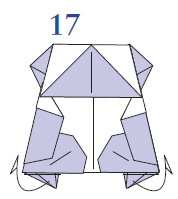
Valley fold the back flaps outward.
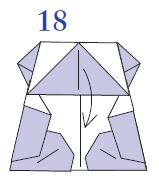
Mountain fold the protruding corners.
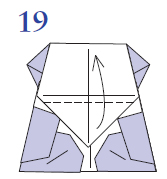
Swing down the top flap.
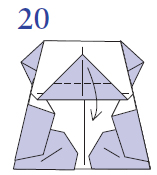
Form a valley fold a little bit below the crease.
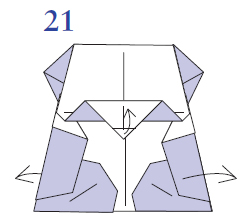
Valley fold down.
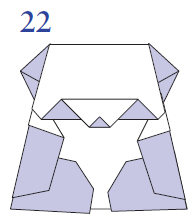
Valley fold up. Pull the sides out slightly so the model will stand.
The completed Simple Panda.