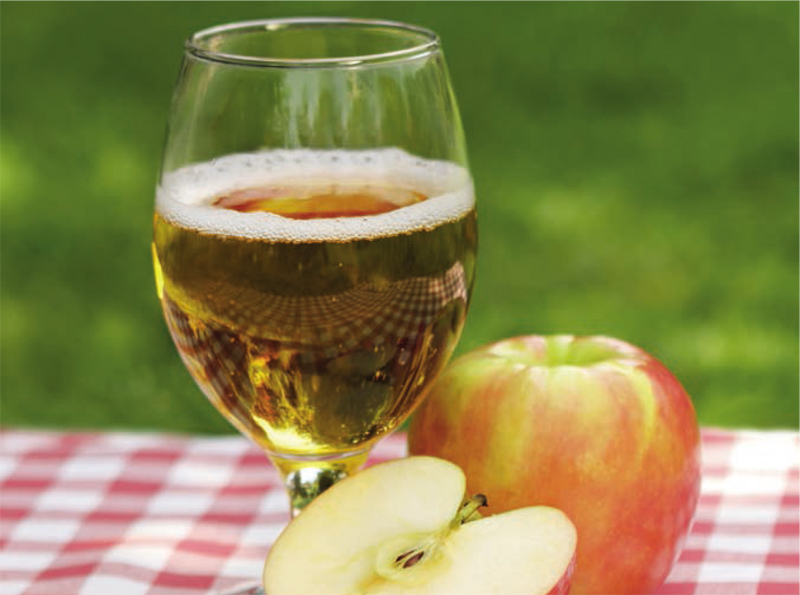
BASIC DRY CIDER
INGREDIENTS
5 gallons juice
1 packet cider or champagne yeast
sulfites (if desired)
NOTES
Understanding how to make a basic, dry cider will lead to the ability to experiment later on. I see a lot of home cider makers come right out of the gate and attempt to make something pretty complex, without trying a simple dry cider first. Getting the basics down, and working out the initial kinks, is so important in making cider.
Also, in general I’d say people prefer a dry cider, so doing this right should be a crowd pleaser!
METHOD
With your base juice of choice, fill your vessel almost to the top. Make sure to take a measurement of your starting gravity, so you can determine the final alcohol and know when fermentation has stopped. Take your yeast, follow the specific instructions on the pack, and add the mix to the vessel. Seal the top with a clean and sanitized airlock. Add water to the airlock until the inside bit starts to float.
Optional: If you decide to put in sulfites, add the needed amount to the juice and let it sit for twenty-four hours before starting fermentation.
Fermentation time varies based on temperature, but in general you’ll start to notice your airlock bubbling away in a few days. Fermentation usually takes seven to ten days, again depending on temperature and your starting gravity. During this time, you’ll want to make sure the airlock and top are kept clean, and it may be necessary to remove the airlock and replace the water.
How do you know when fermentation is complete? Many rely on the “once the airlock stops moving” method, but the only way to truly know is to take a measurement with a hydrometer. Since this is a dry cider recipe, once it reads 1.000 or below, you’re done with fermentation.
At this time it’s wise to rack off into another clean vessel as soon as possible. Take your siphon – or pump, if you’re lucky enough to have one – and rack above the lees (the very bottom of the vessel).
Put a new, sanitized airlock on the maturation vessel, and keep the batch as cool as possible for at least a month. At this point, when you decide to bottle or keg the cider is entirely up to you. Aging cider can do many different things, depending on your chosen blend. For example, harsh tannins will soften over time, and if left out long enough your cider could possibly have a malolactic fermentation, which adds a buttery/caramel note.
Resist the temptation to open the vessel often or taste the cider; you risk infection every time you open the vessel. Tasting once a month or so should be fine. Also, make sure to keep the vessel topped off with fermented cider, or water. You want to keep the maturation vessel as topped-off as possible, to lessen the risk of acetic bacteria forming and turning your hard work into a lot of vinegar.
Add sulfates to avoid malolactic fermentation
Malolactic fermentation (MLF, often shorthanded to ML) is the conversion of malic acid into lactic acid. Our winemaking counterparts use it quite a bit in making chardonnay, as it gives the wine its signature buttery, caramel-like flavor. As with anything else, you’ll need to decide if you want to encourage this or prevent it.
Does MLF always occur? No
In what circumstances does MLF occur? When unsulfited cider is left on the lees. It’s most common in high acid blends.
When is MLF good? When you want to round out the high acids, or to create a caramel-butterscotch taste.
When is MLF bad? If you have a low acid blend, or if you don’t want the flavors associated with MLF (caramel, butterscotch).
How do you prevent MLF? You can avoid it by sulfating your cider after fermentation, and racking it off of its lees as quickly as you can after fermentation has stopped.
How do you encourage MLF? Most home brew stores that have a good selection of wine yeasts sell ML cultures that you can ad to your cider. To add, you’ll want the temperature of your cider to be around 55 degrees or higher. Do not add it when you add the yeast, but instead when your specific gravity is around 1.01, so right before it goes completely dry.
My advice? Try to prevent MLF, especially when you first start. When you’re more experienced go for it. You may like it, and it may become “your” style.
BUSHWHACKER SMOKED CIDER
I love anything smoked. We even have a house-smoked nut mix at the pubs, which we smoke over applewood, the same wood we use for this unique cider.
I started making this cider a few years ago. This is a recipe that requires you to press your own apples, so you may want to check with your local home-brew store to see if they rent apple grinders and presses.
The recipe also requires you to have a smoker of some sort. I use a Luhr Jensen Big Chief, with Luhr Jensen applewood chips. It would also work with other smokers and woods, as long as you have the ability to cold smoke.
The benefit of this cider is that you can use just about any apple, since the smoke will add so much flavor that “cider apples” aren’t needed. Also, I don’t smoke one-hundred percent of the apples for this; I just do about forty percent of the apples going into the batch.
Wash the apples before smoking, and allow them to completely dry. Set up your smoker for cold smoking, and smoke the apples for about two hours. Press them with the other apples, and ferment as normal.
The resulting cider will come out like a very peaty, smoky Scotch – think Islay or Highland Scotch. I would suggest at least a two-month maturation; this recipe also lends itself to dry oaking. Adding some crab apple juice can balance out the strong smoke flavor.
If you want the cider to taste less smoky, smoke fewer apples. I prefer this option to smoking them for less time.
New England-style cider is characterized by the use of raisins, molasses, and brown or white sugar. It has, in general, a higher alcohol content; you’ll be adding sugar before fermentation to boost the alcohol level. This is also a good recipe for playing around with oak chips, assuming you don’t have space or access to an oak barrel. Here’s my recipe for a New England-style cider:

4.5 gallons juice
1 lb brown sugar
8 oz dark Belgian candi sugar
1 Campden tablet, dissolved
6 oz dark roast oak chips
1 packet cider yeast
¾ pound raisins, dark
½ pound molasses
1 Fill a vessel with the juice of choice. Melt down the brown sugar and candi sugar in a pan. Allow the sugar to cool, then add it to the juice. Add your dissolved Campden tablet, and let the mix sit for twenty-four hours. At that time, record your specific gravity, and then add your yeast. You’ll want to be at around 1.055 or higher for this batch, so if you’re not there, add a bit more sugar.
2 Keep track of your SpGr, and once it reaches around 1.020, it’s time to add your raisins and molasses. Boil the mix with a bit of cider for two minutes, then add the mix to your carboy. Let that sit until the gravity is at 1.000 or below. Rack off into a clean, sanitized vessel.
3 At this point, put your oak chips into a straining bag and simmer for ten minutes in some cider, then add the liquid to the vessel. If you have a vessel with a wide enough opening, go ahead and add the bag as well. If you do add the bag, don’t let it sit for more than two weeks.
4 This is a batch that will age well, and one you’ll want to let age. The high alcohol content will help protect against infection, but you’ll still want to age it in as cool a place as you can.
5 For an added kick, try presoaking the oak chips for a few days in brandy, then infuse as directed above.
LINGONBERRY CIDER
Lingonberries are hard to find. I know, I’ve tried. They’re associated with Scandinavia, and I hadn’t run across a US cider company making a lingonberry cider. So I thought, what the hell, I’ll do it.
This is a good time for absolute honesty. My secret to our lingonberry cider is using lingonberry juice, not berries. Simply put, I make a base of dry cider, and after the final rack, I add about twenty-four ounces of Lingonberry juice per five gallons. It adds a great color, and it has a very unique taste that catches people by surprise. At work, we call it “The Nihilist,” a nod to one of my favorite movies, The Big Lebowski.
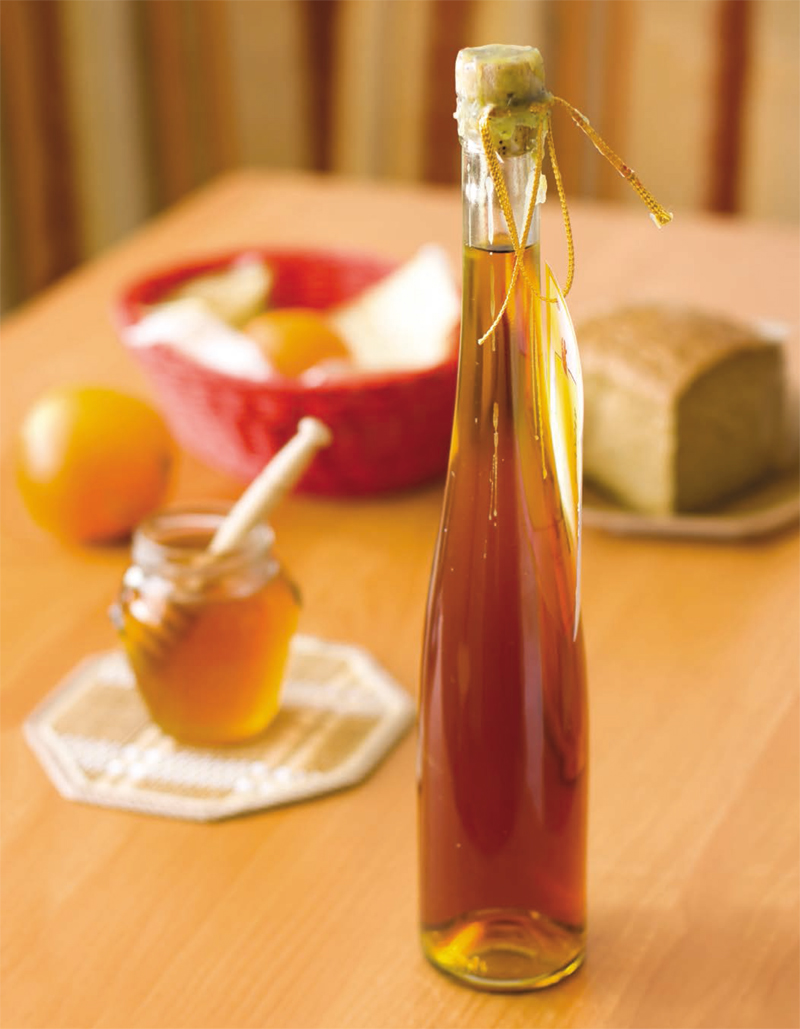
LOCAL CYSER
Cyser (or ceyser) is a cider that is blended with honey. If you want to get technical, it’s less than fifty-percent honey. Any more, and you’d be making a mead with apple juice.
There are two ways to go about this. One, you could add the honey before you ferment. By doing so, you’ll boost the juice’s original gravity, making a nice high-alcohol finished product. The other option is to add it post-ferment, which will result in a stronger honey flavor, but won’t add to the alcohol content. This is the version I prefer.
While any honey will work, it’s way more fun to find a locally produced honey, and bring with it the nuances of the local flowers and plants. Plus, you’ll end up with a cyser that can only be made in your area.
Searching farmers’ markets is a great way to find local honey. Be warned, though: honey isn’t cheap. It’s often sold by the pound, and it can command a well-deserved high price. Ask your local supplier if they would be interested in a bulk discount; maybe you can even trade some of your final product for some honey. I’ve found cider to be an excellent trading tool!
When adding honey post-ferment, I suggest a pound per gallon. But how much you add depends on your taste.
When adding the honey, take a bit of your cider out and bring it to a simmer in a pan on your stove. Then slowly add the honey until it’s completely dissolved. Let it cool, and add the mixture back to your vessel, keeping in mind how much room you have.
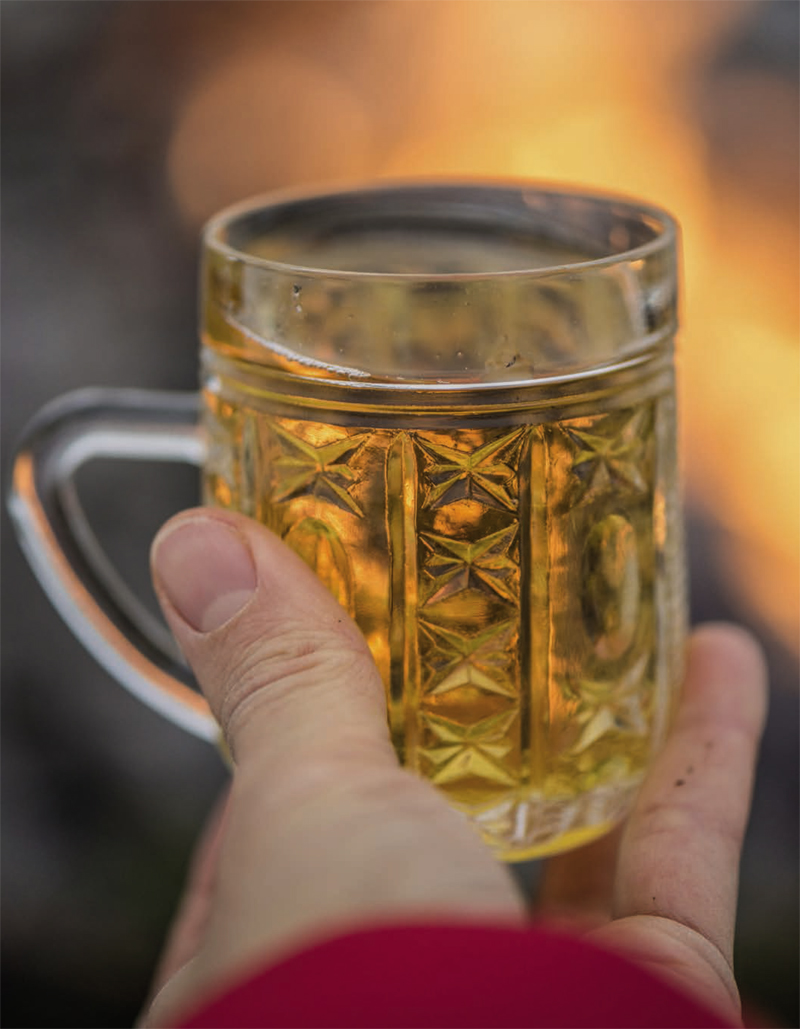
SCRUMPY
A very common question we get at the pubs is, “What’s a scrumpy?” Well, let’s start with what the word actually means. In Old English, to “scrump” fruit is to steal it – and more specifically, to steal apples. So, with scrumping there’s not much choosing and planning going on; if you’re scrumping, you’re stealing whatever you can get your hands on. I should say here, please don’t scrump apples.
So, a scrumpy these days refers to an assortment of apples – whatever could be obtained – made into a rough, unfiltered, usually higher-alcohol cider. Traditionally, a scrumpy was brewed by farmers who lacked the necessary equipment to create a more polished cider.
Another characteristic of a scrumpy is wild fermentation. Imagine a barn in the South West of England, full of wonderful wild yeast. There’s a barrel in the corner. It may be fantastic, or it may be close to vinegar, but either way the scrumpy will be made with local fruit and will deliver a kick you won’t soon forget.
So you want to make a scrumpy? Good for you! It’s an excellent way to experiment with wild fermentation. Collect – legally! – a blend of local fruit. If at all possible, throw some crab apples in there. And don’t be afraid to use a little bit of everything.
Make the cider as you normally would, but don’t pitch any commercial yeast. And I wouldn’t add sulfites, as they would likely (as is their purpose) kill off the native yeasts you’re trying to foster.
Expect a slower ferment, and rack off only when fermentation has stopped, as measured by your hydrometer.
I wouldn’t recommend any other additions, except perhaps for some oak chips. That way, you can get as close as possible to that great oaky, farmhouse taste without storing a fifty-five gallon barrel in your apartment.
CHERRY CIDER
Our cherry cider is one of the most popular flavored ciders in our pubs. We’re lucky to have a lot of cherry orchards in the Pacific Northwest, and a lot of local producers put their own unique spin on this cider.
Black cherries or pie cherries are used most commonly. However, I’ve made cherry ciders with Rainier cherries, which are lighter and a little less intense, and I’ve had excellent results. In commercial cider making we typically add the cherries post-ferment, in the form of juice. Then – in larger scale production – we pasteurize the final product.
You can also make a fun twist on cherry cider by lightly mashing the cherries and fermenting them, as a sour beer producer might do. It will add a less intense cherry flavor, but it will also add some fermentable sugar to boost up your ABV.
I may be a bit biased, but “Oregon”-brand canned cherries are perfectly fine to use, and they’re available at most grocery stores year-round. The reality is you may not have time to go cherry picking, or you may not be in an area with a lot of cherries growing nearby. This goes back to my philosophy: use what you have available, and don’t stress about finding the perfect, ideal way of doing things.
Depending on your taste, you’ll want to add at least four twelve-ounce cans of packed cherries. Or, if you use juice, I’d start with at least one half gallon per five-gallon vessel.
GINGER CIDER
Apple and ginger go hand in hand, so it’s no surprise that almost every commercial cider maker makes a ginger cider. I don’t personally like a lot of ginger ciders, but we make one at Bushwhacker because I know how much people like them!
The tricks with a ginger cider are regulating the balance of heat, and deciding on the method you’ll use to infuse the cider. In my experience with spices, a light hand is more appreciated, overall, than a super spicy offering. But, if you and your friends like it hot, by all means go for it!
I’ve tried ginger fresh, powdered, and even crystalized. In my opinion, fresh ginger is the best. My favorite way to infuse is to juice the ginger – about eight ounces worth per five gallons, to start – and then go by taste after that.
If you don’t have the ability to juice the fresh ginger, the other method I like is to make a “tea” using sliced ginger and some of the cider from the batch you’re infusing.
My best advice when brewing a ginger cider is to slowly build it up, because it’s a pain to try and get the ginger flavor dialed back once it’s infused – which would require you to make it into a bigger batch and blend it out.
PEAR CIDER AND PERRY
Honestly, I could almost write a whole book on the virtues, techniques, and history of perry, or poire in France. Maybe if I’m lucky enough to make it to book number two, I’ll tackle it.
The most important thing to understand for our purpose here is the difference between perry and pear cider. Simply put, perry is made with one-hundred percent pears, though some insist it can contain as much as twenty-five percent apples. Pear cider, on the other hand, is apple cider with pear juice added after fermentation to give it a robust, sweet, strong pear flavor.
Again, we find ourselves at the crossroads of tradition and innovation. Perry pears are used for “traditional, true” perry. They’re a great fruit, small and tannic, and they provide an amazing final product. But . . . they’re also hard to find and a pain to pick. And if you are lucky enough to locate them, they can be spendy.
You can certainly make a perry from pears available to you, such as D’Anjou, Bosc, or my favorite, Asian pears. These won’t have the depth and complexity of a true perry pear, such as a Huffcap, Barland, Butt, or Thurston’s Red, but I think you’ll be quite pleased with the result.
Don’t expect an overwhelming pear taste in your final product. A nice perry doesn’t punch you in the face with pear flavor. It’s subtle and can end up like a nice, light white wine.
What if you love pears, but don’t feel like making a perry? Try making a pear cider. The most common way to do this is to add pear juice after you rack off of primary fermentation. To get that big bang of pear flavor you’re no doubt expecting, add some pasteurized pear juice in at least a twenty-five-percent-pear-to-seventy-five-percent-apple ratio. As you rack off, reserve any extra cider you have left over to keep your vessel topped off.
Another trick of the trade, though I will say it’s one I don’t use, is to use pear flavoring, readily available at your local shop or online. The use of pear flavoring, or indeed any other “natural” flavoring, is a hotly debated topic among cider makers. If you look on the side of some of the more popular ciders, you may notice “flavoring” or “essence” being used. This is a bit of smoke-and-mirrors – a way to easily get the flavor you want without any risk of a secondary fermentation.
If you decide to go the route of using flavoring, you should use a very, very light hand; adding too much will ruin all of your hard work. Think two drops or less per five gallon batch, then let it sit, and taste. A little goes a very long way.
DRY OAKED CIDER
I’ve mentioned “dry oaking” cider. Oak chips are cheap and easy to get at any home-brew store, and they allow the home cider maker to impart an oak flavor without the hassles of using an actual barrel. That said, a lot of commercial cider makers use the dry oaking technique in order to avoid barrel use, and also to better control the oak flavor. Barrels are great, and fun to use, but they require a lot of knowledge to keep clean, and they also obviously require quite a bit of space.
Oak chips come in many different varieties, based on the type and char of the wood. The choice is entirely up to personal taste. I generally prefer a lighter toast; a strong oak flavor doesn’t, in my opinion, lend itself well to cider.
Oak chips typically come in two- or eight-ounce bags, depending on the manufacturer. If your home-brew shop also services commercial makers, like mine does, larger bags are also available. How much you choose to use is entirely up to you, but at least four ounces for a five-gallon batch is recommended in order to achieve some flavor.
Jealous of those bourbon-barrel-aged ciders? Here’s a little trick: soak your chips in your spirit of choice, then infuse the chips with your cider. And boom, you’ll get the flavor you’re going for without paying for a spent barrel from a distiller. The experimentation possibilities in doing this are endless. Going for a sake-barrel-aged flavor? Tequila? Soak the chips and infuse.
Here are the basics of infusing with oak chips: You’ll want to create a tea with the chips. To make a “tea,” put the oak chips in a mesh bag, and insert it into a pot with enough cider to cover the bag. Bring to a boil, then let simmer for about ten minutes. The darker the char, the less you’ll want to steep it.
If you have a larger fermentation vessel, or something with a wider mouth, you can put the whole bag in. Just be careful not to over-oak it. If you go this route, you can still make a tea with it, but then you can also throw the whole bag into the cider for a more robust flavor.
SPANISH-STYLE CIDER
It’s doubtful you will have access to the proper tools to make a true, Spanish cider. I’d guess you don’t have a chestnut barrel lying around, or access to Basque varieties of apples, or some mind-blowing native Spanish yeast at your place. Even so, here are some tricks to help you get close.
First, sharp apples are a large part of a traditional Spanish-style blend. Assuming you don’t have a Mokoa apple tree, you can try using varieties like Granny Smith, Foxwhelp, Brown’s, Cap of Liberty, or a Rhode Island Greening. The next tip is to “infect” your cider with Brettanomyces. Brettanomyces is a family of yeasts used in the great farmhouse beers of Belgium and Germany. It’s what you add, either by hand or naturally, to get that classic farmhouse flavor. You can buy Brett – as it’s commonly called – in a package at most home-brew stores. This will help give it the classic funk of most Basque or Asturian ciders, without storing your cider in a barn or shed that has developed wild yeasts over several hundred years. Cheating a bit? Yeah, but I promise it’ll be fun. You’ll want to add the Brett pack at primary fermentation, and make sure to keep your batch a bit warmer than normal – around sixty-eight to seventy degrees.
This is also a batch you won’t want to carbonate or age for too long. Also, once you’re confident enough to do so, this would be a great batch to let the native yeasts go nuts in. If you decide to pitch a yeast, choose something like cider yeast in order to avoid infusing any other nuances besides the Brett.
Often, I get home-brew batches that went off, and the maker exclaims, “It’s just a farmhouse style cider.” But it’s not. It’s infected . . . in a bad way. Understanding faults – and understanding funk – takes time and patience.
Another note when dealing with Brett: make sure to thoroughly clean any and all equipment during this process. Brett can easily infect your whole setup if you don’t take the proper precautions – giving everything you make a bit of a Brett flavor.
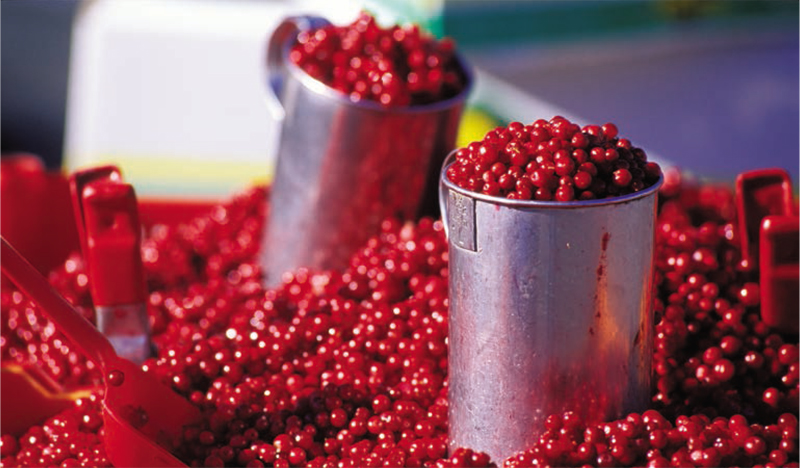
CRANBERRY CIDER
Nothing screams “holidays” like a well-crated cranberry cider. Commercially speaking, it’s not a super common flavor – curiously – but I do try to make one at the pub every year. As with other recipes, you can certainly add cranberry juice post-ferment, but this is one example where I would highly recommend buying fresh or frozen cranberries if at all possible, and juicing those. Normally what I do is juice the cranberries, then put any of the leftover solids in a straining bag, and put that into the vessel.
If you use cranberry juice, try to find the most pure juice you can, and try to stay away from a cranberry juice “cocktail.”
A fun element to blend with this is a bit of ginger root. Adding spices like cinnamon and cloves is also common. If you go that route, be careful to use a light hand, as a little bit of either goes a long way. For example, if I make a spiced cider, I don’t use more than one cinnamon stick per five gallons.

HIGH-GRAVITY CIDER
So, you have a goal: to make something on the higher alcohol side of things. Without adding sugar of any kind, your cider will probably end up at between five and six-and-a-half percent on its own, which is just fine for most people. Most commercial producers stay below seven percent to avoid paying a higher tax rate per gallon. But at home, if you so desire, why not go nuts?!
It’s time to learn a new word: chaptalization.
When you chaptalize something, you’re simply adding more fermentable sugar before you add the yeast, and therefore raising the specific gravity of your juice. You’ll also need to make sure the yeast you choose can handle fermenting a higher alcohol product. For example, Wyeast Cider Yeast has an alcohol tolerance of up to twelve percent, so if you go nuts and go for something higher, you’ll want to choose a yeast strain that can handle it.
Besides making a boozier booze, another reason to chaptalize is to raise the alcohol of a low-gravity juice, in order to prevent infection. If you start with anything south of 1.045, it’s best to add sugar of some sort to get up to at least that level.
Two ounces of sugar per gallon will raise the specific gravity about .005, give or take. Depending on your choice of sugar – be it white, brown, turbinado, etc. – the results may differ. Honey is also a great way to add some sugar, but to achieve the same results you’ll want about three ounces per gallon instead of two.
BUSHWHACKER ITALIAN PLUM CIDER
A year or so ago at the pub we received a treat: some donated Italian Plums. I decided to do what felt right with them, make alcohol!
For this recipe I did something a bit different: I fermented the plums. For a five gallon batch, I used about eight pounds of plums. I also added twelve ounces of dark Belgian candi sugar pre-ferment. I did the initial ferment in a thirty-liter plastic fermentation vessel, using a blend of locally sourced Akane apples. After primary, I racked off into a five-gallon wood barrel, keeping about a gallon aside to top off the barrel from time to time. After aging it for about three months, I racked again into a keg, force carbed for forty-eight hours, then threw it on tap – to much approval.
Experimenting with fermenting on the added fruit is something I’d like to do more, and would encourage you to do. Make sure you get the pieces small enough to be able to easily get them out after you rack and clean out your primary fermentation vessel.
You likely won’t see a noticeable effect on your OG (original specific gravity) since the fruit hasn’t broken down yet, but it will indeed add extra booze.
I think most stone fruit would lend itself nicely to this technique, and experimenting with plums, peaches, apricots, or others would yield interesting results. If you add the juice after ferment – right before bottling or kegging – expect a relatively subtle flavor instead of something more intense.
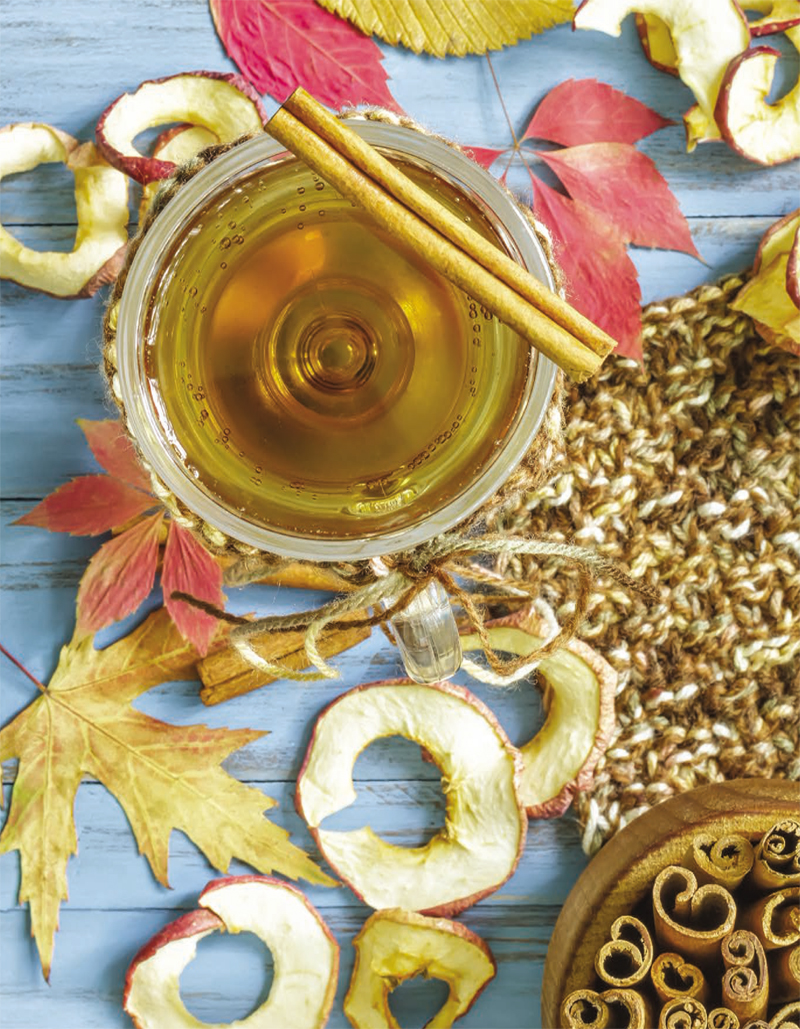
SPICED CIDER
For some, nothing beats a great mulled cider during the cold winter months. At our pubs, we have a crock-pot full of some nice warm cider to help warm our customers as they come in. There are two ways to do this.
Start with a semi-dry to semi-sweet base cider. For a gallon, infuse one cinnamon stick, three cloves, some dried ginger, and a bit of nutmeg to taste. The most important thing is to not let the cinnamon or cloves sit for too long, or the taste will become quite bitter. At the pub, we put the cloves in a tea strainer, so they’re easy to pull out once the flavor has been added.
If you want to make a mulled cider batch from scratch, the key is to tart with a light hand, and build it up. Start with your basic dry cider recipe, then add the spices about two weeks after you rack off to mature.
I would advise not adding a whole cinnamon stick or cloves to your batch. Instead, make a tea from your existing juice. Then, after allowing it to cool down, add the juice back to the cider. If you simply put in the cloves or cinnamon, the results could be disastrous; the cider might become quite bitter or be stronger than you would have liked.
SWEET CIDER
Making a good, sweet cider is a bit tricky. You’d think you could just add a bunch of sugar to achieve this, but by now I hope you know that sugar adds to the alcohol content, but not to the sweetness. The trick to making your cider sweeter is to do a juice add-back, or a sugar add-back, after fermentation has stopped. The risk here is, if there’s any yeast left you’ll have your cider go into a secondary fermentation, and possibly create a bottle bomb in the process.
But here’s how to do it without this danger.
Start with your basic dry recipe, and finish it to your liking. Now, here comes the dirty little secret. The best way to add sweetness is to add fresh juice back, which is easy on a commercial scale with all the sterile filtration and pasteurizing equipment available to kill any and all yeast cells left. It’s doubtful you have any of this equipment. So, here are two safe ways I recommend:
Add a non-reactive sugar like Xylitol or Stevia to your batch. It will sweeten it up, but any leftover yeast will not eat it. This is not even close to “traditional,” but it will work.
Add fresh juice back, bottle the cider, and then pasteurize in the bottle. Note: wear proper safety glasses and gloves, and use common sense during this process.
To in-bottle pasteurize, you’ll take your filled, back-sweetened bottles and submerge them in a pot of water on your stovetop. Slowly bring the water temperature to 180 degrees, which will make the inside cider temperature about 165 degrees. Hold this temperature for ten minutes, then bring the temperature back down. At this point, your cider should be pasteurized, and the risk for any bottle bombs, even with the juice added, should be minimal.
Mastering these techniques will add to your creative potential, and will also allow you to explore a wide array of different flavors. There’s a lot of debate over pasteurized versus non-pasteurized ciders. And there is indeed a taste difference, if you try the same batches side by side. But if you make a large batch, and you want to back-sweeten, pasteurization is really the best way to go to avoid any issues.
BUSHWHACKER ALICE
Named after my grandmother, Alice has quickly become one of our most popular ciders, both at the pub and out in the market. Not one for keeping secrets, I’m proud to share my recipe for it.
The backbone of this cider is the use of only Granny Smith apples. I wanted to figure out a good way to use these apples, since they grow in abundance in the Northwest and are available year round, either from stores or from the cold storage of larger orchardists.
This is also a good example of practicing what I preach: in a pinch, I use my good relationship with our local produce stand to purchase one bin at a time of Granny Smiths at a great discount!
For the recipe, I blend two different yeasts together, both made by Wyeast Laboratories in Hood River, Oregon. I use a fifty-fifty blend of their Cider yeast and their French Saison.
The other aspect of this cider is its clarity: Alice is crystal clear, well-carbonated, and crisp. To achieve this at my cidery, I cold crash it for at least a week, then rack off the top. At home, if you can’t cold crash and you want it clear, giving yourself extra time – or using the aforementioned caring agents will also work.
Note: “Cold crashing” is a technique that involves lowering the temperature of the cider, to just above freezing if possible, in order to force the spent yeast to the bottom of the vessel. Then, you “rack off the top,” meaning you rack off, being careful not to put the racking cane all the way to the bottom; otherwise you’ll just suck up everything you forced down, making the process ineffective. This is a way to naturally clear up a cider.
FORGOTTEN TRAIL
Our very first flagship cider, Forgotten Trail, was named after an inside joke between my wife and I. It refers to the time and energy it takes to run a business, and how entrepreneurs unfortunately don’t get to enjoy some activities the way they once did. So, Forgotten Trail: a trail that you may have forgotten about with the stress and speed of a busy life.
Forgotten Trail is a semi-dry cider, unfiltered, with a mix of dessert fruit. I use this ratio:
15% Red Delicious • 45% Braeburn • 15% Golden Delicious • 25% Jonagold
The apples are all ground and pressed together. For this batch, I only use one yeast: Wyeast Cider yeast. I add no sugar or sulfites before fermentation.
I usually start with a SpGr of around 1.053, which results in a cider of 6.9% ABV. At sixty-five degrees, the batch usually finishes off at 1.00 SpGr in about eight days. I rack it off, then top it off with some Forgotten Trail I have from another batch, to make sure to keep the tank full. Water can be used in place of more cider, but it should only be a cup or less.
Since the mix of apples consists entirely of dessert fruit, the required maturation time is relatively short. I let it sit for thirty days, then taste.
I like to put this cider right into the kegs at this point, so it can stay cold and in order to avoid the necessity of sterile filters, pasteurization, or sulfites. I usually make this in five-hundred liter batches at our Brooklyn pub.
The resulting cider is semi-dry, with a slight haze to it.