The following are the steps to be performed:
- Download and install the latest version of MaixPy IDE for your operating system from http://dl.sipeed.com/MAIX/MaixPy/ide/.
- Connect the Maix K210 microcontroller to a USB port on your computer.
- Click on the Connect button at the bottom left of the screen (it resembles a chain).
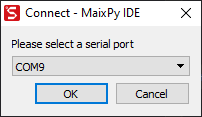
- Select the port the Maix K210 is connected to and click on the OK button, as shown in the following screenshot:
- Click on the New File button in the top-left to create a new file and name it qr-test.py.
- Select all of the pre-generated code in the main text area and delete it.
- Copy and paste the following code in its place:
import sensor
import image

sensor.reset()
sensor.set_pixformat(sensor.GRAYSCALE)
sensor.set_framesize(sensor.QVGA)
sensor.set_vflip(1)

while True:
    img = sensor.snapshot()
    res = img.find_qrcodes()

    if len(res) > 0:
        img.draw_string(2,2,res[0].payload(),
               color=(255,255,255),scale=1.5)
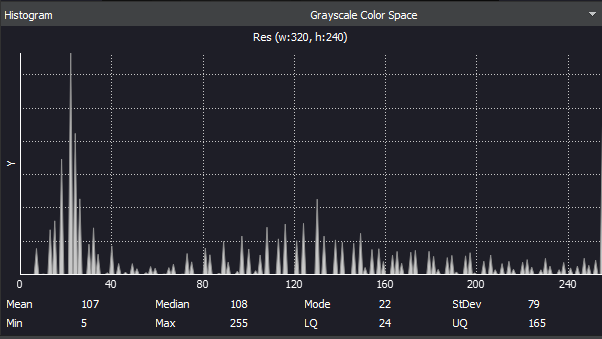
- Change the Histogram to Grayscale Color Space by selecting it from the drop-down arrow on the right, as shown in the following screenshot:
- Print out onto paper, or load into a phone or tablet, a QR code. You may use the following QR:

- Run the program by clicking on the Start button (the button below the Connect button).
- Place the QR code over the camera using Frame Buffer as a reference, as shown in the following screenshot:
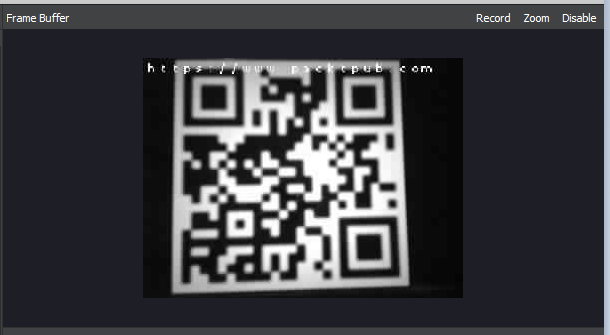
- Verify that you see the text or URL that the QR code represents on the screen.
As you can see, it takes very little code to read a QR code using MicroPython. We could use this code to open a door, for example. It's easy to imagine a hotel chain using regenerated QR codes for room access instead of plastic cards.