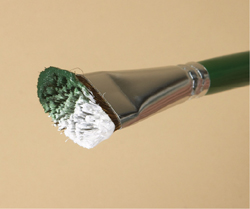
On an angular brush, the heel is the shorter side of the bristles. The toe is the longer side of the bristles. Hold the brush so the toe is at the top.
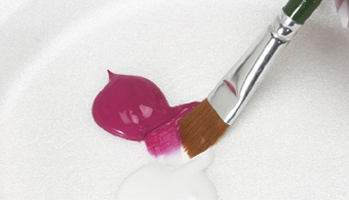
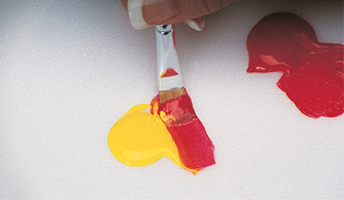
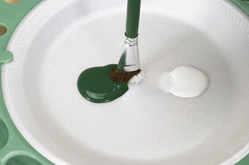
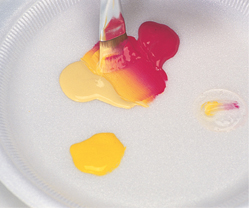
1. Dampen the brush. Stroke between the two puddles of color. Here, I’m loading Magenta onto the heel and Wicker White onto the toe.
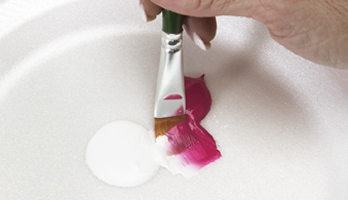
2. Work the colors into the bristles. Pick up more paint as you stroke. It takes quite a few strokes to get the toe fully loaded with color.
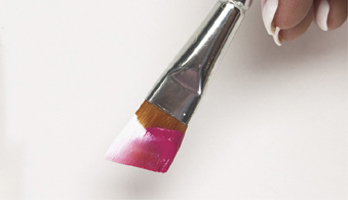
3. This is how a properly loaded angular brush should look.
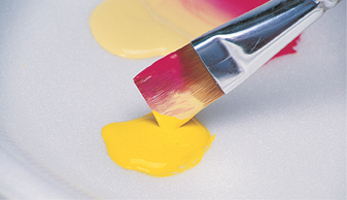
Double-load your brush. Then dip one corner into a third color. Add lighter colors to the light side of the brush and darker to the dark side.

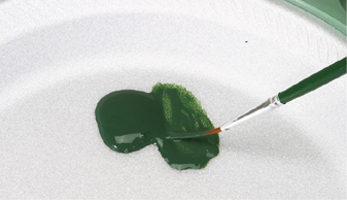
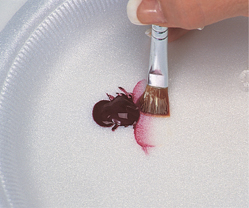
1. To side-load your brush, begin by pulling some paint from the edge of the first paint puddle.
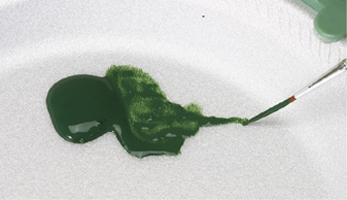
2. Stroke right next to the second color puddle to pick up a little paint on the edge of the brush.
1. Add a few drops of clean water next to the puddle of paint. Pull a little paint into the water to thin it to an inky consistency.
2. As you pull the brush out, roll the brush in your fingers and drag the tip of the bristles on the palette to bring them to a point.
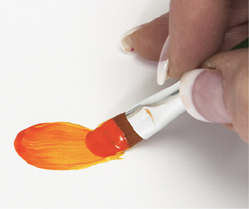
To paint curlicues and tendrils, brace your little finger on the surface and move your whole arm, not just your wrist.
1. Dampen your filbert brush with water. Pull paint outward from the edge of your first puddle of color.
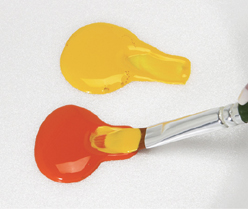
2. Flip the brush over to the other side. Pull the second color out from the edge of the puddle.
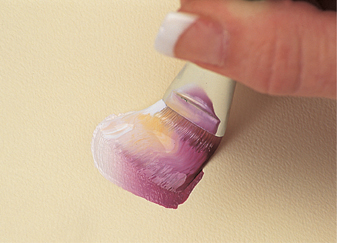
3. When you stroke with the loaded filbert, the key thing to remember is that the color facing upward is the dominant color. Here it’s the orange.

4. But here the dominant color is the yellow because the yellow side of the brush is facing upward.
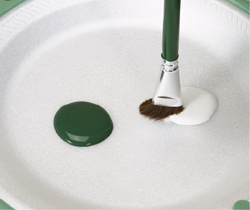
1. A scruffy brush is loaded differently than a flat. Never dampen it first with water, and never dip it into the middle of a paint puddle. Instead, pounce the scruffy at the edge of the puddle to load half of the brush with the first color.
2. This shows how only one-half of the bristles are loaded with paint so far.
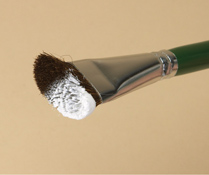
3. Now pounce the other side of the scruffy into the edge of the puddle of the second color.
4. Now you can see how the brush is double-loaded evenly with the two colors.
1. Dampen your feather brush with water. Pull paint out from the very edge of the puddle of color.
2. The feather brush is great for making a series of fine lines, like a bottlebrush flower or little palm fronds.

1. If your brush begins to feel dry when you’re painting, add floating medium. Dip the loaded brush straight into the puddle of medium.
2. Work the medium into the bristles on your palette. Use floating medium only every third or fourth stroke.

1. First load your brush with floating medium by pulling it out from the side of the puddle.
2. Side-load into your puddle of color ever so lightly on the corner of the brush.
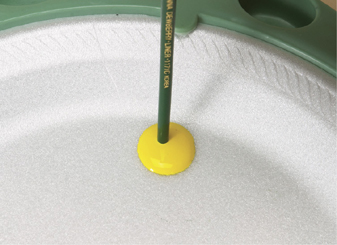
1. This is the easiest and fastest way to dot in the centers of flowers. Turn your brush upside down and dip the tip end of the handle into the paint, holding your brush straight up and down.

2. Touch the handle end to the center area of the flower and lift straight out. Don’t turn or twist the handle or make a circular motion. And be careful not to smear the dot while it’s drying.
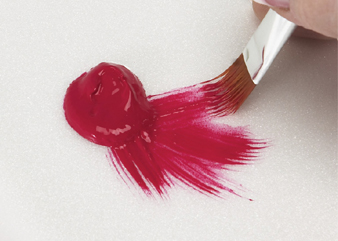
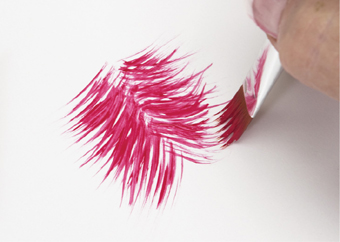
1. Every time you load your brush and before you apply a stroke to your painting, you need to do a starter stroke. A starter stroke is actually three or more strokes right on top of each other. To begin, touch and push down on the bristles.

2. Then lift and repeat three or more times until the color is the way you want it to be. The starter stroke spreads the bristles and blends the colors.
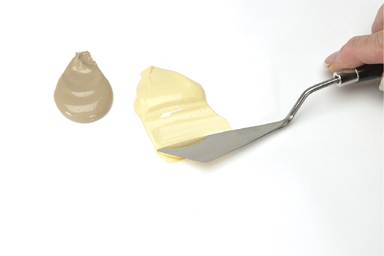
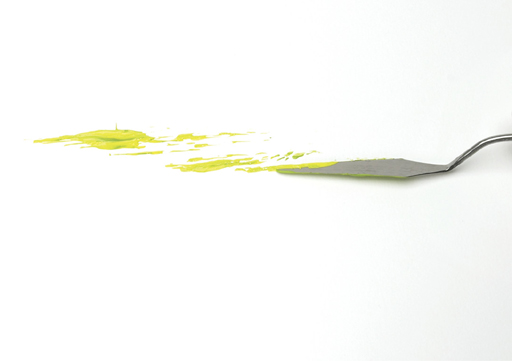
1. A wide palette knife has a flexible metal blade that is wider than usual and designed to pick up a lot of paint in one scoop. You can control how much paint you pick up by using the edge of the knife to first pull some paint out from the edge of the puddle.
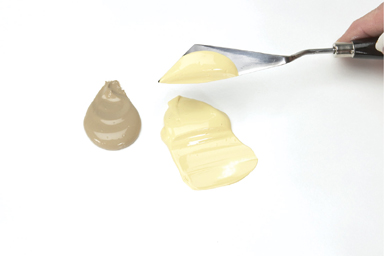
2. Scoop the paint onto the bottom of the blade from the edge of the puddle, not the middle. This is about how much paint should be on the blade if you are loading just a single color. Note that the blade is not entirely covered with paint—you can still see the pointed tips and the inside edge.
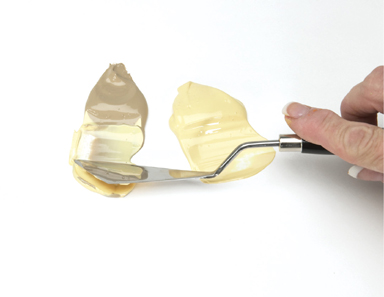
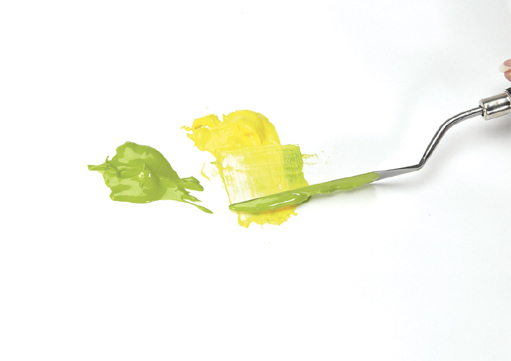
3. To double-load a wide palette knife, turn the blade back over and pull some paint out from the edge of the puddle of the second color, just as you did for the first color.
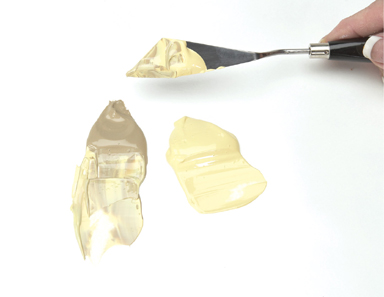
4. Now you can see the two colors properly loaded on the bottom of the blade. Because the High Definition paint we’re using is thicker than regular acrylic paints, it won’t drip or run off your knife. You can load your knife on the palette and move to the canvas without losing any paint!

1. I load a narrow palette knife differently than I do the wide knife simply because the blade is long and narrow and therefore holds less paint. First, tap the bottom of the blade into your first puddle of paint.

2. Tap all the way up to the tip so the entire bottom is covered. Again, the High Definition paint is thick enough that the paint won’t run or drip off your knife.
3. If you want to double-load your narrow palette knife, turn the blade to its outside edge and pull from the edge of the second color using a gentle scraping motion of the tip end.

4. This is how a narrow palette knife looks when it is properly double-loaded. I use this technique to apply thick paint anywhere there is an area too small for a brush or the wide knife or where I need to add details. The rounded point of the tip makes it easy to get into tight places.
1. You can achieve several interesting effects using a palette knife because of its shape and the different kinds of edges it has. Here, I’m using one of the long thin edges to tap on narrow lines of paint, a great way to create distant hills or fields or waves in water.
2. To add texture to a painted area, while the paint is still wet, tap the bottom of the blade lightly into the paint to lift it up into little pebbles and points. Try this if you have large grassy areas that need some interest.

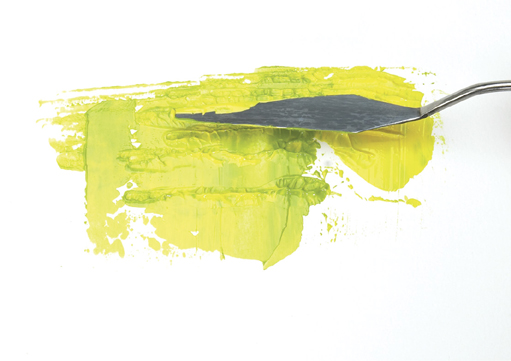
3. I often use a wide palette knife to blend large amounts of color on my palette—it’s faster and easier than using a brush because you can scrape up the paint and turn it over and over until it is smooth and evenly blended, much like using a spatula in a bowl of batter.

4. Once your colors are blended on the palette, wipe off the knife using a paper towel. Come back to your color mixture and pick up a small amount on the edge of the blade.

5. Use the edge of the wide palette knife to draw vertical or horizontal elements such as tree trunks and branches, tall flower stalks, and anything that needs to look rough and uneven.