

The Old Army revolver, manufactured by Sturm, Ruger, … Co., is a completely modern weapon manufactured using cast steel components and coil springs. It was the finest production percussion revolver ever made and certainly the strongest. Unfortunately, the Old Army revolver is no longer in production, but plenty are available on the used market.

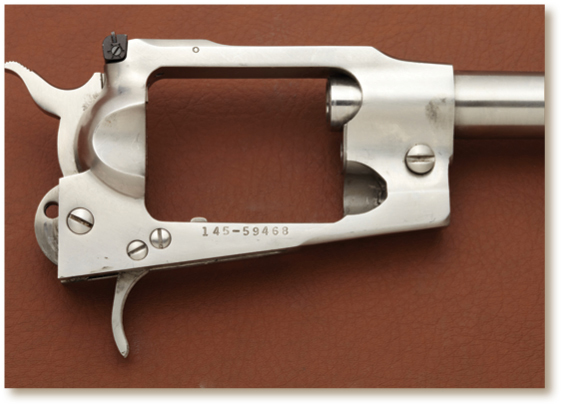
Begin disassembly by partially lowering the loading lever. Turn the large screw located on the right side of the frame between the barrel and the plunger a quarter-turn counterclockwise until it stops. Do not attempt to remove this screw. Its only function is to retain the cylinder pin and loading lever assembly.
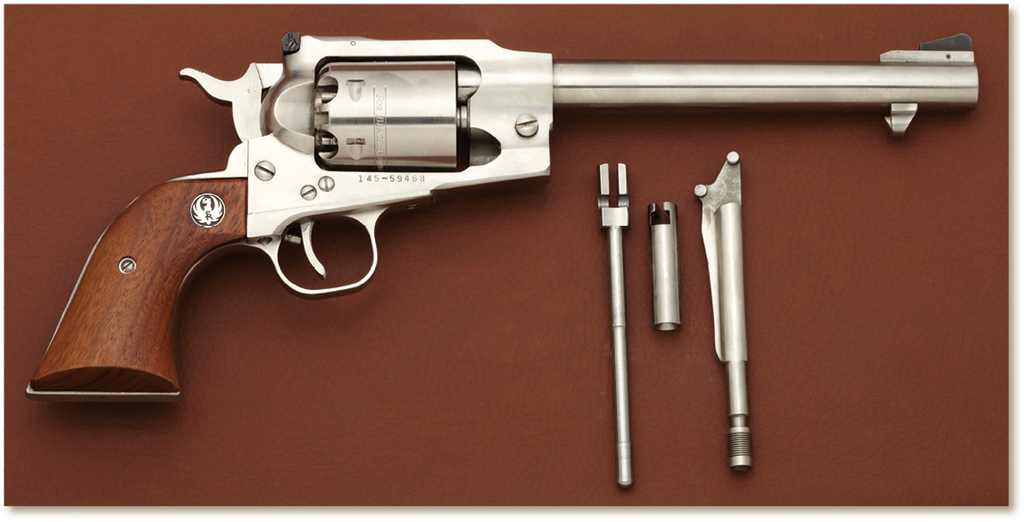
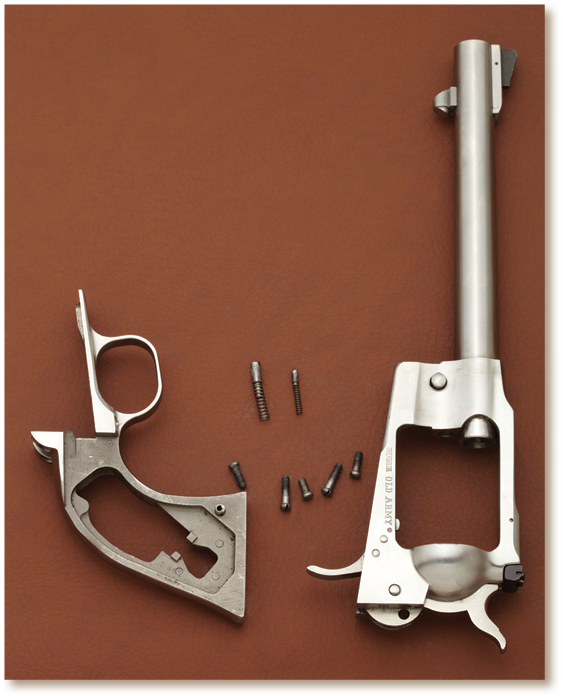
Lower the loading lever to 90 degrees straight down and pull the lever to the right. The center pin and plunger should easily slide out of their channels, allowing the entire group of parts to be removed, as shown here.
The architecture of the loading lever, plunger, and center pin was a real innovation. These three parts are only joined together by their relationship to each other and the locking screw in the frame. Once removed, they will separate easily into their individual parts. This facilitates the thorough cleaning necessary with blackpowder.

Place the hammer on half-cock and rotate the cylinder clockwise, as it is lifted from the frame. Note that the nipples on the Ruger Old Army are not like the nipples found on other replica percussion revolvers, and the nipple wrench for the Ruger is a hex nut driver. If a nipple becomes damaged, replacement nipples can be purchased from several manufacturers of blackpowder accessories.

Remove the two-piece stocks from the grip frame and set them aside.

The main spring on the Old Army is a coil spring, instead of the flat leaf springs seen in the other replicas detailed earlier. This was another major innovation Ruger incorporated in its single-action revolvers. Coil springs make these revolvers much less prone to breakage than revolvers that use traditional leaf springs.
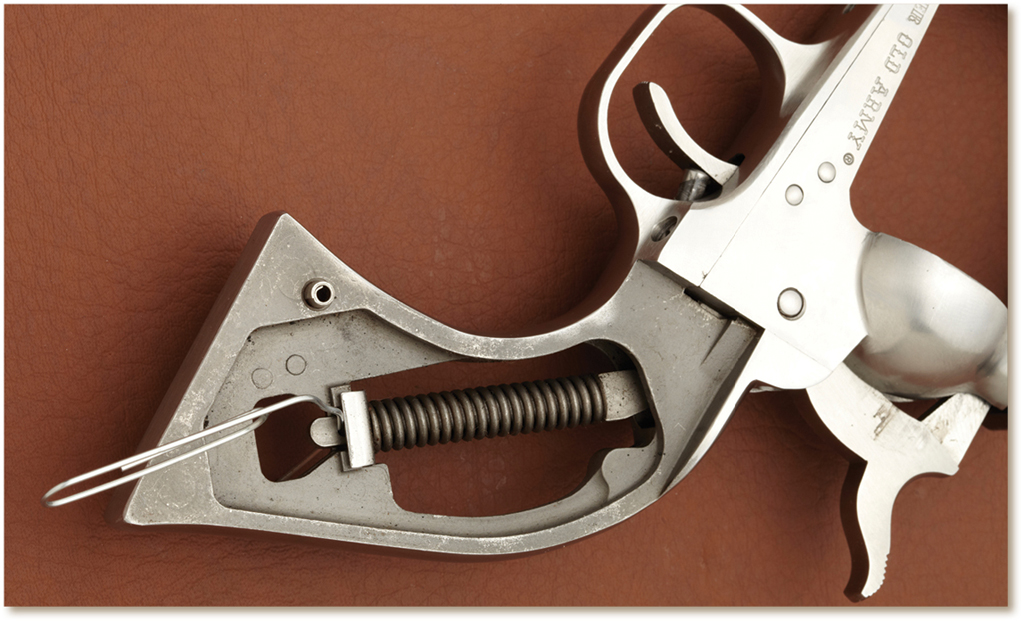
To remove the main spring assembly, pull the hammer back to full-cock. This exposes a small hole at the end of the guide rod that passes down through the center of the main spring. Push a small nail or piece of stiff wire through the hole in the guide rod.

Decock the revolver, using the thumb technique described previously, and allow the hammer to return to the normal resting position. This removes the tension from the main spring assembly, because the main spring is trapped by the wire through the guide rod. Lift up the spring assembly, until the small bracket at the bottom can be removed from the left side of the frame.

The main spring assembly can now be set aside.
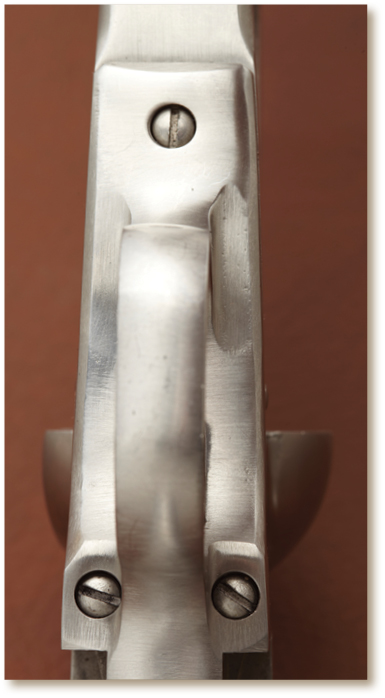
The Old Army has five frame screws, three on the bottom shown here, and two on the rear of the frame next to the hammer. Remove the bottom screws first, starting with the one in front of the trigger guard.
The two sections of the frame have additional small coil springs that are critical to the action. As the frame screws are removed, tension must be maintained, to keep the sections of the frame from separating before the last screw is removed. A “jumping” spring can waste a huge amount of time, in the search to recover it.

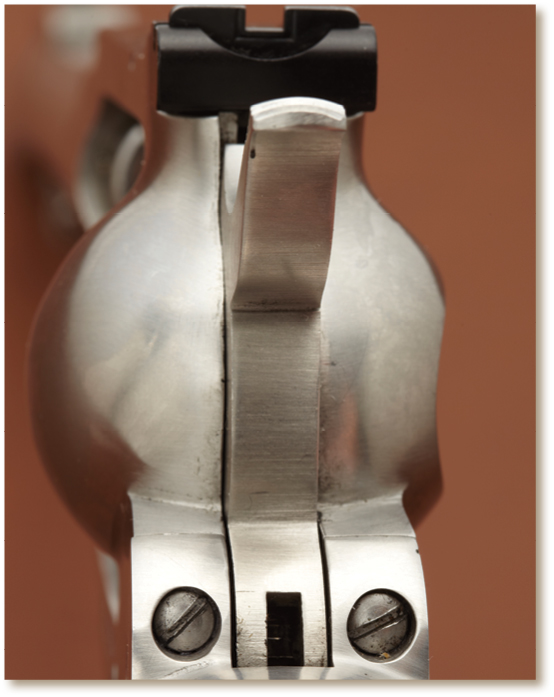
The trigger spring is one of the two springs retained by the frame sections. The plunger it presses on is visible behind the trigger, When the bottom section of the frame is removed, the plunger will slide down the length of the trigger. This can be released suddenly, when the end of the trigger passes the end of the plunger.

The second spring is the pawl plunger spring. It moves in a channel just above the left frame screw next to the hammer. This spring is tricky to work with, because the wire is very thin and can be deformed easily with rough handling. It is also the spring end of the plunger assembly that will be exposed first when the frame is separated.
Once the frame pieces are apart, the spring and plunger can easily be pulled from their channel. When reassembling the frame, make sure the entire spring is compressed into its channel and that none of it gets pinched between the frame sections.
The frame screws and plungers. The frame screws have been laid out in relation to the holes they were removed from. This is a good practice, when working on any gun, because some screws do more than hold pieces together and they must go back into the same holes they were taken from, in order, so that the firearm will work properly. The pawl spring plunger is the smaller spring on the right. Note how small it is in relation to the trigger spring plunger and frame screws.
The action parts are held in place by three screws on the lower right side of the frame. Left to right, they are the hammer, trigger, and bolt screws.

The internal parts are easy to identify:
The bolt spring is of the “mouse trap” variety and only controls the bolt. Traditional flat springs have two fingers that control the trigger and bolt. Ruger’s design separated the springs, improving longevity.

Remove the trigger screw and lift out the trigger. Shown here is the anchor point where the bolt spring connects to the frame. Note that the other end of the spring hooks over the bolt, to provide tension. A small screwdriver or knife blade should be inserted between the spring leg and the frame and moved toward the tip of the spring’s leg. This should free it, relieving tension on the spring.

Remove the hammer screw and slide the hammer and pawl from the bottom of the frame. The pawl can now be separated from the hammer by sliding the pin on the bottom of the pawl out of the hole in the hammer.

All the action parts have now been removed and disassembly is complete. Assembly happens in the reverse order.

The Colt Paterson was the first model produced by Samuel Colt and Presentation Paterson pistols are of the rarest commodity known to firearms collectors. Shown here lot 1086 - A Cased Presentation Colt No. 3 Belt Model Paterson Revolver with Original and Full Compliment of Accessories — $275,000-$450,000(Photo courtesy of Rock Island Auctions)