Start Your Own Flower Garden
If you are looking to grow a beautiful garden full of flowers, just follow these simple steps to achieve the perfect beginner’s flower garden.
Start with a Small Garden
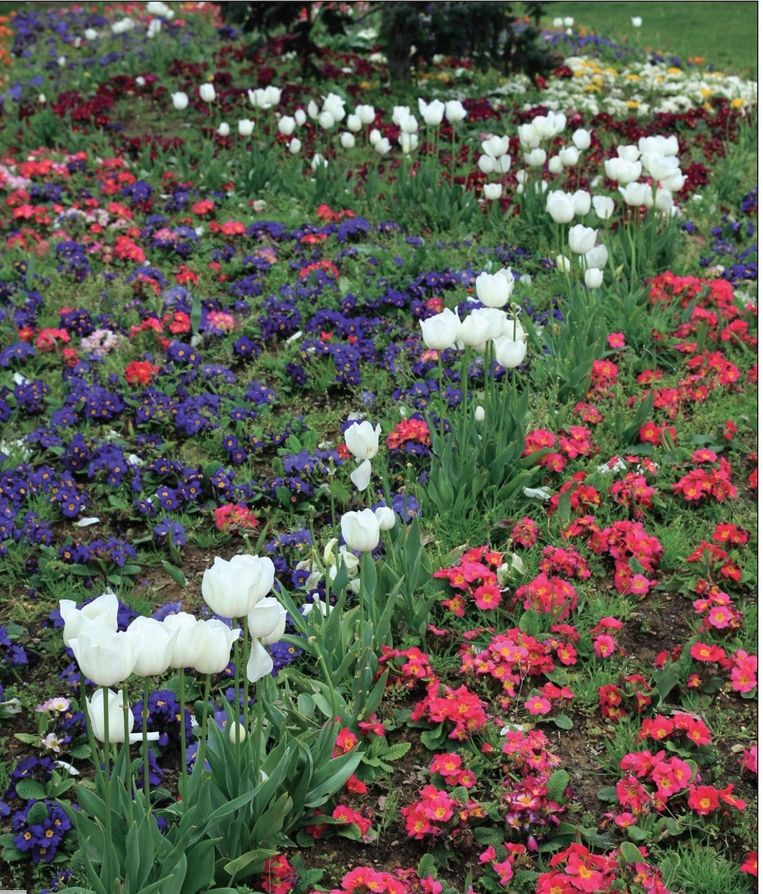
Gardening takes a lot of work, and so for the beginner gardener, tackling a large garden can be overwhelming. Start with a small flowerbed around 25 square feet. This will provide you with room for about twenty to thirty plants—enough room for three types of annuals and two types of perennials. As your gardening experience grows, so can the size of your garden!
If you want to start even smaller, you can begin your first flower garden in a container, or create a border from treated wood or bricks and stones around your existing bed. That way, when you are ready to expand your garden, all you need to do is remove the temporary border and you’ll be all set. Even a small container filled with a few different types of plants can be a wonderful addition to any yard.
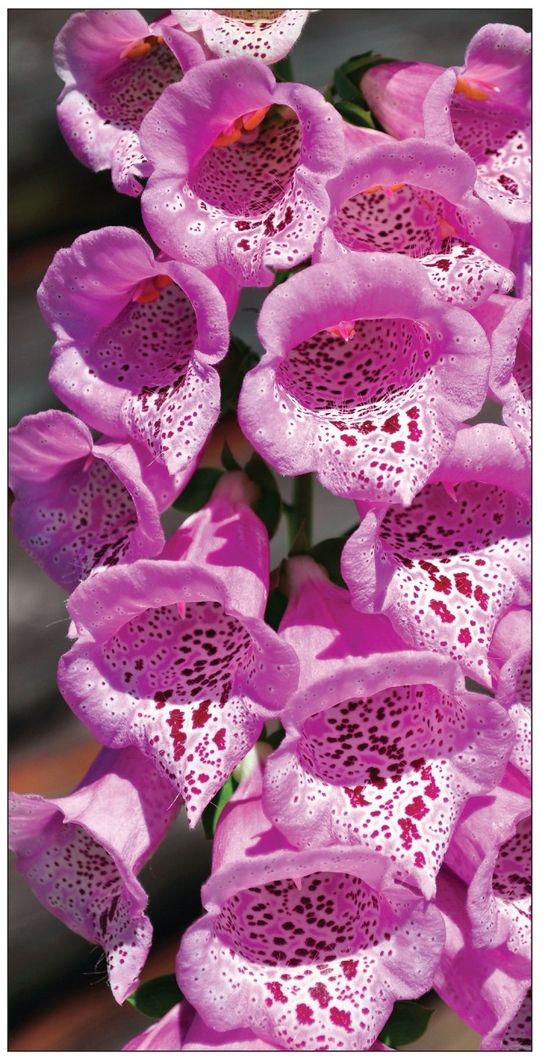
Plan Your Flower Garden
Draw up a plan of how you’d like your garden to look, and then dig a flowerbed to fit that plan. Planning your garden before gathering the seeds or plants and beginning the digging can give you a clearer sense of how your garden will be organized and can facilitate the planting process.
Choose a Spot for Your Garden
It is important, when choosing where your flower garden will be located, that you consider an area that receives at least six hours of direct sunlight per day, as this will be adequate for a large variety of garden plants. Be careful that you will not be digging into utility lines or pipes, and that you place your garden at least a short distance away from fences or other structures.
If you live in a part of the country that is quite hot, it might be beneficial for your flowers to be placed in an area that gets some shade during the hot afternoon sun. Placing your garden on the east side of your home will help your flowers flourish. If your garden will get more than six hours of sunlight per day, it would be wise to choose flowers that thrive in hot, sunny spaces, and make sure to water them frequently.
It is also important to choose a spot that has good, fertile soil in which your flowers can grow. Try to avoid any areas with rocky, shallow soil or where water collects and pools. Make sure your garden is away from large trees and shrubs, as these plants will compete with your flowers for water and nutrients. If you are concerned that your soil may not contain enough nutrients for your flowers to grow properly, you can have a soil test done, which will tell you the pH of the soil. Depending on the results, you can then adjust the types of nutrients needed in your soil by adding organic materials or certain types of fertilizers.
Start Digging
Now that you have a site picked out, mark out the boundaries with a hose or string. Remove the sod and any weed roots that may re-grow. Use your spade or garden fork to dig up the bed at least 8 to 12 inches deep, removing any rocks or debris you come across.
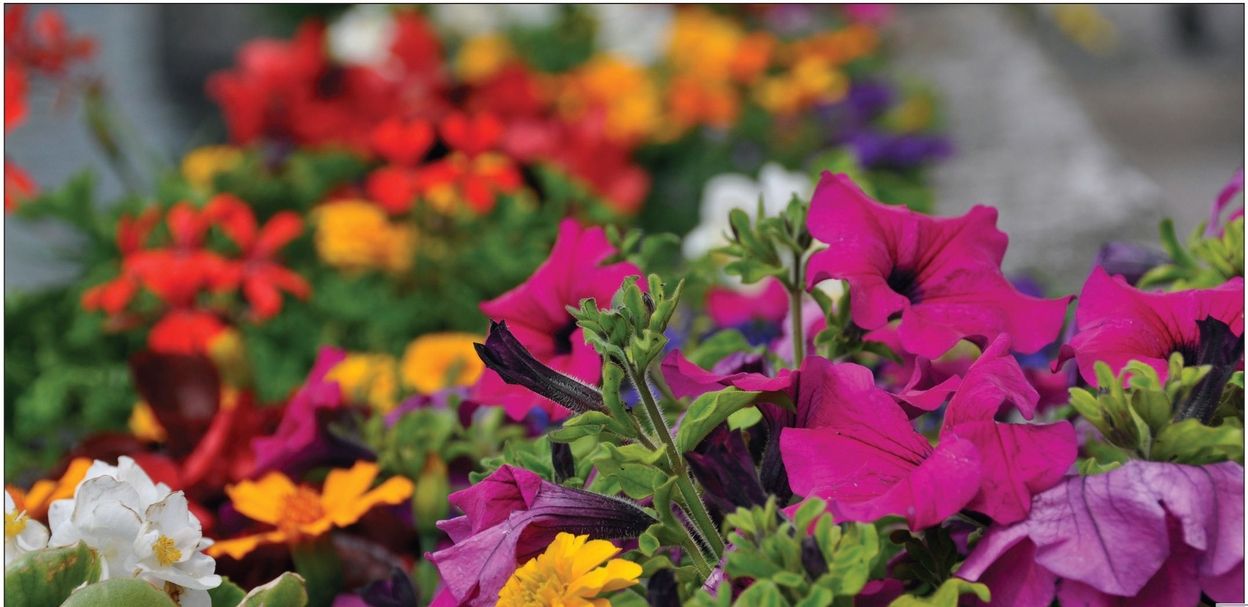
Once your bed is dug, level it and break up the soil with a rake. Add compost or manure if the soil is not fertile. If your soil is sandy, adding peat moss or grass clippings will help it hold more water. Work any additions into the top 6 inches of soil.
Step Five: Purchase Your Seeds or Plants
Once you’ve chosen which types of flowers you’d like to grow in your garden, visit your local garden store or nursery and pick out already-established plants or packaged seeds. Follow the planting instructions on the plant tabs or seed packets. The smaller plants should be situated in the front of the bed. Once your plants or seeds are in their holes, pack in the soil around them. Make sure to leave ample space between your seeds or plants for them to grow and spread out (most labels and packets will alert you to how large your flower should be expected to grow, so you can adjust the spacing as needed).
Step Six: Water Your Flower Garden
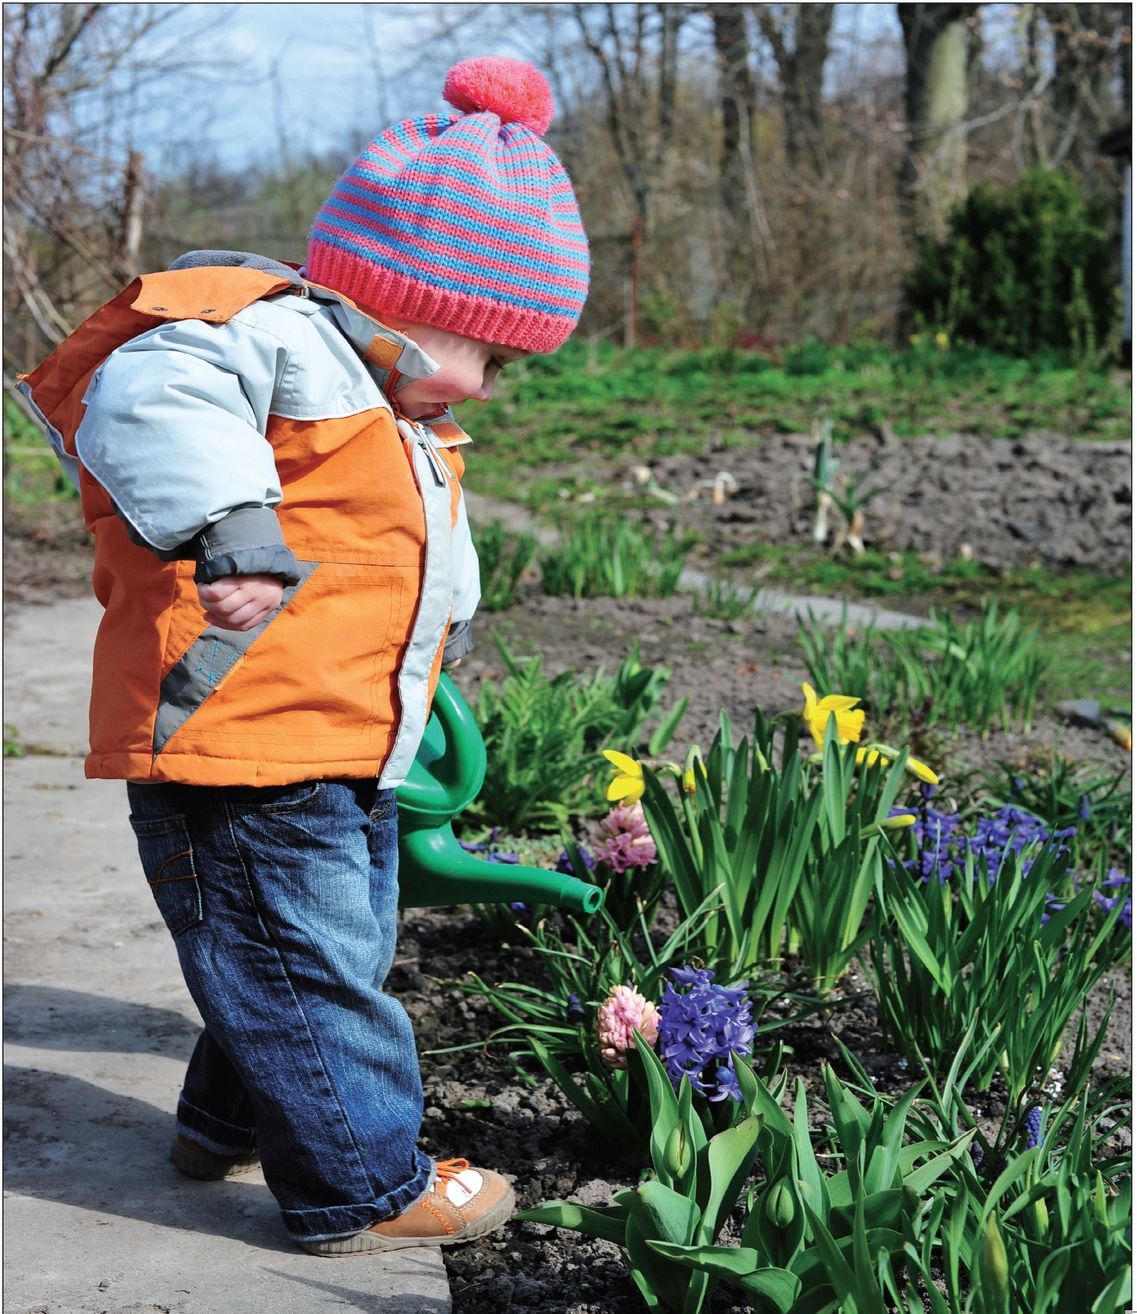
After your plants or seeds are first put into the ground, be sure they get a thorough watering. Then, continue to check your garden to see whether or not the soil is drying out. If so, give your garden a good soaking with the garden hose or watering can. The amount of water your garden needs is dependant on the climate you live in, the exposure to the sun, and how much rain your area has received.
Step Seven: Cutting Your Flowers
Once your flowers begin to bloom, feel free to cut them and display the beautiful blooms in your home. Pruning your flower garden (cutting the dead or dying blooms off the plant) will help certain plants to re-bloom. Also, if you have plants that are becoming top heavy, support them with a stake and some string so you can enjoy their blossoms to the fullest.
Things to Consider
- Annuals are plants that you need to replant every year. They are often inexpensive, and many have brightly colored flowers. Annuals can be rewarding for beginner gardeners, as they take little effort and provide lovely color to your garden. The following season, you’ll need to replant or start over from seed.
- Perennials last from one year to the next. They, too, will require annual maintenance but not yearly replanting. Perennials may require division, support, and extra care during winter months. Perennials may also need their old blooms and stems pruned and cut back every so often.
- Healthy, happy plants tend not to be as susceptible to pests and diseases. Here, too, it is easier to practice prevention rather than curing existing problems. Do your best to give your plants good soil, nutrients, and appropriate moisture, and choose plants that are well suited to your climate. This way, your garden will be more likely to grow to its maximum potential and your plants will be strong and healthy.
THE JUNIOR HOMESTEADER
Plan a Garden Party
A party in the garden is a great way to celebrate a birthday, last day of school, or other special event. And it will show kids how much fun gardens can be. For invitations, cut large flower shapes out of construction paper and let the kids paste pictures from seed catalogs or gardening magazines onto one side. On the other side, write the date, time, and place of your party. The garden itself will serve as a beautiful backdrop for your celebration, but if you want to go further, choose seasonal decorations such as bouquets of lilacs and apple blossoms in spring, daisy chains in summer, and pumpkins and corn stalks in fall. Once at the party, kids will enjoy decorating their own clay flowerpots by painting them with acrylic paints or, for older kids, using a glue gun to attach stones or beads to the outsides of the pots. Then provide seeds and soil so they can bring a potted plant home and watch it grow. Have a contest to see who can make the most creative faces or sculptures out of fresh produce—and then eat the fun creations! Scavenger hunts are always a hit. Provide a chart showing different types of leaves, grasses, and flowers and see who can find all the items and check them off the chart first. Kids will enjoy coming up with their own games, too. Just spending time together in the garden will create lasting fun memories.
PLANTERS
Barrel Plant Holder
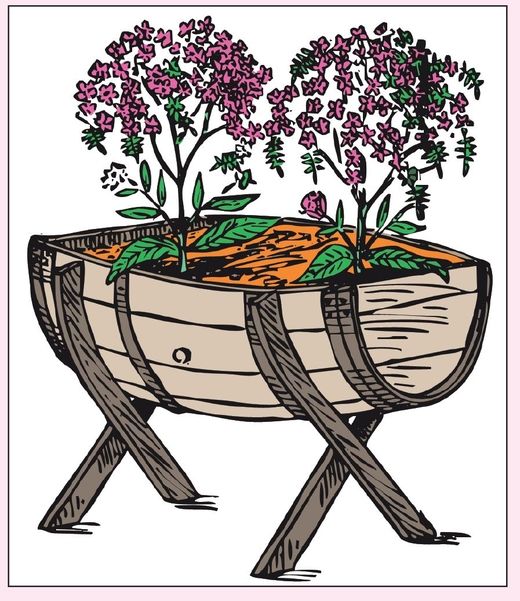
If you have some perennials you want to display in your yard away from your flower garden you can create a planter out of an old barrel. This plant holder is made by sawing an old barrel (wooden or metal) into two pieces and mounting it on short or tall legs—whichever design fits better in your yard. You can choose to either paint it or leave it natural. Filling the planter with good quality soil and compost and planting an array of multi-colored flowers into the barrel planters will brighten up your yard all summer long. If you do not want to mount the barrel on legs, it can be placed on the ground on a smooth and level surface where it won’t easily tip over.
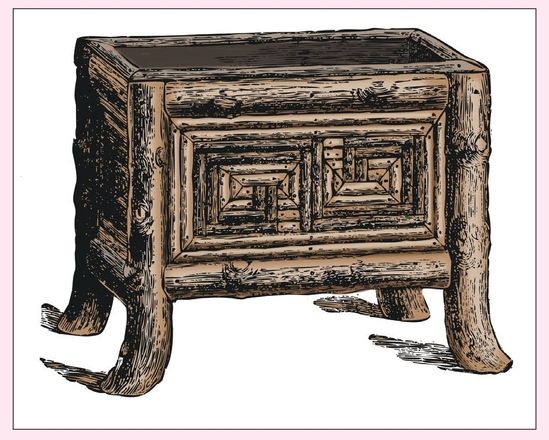
Rustic Plant Stand
If you’d like to incorporate a rustic, natural-looking plant stand in your garden or on your patio or deck, one can easily be made from a preexisting wooden box or by nailing boards together. This box should be mounted on legs. To make the legs, saw the piece of wood meant for the leg in half to a length from the top equal to the depth of the box. Then, cross-cut and remove one half. The corner of the box can then be inserted in the middle of the crosscut and the leg nailed to the side of the box.
The plant stand can be decorated to suit your needs and preference. You can nail smaller, alternating twigs or cut branches around the stand to give it a more natural feel or you can simply paint it a soothing, natural color and place it in your yard.
Wooden Window Box
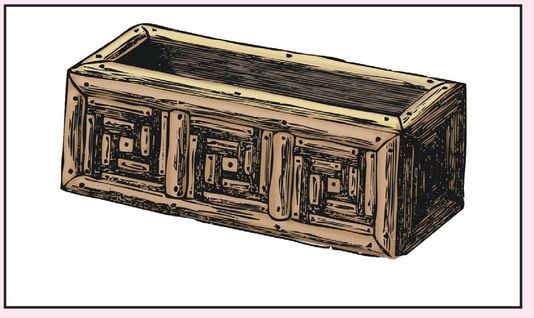
Planting perennial flowers and cascading plants in window boxes is the perfect way to brighten up the front exterior of your home. Making a simple wooden window box to hold your flowers and plants is quite easy. These boxes can be made from preexisting wooden boxes (such as fruit crates) or you can make your own out of simple boards. Whatever method you choose, make sure the boards are stout enough to hold the brads firmly.
The size of your window will ultimately determine the size of your box, but this plan calls for a box roughly 21 x 7 x 7 inches (fig. 14). You can decorate your boxes with waterproof paint or you can nail strips of wood or sticks to the panels. Make sure to cut a few holes in the bottom of the box to allow for water drainage. Figure 16 shows the wedge pieces that are fitted to the stone or cement sill to bring the box completely level. The window box can be kept in position by two metal angle pieces screwed to the wood sill and to the back of the box.
