Drying and Freezing
Drying
Drying fruits, vegetables, herbs, and even meat is a great way to preserve foods for longer-term storage, especially if your pantry or freezer space is limited. Dried foods take up much less space than their fresh, frozen, or canned counterparts. Drying requires relatively little preparation time, and is simple enough that kids will enjoy helping. Drying with a food dehydrator will ensure the fastest, safest, and best quality results. However, you can also dry produce in the sunshine, in your oven, or strung up over a woodstove.
For more information on food drying, check out So Easy to Preserve, 5th ed. from the Cooperative Extension Service, the University of Georgia. Much of the information that follows is adapted from this excellent source.
Drying with a Food Dehydrator
Food dehydrators use electricity to produce heat and have a fan and vents for air circulation. Dehydrators are efficiently designed to dry foods fast at around 140°F. Look for food dehydrators in discount department stores, mailorder catalogs, the small appliance section of a department store, natural food stores, and seed or garden supply catalogs. Costs vary depending on features. Some models are expandable and additional trays can be purchased later. Twelve square feet of drying space dries about a half-bushel of produce.

Dehydrator Features to Look For
- Double-wall construction of metal or high-grade plastic. Wood is not recommended, because it is a fire hazard and is difficult to clean.
- Enclosed heating elements
- Countertop design
- An enclosed thermostat from 85 to 160°F
- Fan or blower
- Four to ten open mesh trays made of sturdy, lightweight plastic for easy washing
- Underwriters Laboratory (UL) seal of approval
- A one-year guarantee
- Convenient service
- A dial for regulating temperature
- A timer. Often the completed drying time may occur during the night, and a timer turns the dehydrator off to prevent scorching.
Types of Dehydrators
There are two basic designs for dehydrators. One has horizontal air flow and the other has vertical air flow. In units with horizontal flow, the heating element and fan are located on the side of the unit. The major advantages of horizontal flow are: it reduces flavor mixture so several different foods can be dried at one time; all trays receive equal heat penetration; and juices or liquids do not drip down into the heating element. Vertical air flow dehydrators have the heating element and fan located at the base. If different foods are dried, flavors can mix and liquids can drip into the heating element.
Fruit Drying Procedures
Apples—Select mature, firm apples. Wash well. Pare, if desired, and core. Cut in rings or slices ⅛ to ¼ inch thick or cut in quarters or eighths. Soak in ascorbic acid, vinegar, or lemon juice for ten minutes. Remove from solution and drain well. Arrange in single layer on trays, pit side up. Dry until soft, pliable, and leathery; there should be no moist area in center when cut.
Apricots—Select firm, fully ripe fruit. Wash well. Cut in half and remove pit. Do not peel. Soak in ascorbic acid, vinegar, or lemon juice for ten minutes. Remove from solution and drain well. Arrange in single layer on trays, pit side up with cavity popped up to expose more flesh to the air. Dry until soft, pliable, and leathery; there should be no moist area in center when cut.
Bananas—Select firm, ripe fruit. Peel. Cut in ⅛-inch slices. Soak in ascorbic acid, vinegar, or lemon juice for ten minutes. Remove and drain well. Arrange in single layer on trays. Dry until tough and leathery.


Berries—Select firm, ripe fruit. Wash well. Leave whole or cut in half. Dip in boiling water thirty seconds to crack skins. Arrange on drying trays not more than two berries deep. Dry until hard and berries rattle when shaken on trays.
Cherries—Select fully ripe fruit. Wash well. Remove stems and pits. Dip whole cherries in boiling water thirty seconds to crack skins. Arrange in single layer on trays. Dry until tough, leathery, and slightly sticky.
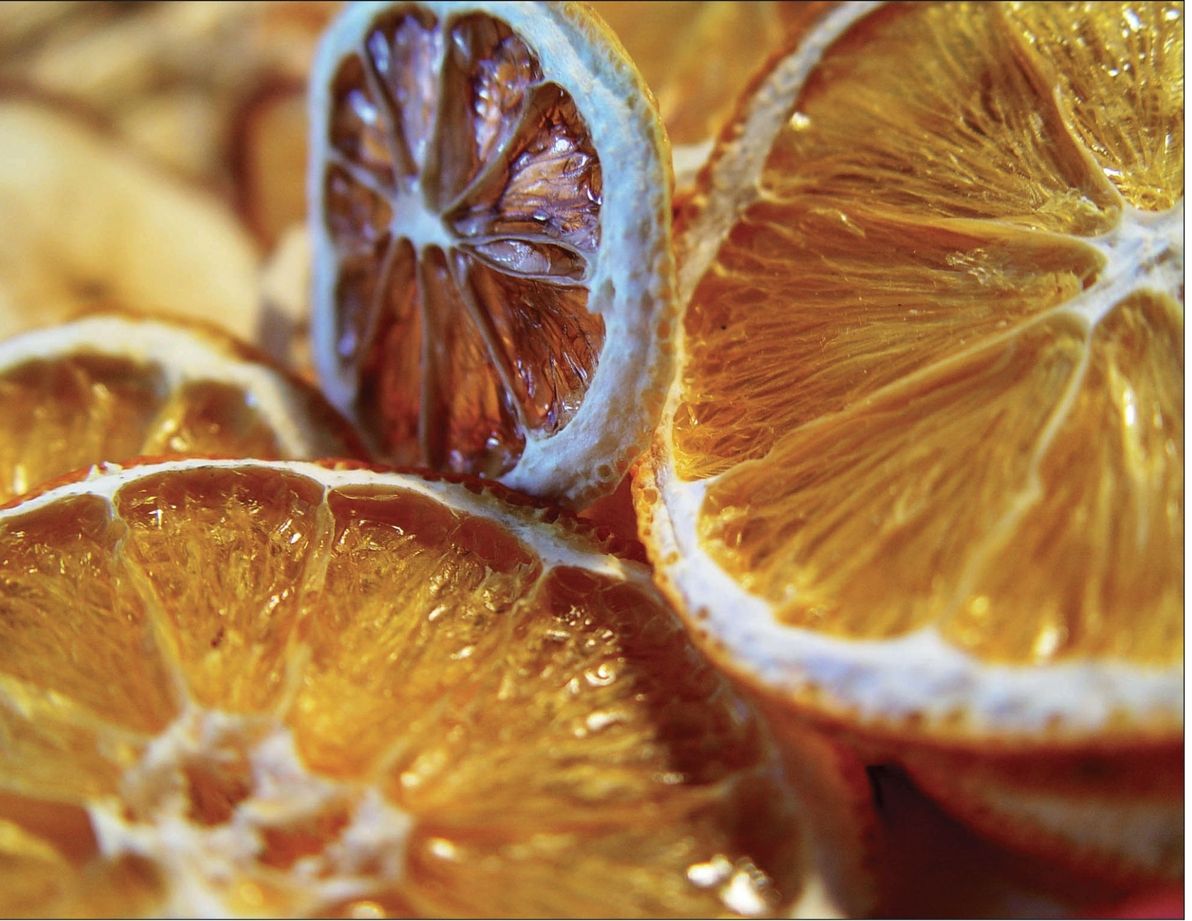
Citrus peel—Select thick-skinned oranges with no signs of mold or decay and no color added to skin. Scrub oranges well with brush under cool running water. Thinly peel outer  to ⅛ inch of the peel; avoid white bitter part. Soak in ascorbic acid, vinegar, or lemon juice for ten minutes. Remove from solution and drain well. Arrange in single layers on trays. Dry at 130°F for one to two hours; then at 120°F until crisp.

Figs—Select fully ripe fruit. Wash or clean well with damp towel. Peel dark-skinned varieties if desired. Leave whole if small or partly dried on tree; cut large figs in halves or slices. If drying whole figs, crack skins by dipping in boiling water for thirty seconds. For cut figs, soak in ascorbic acid, vinegar, or lemon juice for ten minutes. Remove and drain well. Arrange in single layers on trays. Dry until leathery and pliable.
Grapes and black currants—Select seedless varieties. Wash, sort, and remove stems. Cut in half or leave whole. If drying whole, crack skins by dipping in boiling water for thirty seconds. If halved, dip in ascorbic acid or other antimicrobial solution for ten minutes. Remove and drain well. Dry until pliable and leathery with no moist center.
Melons—Select mature, firm fruits that are heavy for their size; cantaloupe dries better than watermelon. Scrub outer surface well with brush under cool running water. Remove outer skin, any fibrous tissue, and seeds. Cut into ¼- to ½-inch-thick slices. Soak in ascorbic acid, vinegar, or lemon juice for ten minutes. Remove and drain well. Arrange in single layer on trays. Dry until leathery and pliable with no pockets of moisture.

Nectarines and peaches—Select ripe, firm fruit. Wash and peel. Cut in half and remove pit. Cut in quarters or slices if desired. Soak in ascorbic acid, vinegar, or lemon juice for ten minutes. Remove and drain well. Arrange in single layer on trays, pit side up. Turn halves over when visible juice disappears. Dry until leathery and somewhat pliable.
Pears—Select ripe, firm fruit. Bartlett variety is recommended. Wash fruit well. Pare, if desired. Cut in half lengthwise and core. Cut in quarters, eighths, or slices ⅛ to ¼ inch thick. Soak in ascorbic acid, vinegar, or lemon juice for ten minutes. Remove and drain. Arrange in single layer on trays, pit side up. Dry until springy and suede-like with no pockets of moisture.
Plums and prunes—Wash well. Leave whole if small; cut large fruit into halves (pit removed) or slices. If left whole, crack skins in boiling water one to two minutes. If cut in half, dip in ascorbic acid or other antimicrobial solution for ten minutes. Remove and drain. Arrange in single layer on trays, pit side up, cavity popped out. Dry until pliable and leathery; in whole prunes, pit should not slip when squeezed.
Fruit Leathers
Fruit leathers are a tasty and nutritious alternative to store-bought candies that are full of artificial sweeteners and preservatives. Blend the leftover fruit pulp from making jelly or use fresh, frozen, or drained canned fruit. Ripe or slightly overripe fruit works best.
Chances are the fruit leather will get eaten before it makes it into the cupboard, but it can keep up to one month at room temperature. For storage up to one year, place tightly wrapped rolls in the freezer.
SPICES, FLAVORS, AND GARNISHES
To add interest to your fruit leathers, include spices, flavorings, or garnishes.
- Spices to try—Allspice, cinnamon, cloves, coriander, ginger, mace, mint, nutmeg, or pumpkin pie spice. Use sparingly; start with ⅛ teaspoon for each 2 cups of purée.
- Flavorings to try—Almond extract, lemon juice, lemon peel, lime juice, lime peel, orange extract, orange juice, orange peel, or vanilla extract. Use sparingly; try ⅛ to ¼ teaspoon for each 2 cups of purée.
- Delicious additions to try—Shredded coconut, chopped dates, other dried chopped fruits, granola, miniature marshmallows, chopped nuts, chopped raisins, poppy seeds, sesame seeds, or sunflower seeds.
- Fillings to try—Melted chocolate, softened cream cheese, cheese spreads, jam, preserves, marmalade, marshmallow cream, or peanut butter. Spread one or more of these on the leather after it is dried and then roll. Store in refrigerator.

Ingredients
- 2 cups fruit
- 2 tsp lemon juice or ⅛ tsp ascorbic acid (optional)
- ¼ to ½ cup sugar, corn syrup, or honey (optional)
Directions
- Wash fresh fruit or berries in cool water. Remove peel, seeds, and stem.
- Cut fruit into chunks. Use 2 cups of fruit for each 13 x 15-inch inch fruit leather. Purée fruit until smooth.
- Add 2 teaspoons of lemon juice or ⅛ teaspoon ascorbic acid (375 mg) for each 2 cups light-colored fruit to prevent darkening.
- Optional: To sweeten, add corn syrup, honey, or sugar. Corn syrup or honey is best for longer storage because these sweeteners prevent crystals. Sugar is fine for immediate use or short storage. Use ¼ to ½ cup sugar, corn syrup, or honey for each 2 cups of fruit. Avoid aspartame sweeteners as they may lose sweetness during drying.
- Pour the leather. Fruit leathers can be poured into a single large sheet (13 x 15 inches) or into several smaller sizes. Spread purée evenly, about ⅛ inch thick, onto drying tray. Avoid pouring purée too close to the edge of the cookie sheet.
HINTS
- Applesauce can be dried alone or added to any fresh fruit purée as an extender. It decreases tartness and makes the leather smoother and more pliable.
- To dry fruit in the oven, a 13 x 15-inch cookie pan with edges works well. Line pan with plastic wrap, being careful to smooth out wrinkles. Do not use waxed paper or aluminum foil.
- Dry the Leather. Dry fruit leathers at 140°F. Leather dries from the outside edge toward the center. Larger fruit leathers take longer to dry. Approximate drying times are 6 to 8 hours in a dehydrator, up to 18 hours in an oven, and 1 to 2 days in the sun. Test for dryness by touching center of leather; no indentation should be evident. While warm, peel from plastic and roll, allow to cool, and rewrap the roll in plastic. Cookie cutters can be used to cut out shapes that children will enjoy. Roll, and wrap in plastic.
Vegetable Leathers
Pumpkin, mixed vegetables, and tomatoes make great leathers. Just purée cooked vegetables, strain, spread on a tray lined with plastic wrap, and dry. Spices can be added for flavoring.
Mixed Vegetable Leather
- 2 cups cored, cut-up tomatoes
- 1 small onion, chopped
- ¼ cup chopped celery
- Salt to taste
Combine all ingredients in a covered saucepan and cook over low heat 15 to 20 minutes. Purée or force through a sieve or colander. Return to saucepan and cook until thickened. Spread on a cookie sheet or tray lined with plastic wrap. Dry at 140°F.
Pumpkin Leather
- 2 cups canned pumpkin or 2 cups fresh pumpkin, cooked and puréed
- ½ cup honey
- ¼ tsp cinnamon
- ⅛ tsp nutmeg
- ⅛ tsp powdered cloves
- Blend ingredients well. Spread on tray or cookie sheet lined with plastic wrap. Dry at 140°F.

VINE DRYING
One method of drying outdoors is vine drying. To dry beans (navy, kidney, butter, great northern, lima, lentils, and soybeans) leave bean pods on the vine in the garden until the beans inside rattle. When the vines and pods are dry and shriveled, pick the beans and shell them. No pretreatment is necessary. If beans are still moist, the drying process is not complete and the beans will mold if not more thoroughly dried. If needed, drying can be completed in the sun, an oven, or a dehydrator.
Tomato Leather
Core ripe tomatoes and cut into quarters. Cook over low heat in a covered saucepan, fifteen to twenty minutes. Purée or force through a sieve or colander and pour into electric fry pan or shallow pan. Add salt to taste and cook over low heat until thickened. Spread on a cookie sheet or tray lined with plastic wrap. Dry at 140°F.
How to Make a Woodstove Food Dehydrator
- Collect pliable wire mesh or screens (available at hardware stores) and use wire cutters to trim to squares 12 to 16 inches on each side. The trays should be of the same size and shape. Bend up the edges of each square to create a half-inch lip.
- Attach one S hook from the hardware store or a large paperclip to each side of each square (four clips per tray) to attach the trays together.
- Cut four equal lengths of chain or twine that will reach from the ceiling to the level of the top tray. Use a wire or metal loop to attach the four pieces together at the top and secure to a hook in the ceiling above the woodstove. Attach the chain or twine to the hooks on the top tray.
- To use, fill trays with food to dry, starting with the top tray. Link trays together using the S hooks or strong paperclips. When the foods are dried, remove the entire stack and disassemble. Remove the dried food and store.

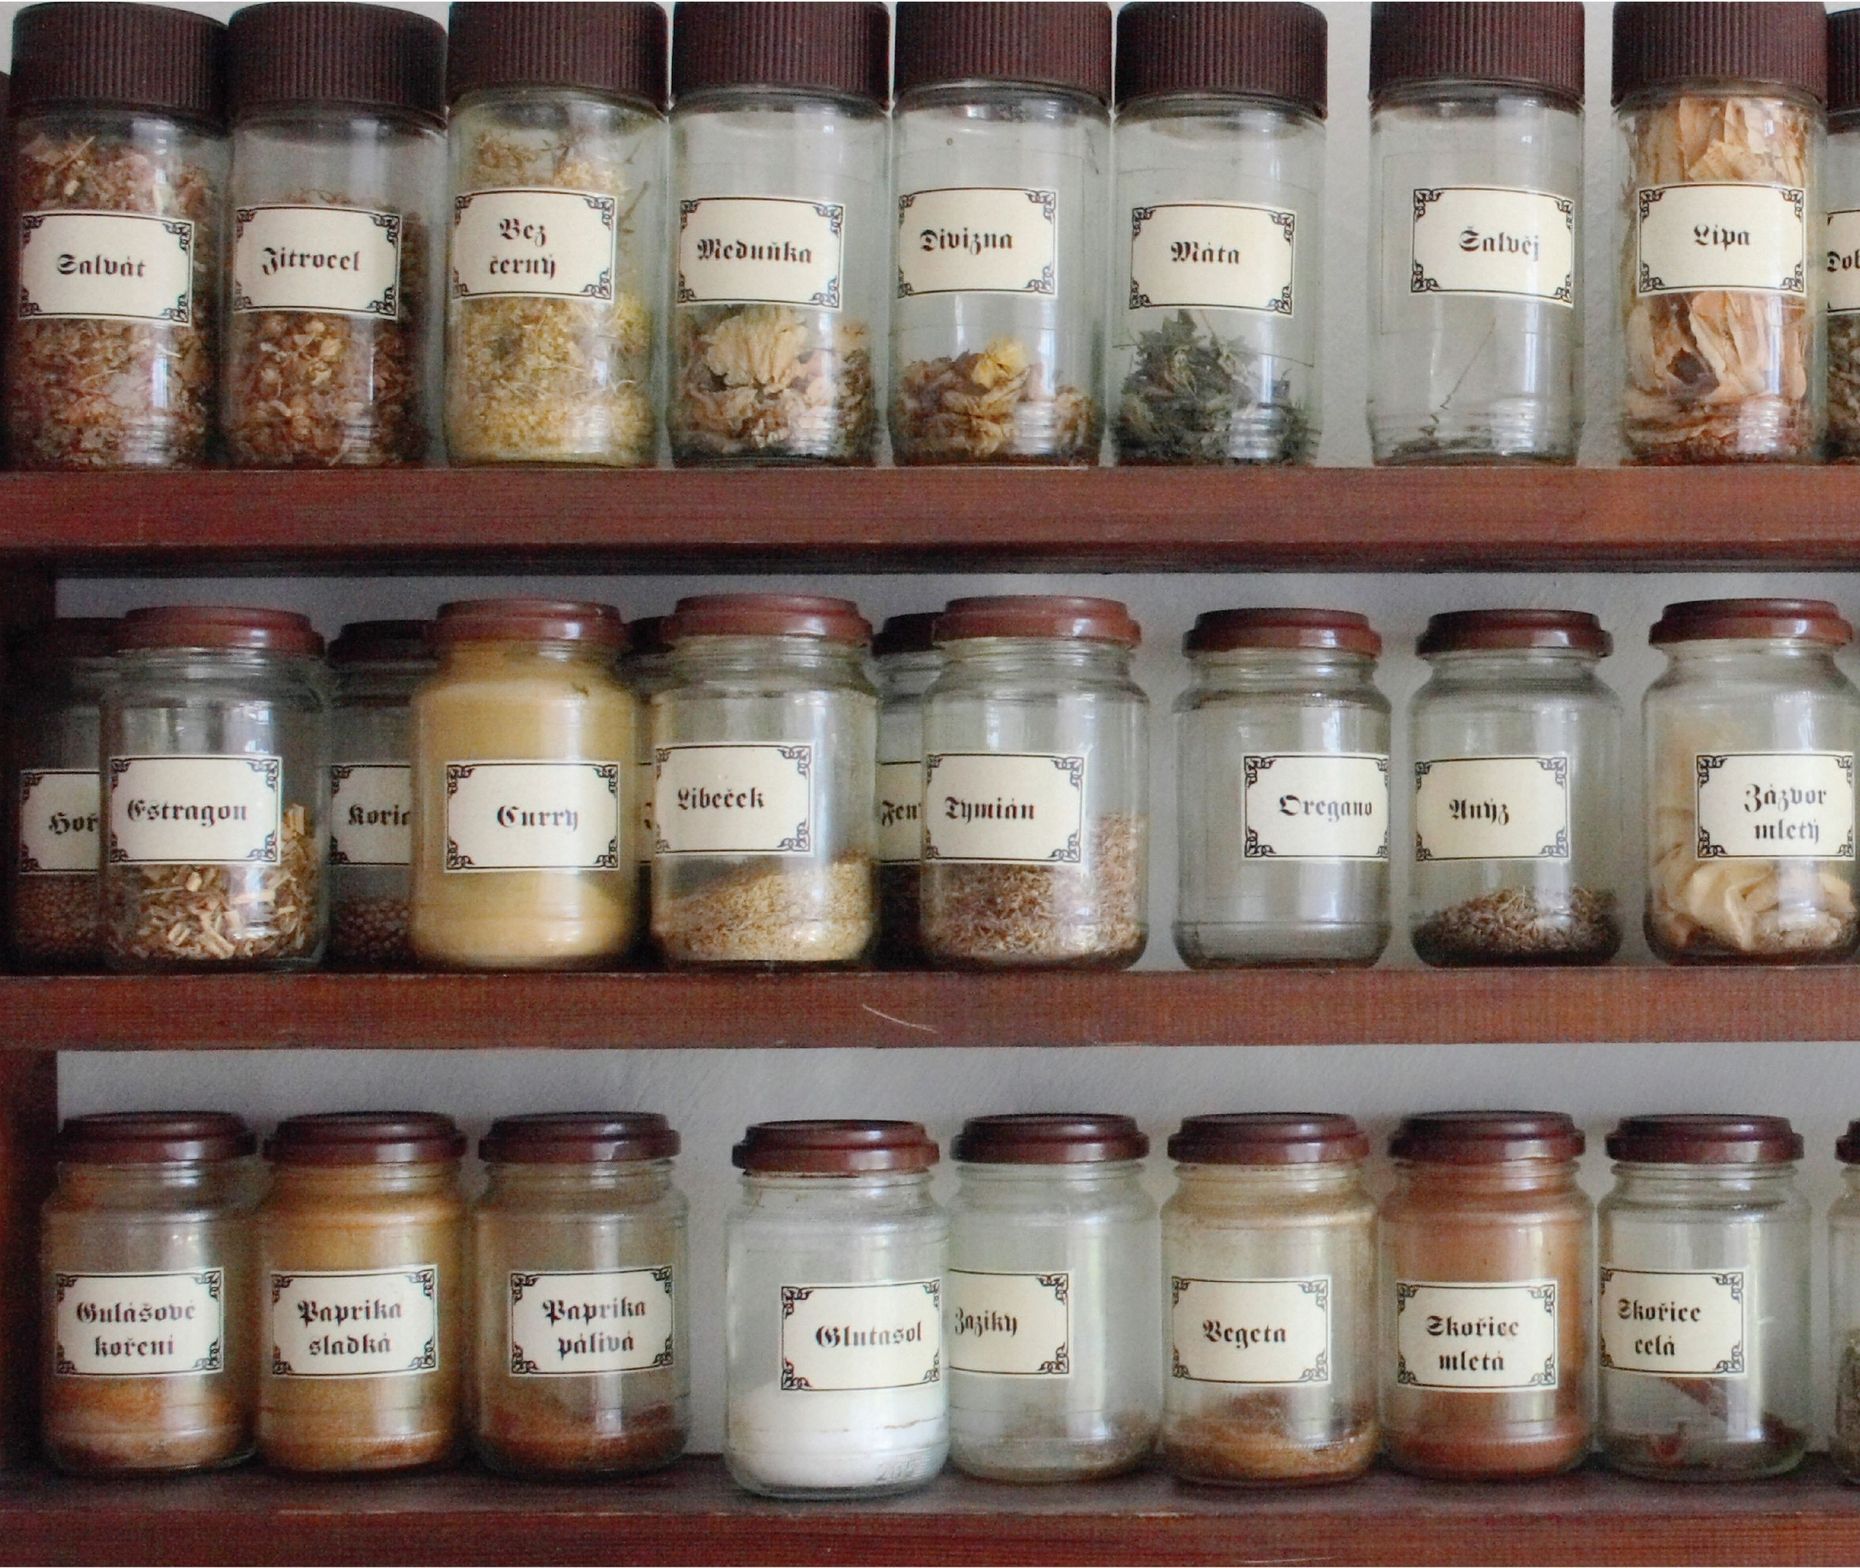
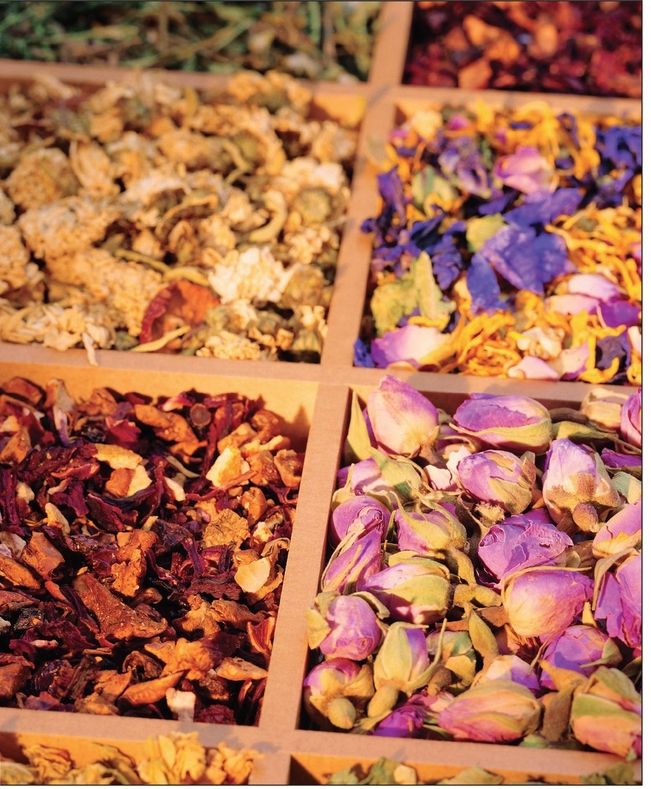
Herbs
Drying is the easiest method of preserving herbs. Simply expose the leaves, flowers, or seeds to warm, dry air. Leave the herbs in a well-ventilated area until the moisture evaporates. Sun drying is not recommended because the herbs can lose flavor and color.


The best time to harvest most herbs for drying is just before the flowers first open when they are in the bursting bud stage. Gather the herbs in the early morning after the dew has evaporated to minimize wilting. Avoid bruising the leaves. They should not lie in the sun or unattended after harvesting. Rinse herbs in cool water and gently shake to remove excess moisture. Discard all bruised, soiled, or imperfect leaves and stems.
Dehydrator drying is another fast and easy way to dry high-quality herbs because temperature and air circulation can be controlled. Preheat dehydrator with the thermostat set to 95 to 115°F. In areas with higher humidity, temperatures as high as 125°F may be needed. After rinsing under cool, running water and shaking to remove excess moisture, place the herbs in a single layer on dehydrator trays. Drying times may vary from one to four hours. Check periodically. Herbs are dry when they crumble, and stems break when bent. Check your dehydrator instruction booklet for specific details.
Less tender herbs—The more sturdy herbs, such as rosemary, sage, thyme, summer savory, and parsley, are the easiest to dry without a dehydrator. Tie them into small bundles and hang them to air dry. Air drying outdoors is often possible; however, better color and flavor retention usually results from drying indoors.
Tender-leaf herbs—Basil, oregano, tarragon, lemon balm, and the mints have a high moisture content and will mold if not dried quickly. Try hanging the tender-leaf herbs or those with seeds inside paper bags to dry. Tear or punch holes in the sides of the bag. Suspend a small bunch (large amounts will mold) of herbs in a bag and close the top with a rubber band. Place where air currents will circulate through the bag. Any leaves and seeds that fall off will be caught in the bottom of the bag.


Another method, especially nice for mint, sage, or bay leaf, is to dry the leaves separately. In areas of high humidity, it will work better than air drying whole stems. Remove the best leaves from the stems. Lay the leaves on a paper towel, without allowing leaves to touch. Cover with another towel and layer of leaves. Five layers may be dried at one time using this method. Dry in a very cool oven. The oven light of an electric range or the pilot light of a gas range furnishes enough heat for overnight drying. Leaves dry flat and retain a good color.
Microwave ovens are a fast way to dry herbs when only small quantities are to be prepared. Follow the directions that come with your microwave oven.
When the leaves are crispy, dry, and crumble easily between the fingers, they are ready to be packaged and stored. Dried leaves may be left whole and crumbled as used, or coarsely crumbled before storage. Husks can be removed from seeds by rubbing the seeds between the hands and blowing away the chaff. Place herbs in airtight containers and store in a cool, dry, dark area to protect color and fragrance.
Dried herbs are usually three to four times stronger than the fresh herbs. To substitute dried herbs in a recipe that calls for fresh herbs, use ¼ to ⅓ of the amount listed in the recipe.

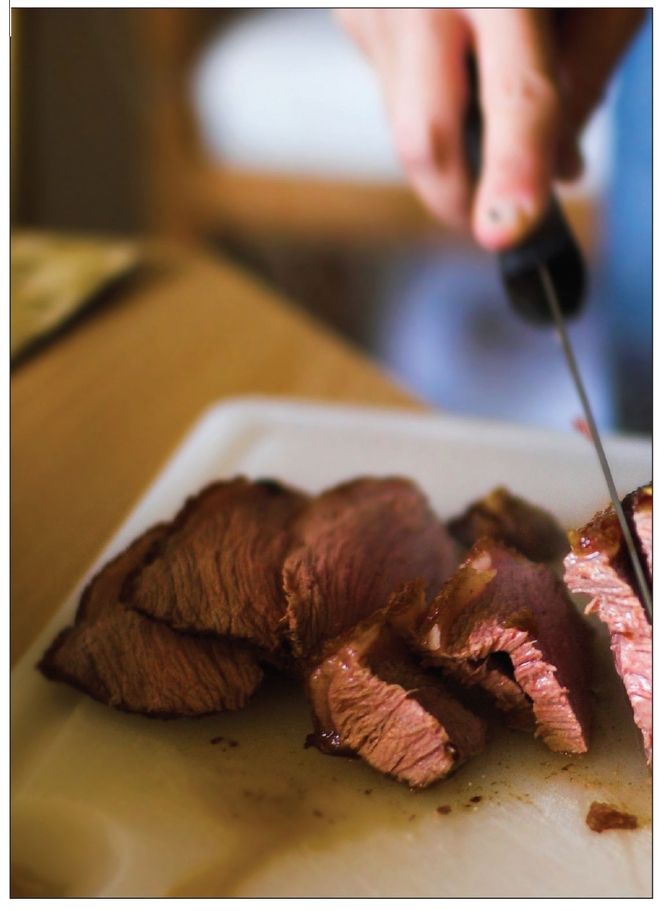
Jerky
Jerky is great for hiking or camping because it supplies protein in a very lightweight form—plus it can be very tasty. A pound of meat or poultry weighs about four ounces after being made into jerky. In addition, because most of the moisture is removed, it can be stored for one to two months without refrigeration.
Jerky has been around since the ancient Egyptians began drying animal meat that was too big to eat all at once. Native Americans mixed ground dried meat with dried fruit or suet to make pemmican. Biltong is dried meat or game used in many African countries. The English word jerky came from the Spanish word charque, which means, “dried salted meat.”
Drying is the world’s oldest and most common method of food preservation. Enzymes require moisture in order to react with food. By removing the moisture, you prevent this biological action.
Jerky can be made from ground meat, which is often less expensive than strips of meat and allows you to combine different kinds of meat if desired. You can also make it into any shape you want! As with strips of meat, an internal temperature of 160°F is necessary to eliminate disease-causing bacteria such as E. coli, if present.
Food Safety
The USDA Meat and Poultry Hotline’s current recommendation for making jerky safely is to heat meat to 160°F and poultry to 165°F before the dehydrating process. This ensures that any bacteria present are destroyed by heat. If your food dehydrator doesn’t heat up to 160°F, it’s important to cook meat slightly in the oven or by steaming before drying. After heating, maintain a constant dehydrator temperature of 130 to 140°F during the drying process.
According to the USDA, you should always:
- Wash hands thoroughly with soap and water before and after working with meat products.
- Use clean equipment and utensils.
- Keep meat and poultry refrigerated at 40°F or slightly below; use or freeze ground beef and poultry within two days, and whole red meats within three to five days.

- Defrost frozen meat in the refrigerator, not on the kitchen counter.
- Marinate meat in the refrigerator. Don’t save marinade to re-use. Marinades are used to tenderize and flavor the jerky before dehydrating it.
- If your food dehydrator doesn’t heat up to 160°F (or 165°F for poultry), steam or roast meat before dehydrating it.
- Dry meats in a food dehydrator that has an adjustable temperature dial and will maintain a temperature of at least 130 to 140°F throughout the drying process.
Preparing the Meat
- Partially freeze meat to make slicing easier. Slice meat across the grain ⅛ to ¼ inch thick. Trim and discard all fat, gristle, and membranes or connective tissue.
- Marinate the meat in a combination of oil, salt, spices, vinegar, lemon juice, teriyaki, soy sauce, beer, or wine.
Marinated Jerky
- ¼ cup soy sauce
- 1 tbsp Worcestershire sauce
- 1 tsp brown sugar
- ¼ tsp black pepper
- ½ tsp fresh ginger, finely grated
- 1 tsp salt
- 1½ to 2 lbs. of lean meat strips (beef, pork, or venison)
- Combine all ingredients except the strips, and blend. Add meat, stir, cover, and refrigerate at least one hour.
- If your food dehydrator doesn’t heat up to 160°F, bring strips and marinade to a boil and cook for 5 minutes.
- Drain meat in a colander and absorb extra moisture with clean, absorbent paper towels. Arrange strips in a single layer on dehydrator trays, or on cake racks placed on baking sheets for oven drying.
- Place the racks in a dehydrator or oven preheated to 140°F, or 160°F if the meat wasn’t precooked. Dry until a test piece cracks but does not break when it is bent (10 to 24 hours for samples not heated in marinade, 3 to 6 hours for preheated meat). Use paper towel to pat off any excess oil from strips, and pack in sealed jars, plastic bags, or plastic containers.
Freezing Foods
Many foods preserve well in the freezer and can make preparing meals easy when you are short on time. If you make a big pot of soup, serve it for dinner, put a small container in the refrigerator for lunch the next day, and then stick the rest in the freezer. A few weeks later you’ll be ready to eat it again and it will only take a few minutes to thaw out and serve. Many fruits also freeze well and are perfect for use in smoothies and desserts, or served with yogurt for breakfast or dessert. Vegetables frozen shortly after harvesting keep many of the nutrients found in fresh vegetables and will taste delicious when cooked.

Containers for Freezing
The best packaging materials for freezing include rigid containers such as jars, bottles, or Tupperware, and freezer bags or aluminum foil. Sturdy containers with rigid sides are especially good for liquids such as soup or juice because they make the frozen contents much easier to get out. They are also generally reusable and make it easier to stack foods in the refrigerator. When using rigid containers, be sure to leave headspace so that the container won’t explode when the contents expand with freezing. Covers for rigid containers should fit tightly. If they do not, reinforce the seal with freezer tape. Freezer tape is specially designed to stick at freezing temperatures. Freezer bags or aluminum foil are good for meats, breads and baked goods, or fruits and vegetables that don’t contain much liquid. Be sure to remove as much air as possible from bags before closing.


Headspace to Allow Between Packed Food and Closure
Headspace is the amount of empty air left between the food and the lid. Headspace is necessary because foods expand when frozen.
Effect of Freezing on Spices and Seasonings
- Pepper, cloves, garlic, green pepper, imitation vanilla and some herbs tend to get strong and bitter.
- Onion and paprika change flavor during freezing.

FOODS THAT DO NOT FREEZE WELL
Food Usual Use Condition After Thawing Cabbage*, celery, cress, cucumbers*, endive, lettuce, parsley, radishes As raw salad Limp, waterlogged; quickly develops oxidized color, aroma, and flavor Irish potatoes, baked or boiled In soups, salads, sauces, or with butter Soft, crumbly, waterlogged, mealy Cooked macaroni, spaghetti, or rice When frozen alone for later use Mushy, tastes warmed over Egg whites, cooked In salads, creamed foods, sandwiches, sauces, gravy, or desserts Soft, tough, rubbery, spongy Meringue In desserts Soft, tough, rubbery, spongy Icings made from egg whites Cakes, cookies Frothy, weeps Cream or custard fillings Pies, baked goods Separates, watery, lumpy Milk sauces For casseroles or gravies May curdle or separate Sour cream As topping, in salads Separates, watery Cheese or crumb toppings On casseroles Soggy Mayonnaise or salad dressing On sandwiches (not in salads) Separates Gelatin In salads or desserts Weeps Fruit jelly Sandwiches May soak bread Fried foods All except French fried potatoes and onion rings Lose crispness, become soggy * Cucumbers and cabbage can be frozen as marinated products such as “freezer slaw” or “freezer pickles.” These do not have the same texture as regular slaw or pickles. - Celery seasonings become stronger.
- Curry develops a musty off-flavor.
- Salt loses flavor and has the tendency to increase rancidity of any item containing fat.
- When using seasonings and spices, season lightly before freezing, and add additional seasonings when reheating or serving.
How to Freeze Vegetables
Because many vegetables contain enzymes that will cause them to lose color when frozen, you may want to blanche your vegetables before putting them in the freezer. To do this, first wash the vegetables thoroughly, peel if desired, and chop them into bite-size pieces. Then pour them into boiling water for a couple of minutes (or cook longer for very dense vegetables, such as beets), drain, and immediately dunk the vegetables in ice water to stop them from cooking further. Use a paper towel or cloth to absorb excess water from the vegetables, and then pack in resealable airtight bags or plastic containers.
Blanching Times for Vegetables
| Artichokes | 3–6 minutes |
| Asparagus | 2–3 minutes |
| Beans | 2–3 minutes |
| Beets | 30–40 minutes |
| Broccoli | 3 minutes |
| Brussels sprouts | 4–5 minutes |
| Cabbage | 3–4 minutes |
| Carrots | 2–5 minutes |
| Cauliflower | 6 minutes |
| Celery | 3 minutes |
| Corn (off the cob) | 2–3 minutes |
| Eggplant | 4 minutes |
| Okra | 3–4 minutes |
| Peas | 1–2 minutes |
| Peppers | 2–3 minutes |
| Squash | 2–3 minutes |
| Turnips or Parsnips | 2 minutes |


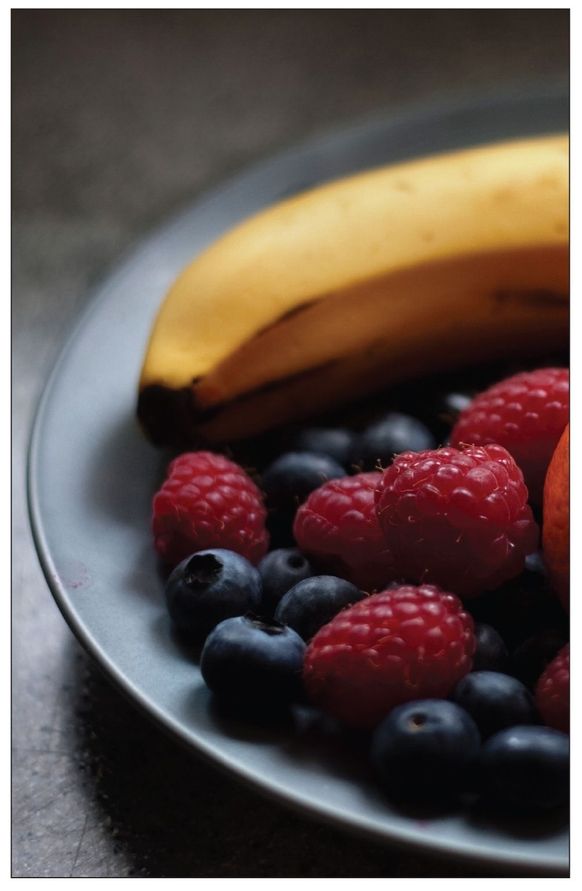
How to Freeze Fruits
Many fruits freeze easily and are perfect for use in baking, smoothies, or sauces. Wash, peel, and core fruit before freezing. To easily peel peaches, nectarines, or apricots, dip them in boiling water for fifteen to twenty seconds to loosen the skins. Then chill and remove the skins and stones.
Berries should be frozen immediately after harvesting and can be frozen in a single layer on a paper towel-lined tray or cookie sheet to keep them from clumping together. Allow them to freeze until hard (about three hours) and then pour them into a resealable plastic bag for long-term storage.
Some fruits have a tendency to turn brown when frozen. To prevent this, you can add ascorbic acid (crush a vitamin C in a little water), citrus juice, plain sugar, or a sweet syrup (one part sugar and two parts water) to the fruit before freezing. Apples, pears, and bananas are best frozen with ascorbic acid or citrus juice, while berries, peaches, nectarines, apricots, pineapple, melons, and berries are better frozen with a sugary syrup.
How to Freeze Meat
Be sure your meat is fresh before freezing. Trim off excess fats and remove bones, if desired. Separate the meat into portions that will be easy to use when preparing meals and wrap in foil or place in resealable plastic bags or plastic containers. Refer to the chart to determine how long your meat will last at best quality in your freezer.
| Meat | Months |
|---|---|
| Bacon and sausage | 1 to 2 |
| Ham, hotdogs, and lunchmeats | 1 to 2 |
| Meat, uncooked roasts | 4 to 12 |
| Meat, uncooked steaks or chops | 4 to 12 |
| Meat, uncooked ground | 3 to 4 |
| Meat, cooked | 2 to 3 |
| Poultry, uncooked whole | 12 |
| Poultry, uncooked parts | 9 |
| Poultry, uncooked giblets | 3 to 4 |
| Poultry, cooked | 4 |
| Wild game, uncooked | 8 to 12 |
