Spring
Springtime lends itself to creativity. As new flowers push through the soil and birds begin to gather materials for their nests, you may find yourself eager to start new projects, too. It is a busy season; days are filled with preparing gardens and airing out the house, weekends are packed with weddings and graduations. But a rainy afternoon or a quiet Sunday may give you the opportunity for crafting you crave. Here is a smattering of ideas to give your inspiration some direction, whether you’re creating a gift, an accent for your home, or a keepsake for a special celebration.
Springtime Wreath
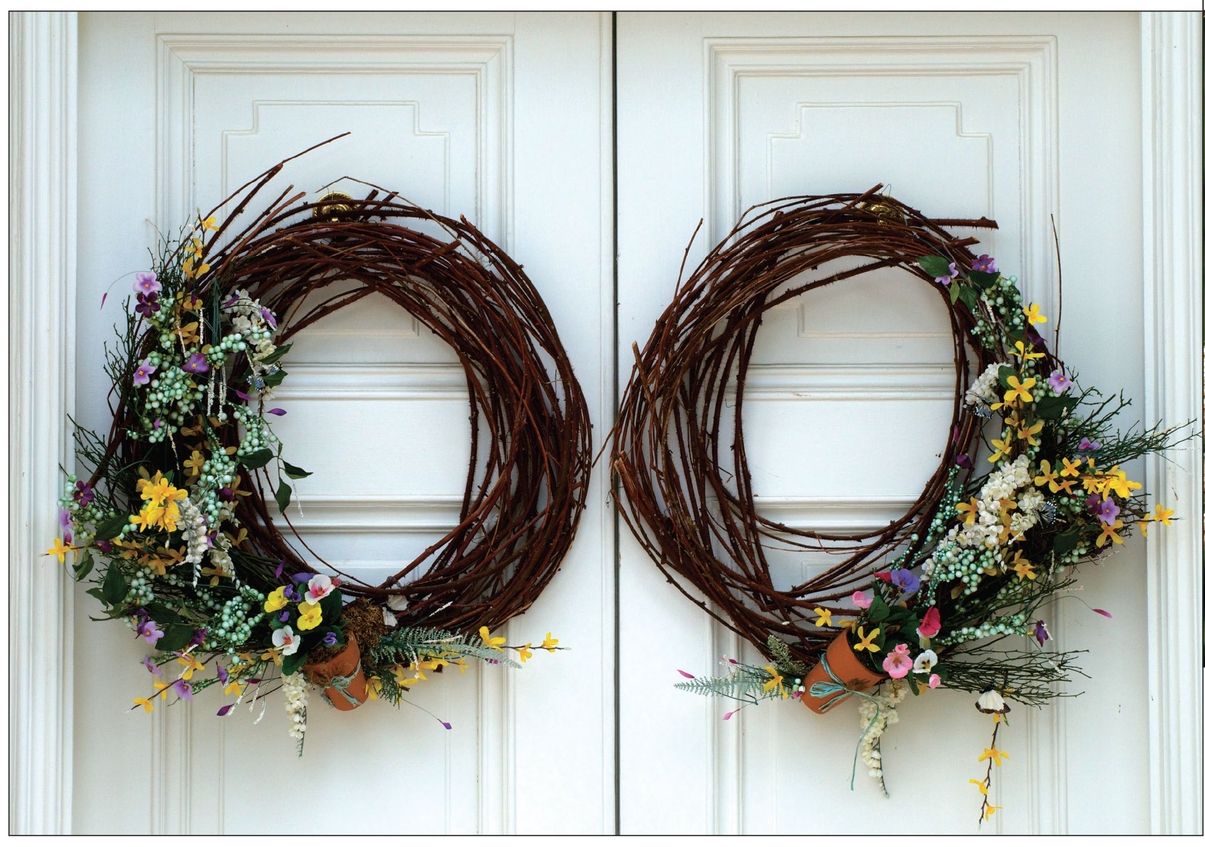
Grapevines make an attractive and natural base for this welcoming wreath. Begin shaping the vines soon after cutting. If you do need to store them for more than a day before using them, remove the leaves and soak the vines for several hours before beginning the wreath to make them more pliable.

- Grapevines
- Decoration such as moss, baby’s breath, etc.
- Florist tape
- Cut several lengths of vine, keeping them as long as you can manage. Remove the leaves, but don’t trim the tendrils.
- Start with the thicker end of the vine and form a circle. Then begin coiling a second circle, winding and twisting it around the first. Continue until you are almost at the end of the vine and then wind the end around and around, using the vine tendrils or florist tape to secure the end. Add additional vines, winding them around the first circle and tucking the ends into the center.
- Add moss, baby’s breath, yarrow, ferns, feathers, decorative grasses, ribbon, etc. Tuck the ends into the vines and use florist tape as needed for added security.
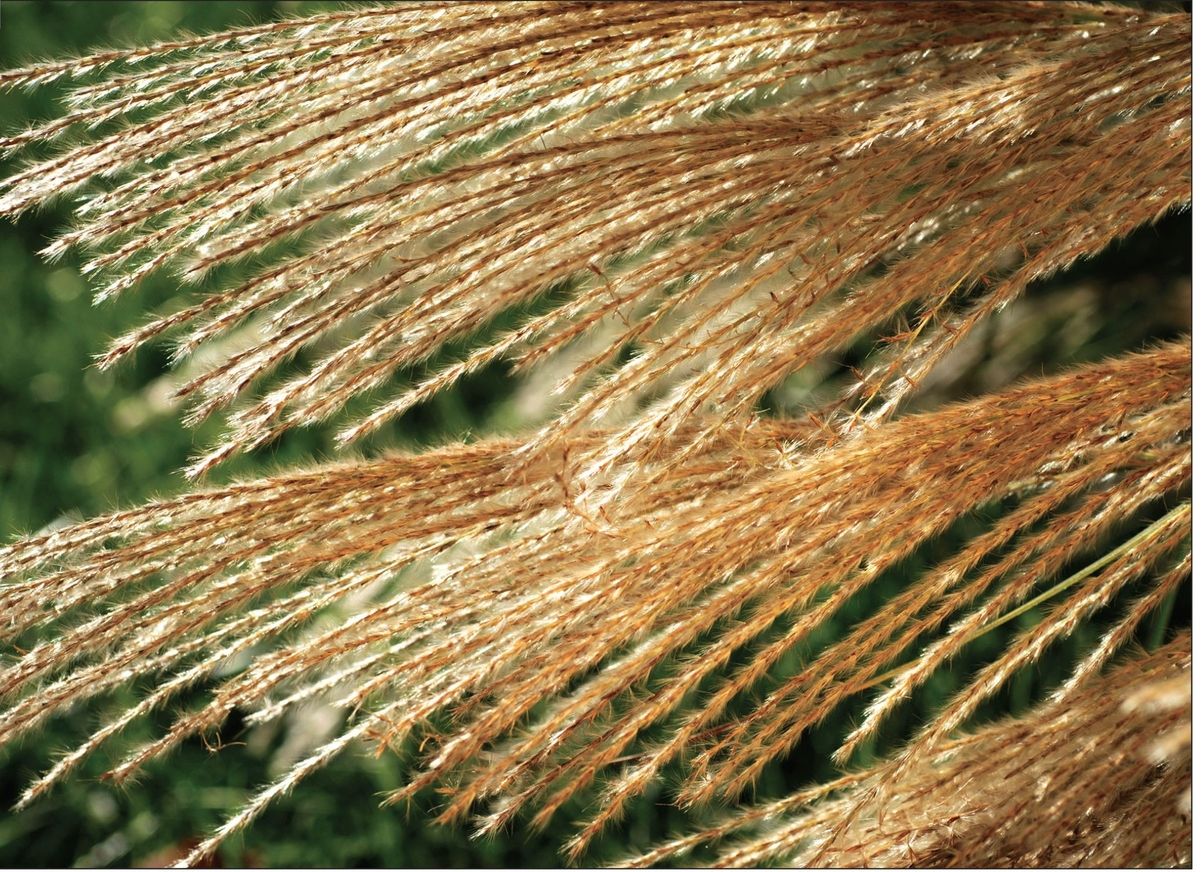
To dry flowers or grasses for use in wreaths or other decorations, cut them slightly before they reach their peak, leaving long stems. Tie the stems together and hang them upside down for several weeks in a dry, dark area.
PLANTS THAT DRY WELL FOR DECORATIVE USE
| Flowers | Grasses | Herbs |
|---|---|---|
| Acrolinium, Baby’s breath, Bachelor’s button, Bells of Ireland, Cocks comb, Coneflower, Delphinium, Foxglove, Globe amaranth, Goldenrod, Heather, Hydrangea, Larkspur, Statice, Strawflower, Yarrow | Bristly foxtail, Cattails, Eulalia grass, Fountain grass, Hare’s-tail grass, Indian grass, Northern sea oats, Pampas grass, Plume grass, Quaking grass, Spike grass, Squirrel-tail grass, Switch grass, Wheatgrass | Chamomile, Chives, Dill, Eucalyptus, Fennel, Lavender, Lemongrass, Rosemary, Sage, St. John’s wort, Thyme |
Blown Eggs
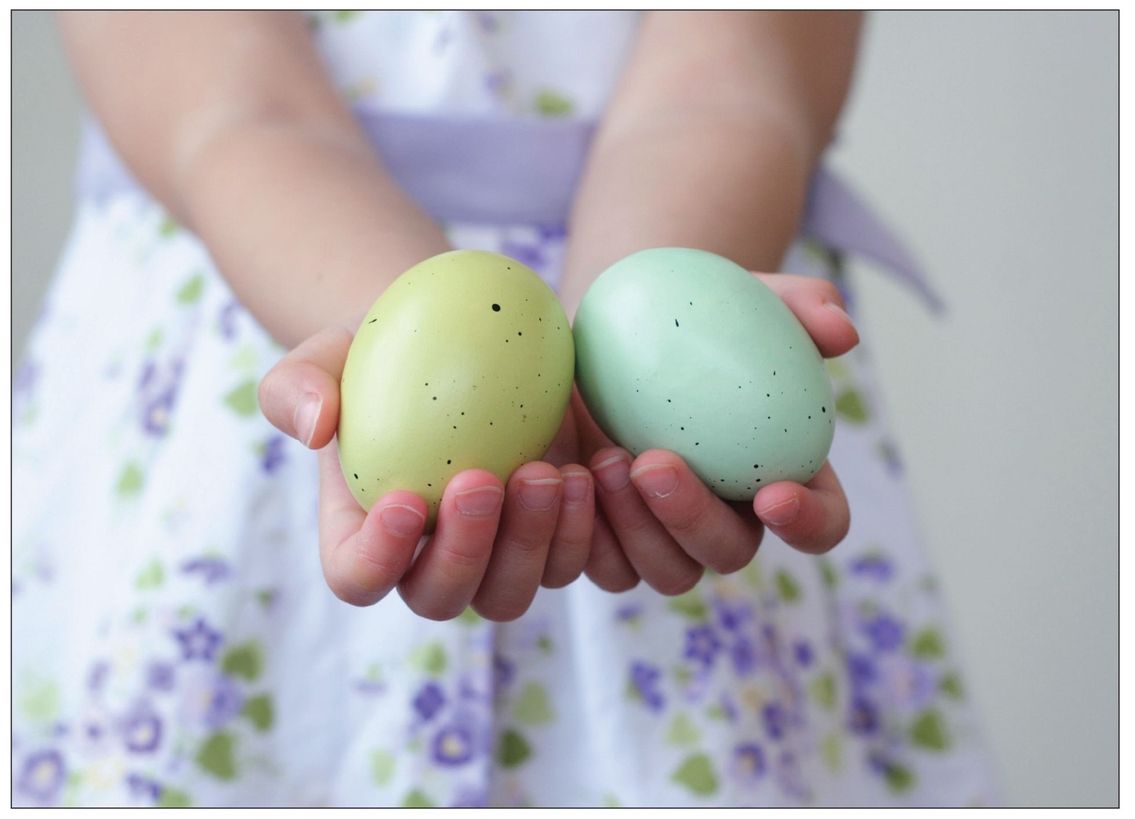
If you want to keep your egg creations to display year after year, blow out the eggs before decorating them. Blown eggs are more fragile than hardboiled eggs, but they won’t ever spoil.
- Eggs
- Needle
- Toothpick
- Tiny straw or a syringe
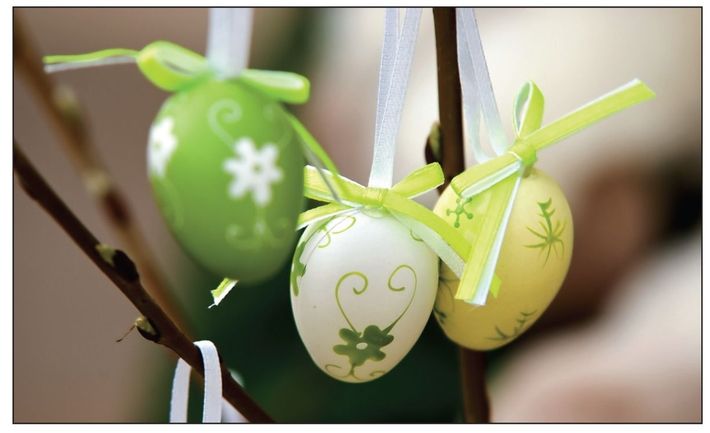
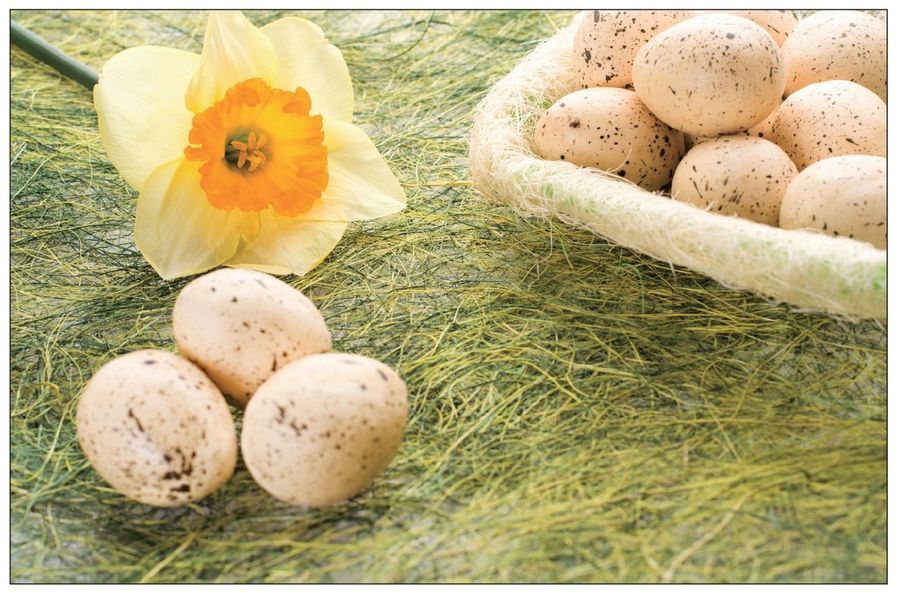
- Use a needle to poke one hole on each end of the egg. Insert a toothpick and wiggle it around to help widen the holes slightly. Stick the needle back into one hole and move it around inside the egg until the yolk breaks.
- Insert the straw into one hole and blow through it until the insides of the egg drain out, or use a syringe to draw out the egg. Rinse thoroughly to wash away any remaining egg residue.
- Bake the eggshell at 400°F for ten minutes.
Leaf- or Flower-Stenciled Eggs
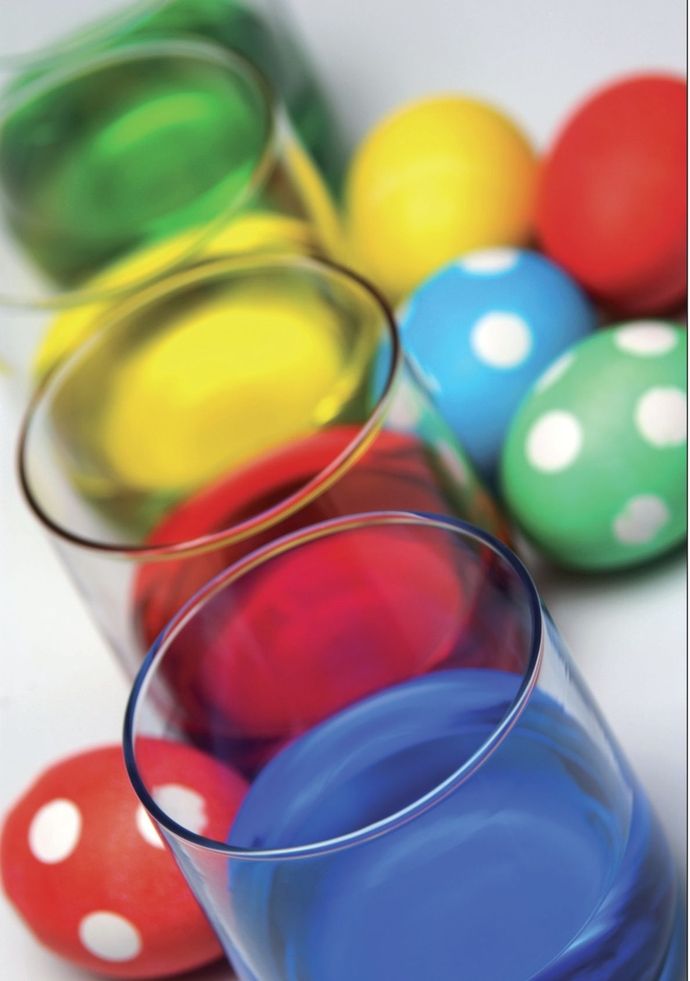
These eggs make a stunning centerpiece when displayed on a plate or in a basket. If you intend to eat the eggs later, use only food coloring to dye them. However, if you are using blown eggs or you do not intend to eat the eggs, fabric dye, or other natural dyes, and stencil paint will produce richer, more vibrant colors.
- Food coloring, fabric dye, or other natural dye (prepared accordingly)
- Large white eggs
- White glue
- Leaves, ferns, or small flowers
- Small paintbrush
- Wide, stiff paintbrush
- Stencil paint (if you do not intend to eat the egg later)
- Fill a deep bowl or wide glass half full with the prepared dye solution.
- Immerse an egg in the dye mixture and allow it to sit for a few minutes, or until the egg has reached the desired color. Rinse the egg in cold water and allow it to dry.
- Using a small paintbrush, paint a thin layer of glue on the back of your leaf or fern. Stick the leaf or fern to the egg.
- Dip a wide paintbrush in undiluted food coloring (if you intend to eat the eggs later) or stencil paint. Blot the brush on newspaper or paper towel to get rid of excess paint. Dab the ends of the bristles up and down over the leaf, allowing the first layer of color to show through to create a dappled effect.
- When the egg is completely dry, peel the leaf away from the egg.
Natural Dyes for Easter Eggs
There are many ingredients from nature you can use to dye your Easter eggs. The colors may be more subdued than if you use food coloring or paints, but you can achieve some beautiful pastels with berries, flowers, and other plants and foods. Mix dyestuff or the finished dyes to make more color variations. Note that liquid dyestuffs, such as grape juice, do not need to be simmered with water as described below. Simply add the vinegar and use!
- Dyestuff (see chart below)
- Water
- White vinegar
- Cooking oil or mineral oil
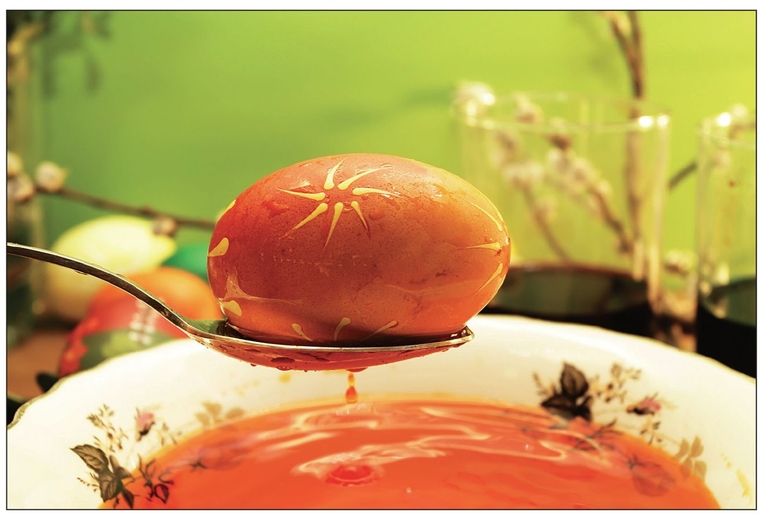
- Place a handful or two of the dyestuff of your choice (or a couple of tablespoons if using herbs or spices) in a saucepan.
- Add water until the dyestuff is fully submerged. Simmer on low for about fifteen minutes, or until the desired color is reached. Keep in mind that the eggs will turn out paler than the dye appears in the pan.
- Strain dye into a liquid measuring cup. Add 2 tablespoons of white vinegar for every cup of dye. The dye is now ready for use.
- After the dyed eggs are dry, rub the eggs with cooking oil or mineral oil to give them a glossier sheen.
Terrariums
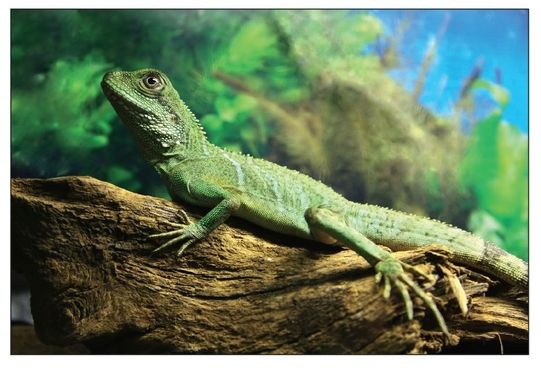
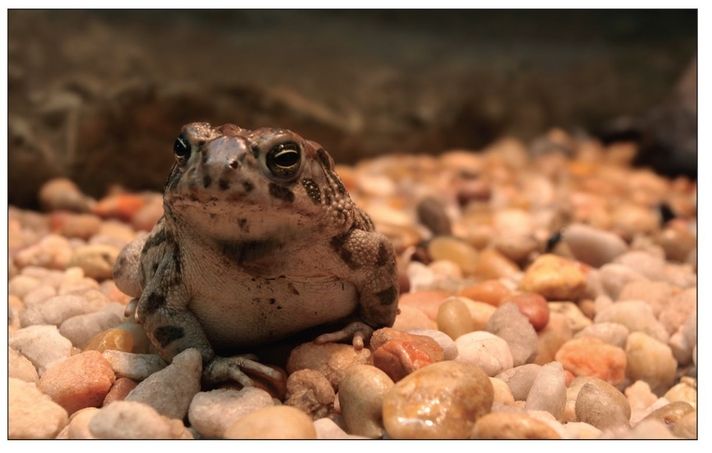
Terrariums are miniature ecosystems that you can create and keep indoors. They’re a wonderful way to learn about gardening on a small scale and can add interest to your home décor and oxygen to the air you breathe. Terrariums can contain only plants or can be homes for lizards, turtles, or other small animals. If you do wish to make your terrarium a home for a pet, be sure to include the proper shelter for the animal and a way to provide food and water. Some terrariums even include waterfalls so that animals can have a constant supply of fresh water! The size of the terrarium can be as large as a fish tank or as small as a thimble. Bowls, teapots, jars, and bottles have all been successfully transformed into miniature indoor gardens. Terrariums can be fully enclosed or can have an open top to allow fresh air to circulate. Because one of the benefits of a terrarium is the oxygen that the plants contribute to the air, these directions are for an open top terrarium.
| Color | Items to Dye With |
|---|---|
| Blue | Blueberries, red cabbage, purple grape juice |
| Brown or Beige | Coffee grounds, black walnut shells, black tea leaves |
| Brown Gold | Dill seeds |
| Brown | Chili powder |
| Green | Spinach leaves, liquid chlorophyll |
| Gray | Purple or red grape juice, beet juice |
| Lavender | Purple grape juice, violet blossoms plus a little lemon juice, Red Zinger tea |
| Orange | Yellow onion skins, carrots, paprika |
| Pink | Beets, crushed cranberries or cranberry juice, crushed raspberries, grape juice |
| Red | Lots of red onion skins, pomegranate juice, canned cherries, crushed raspberries |
| Violet or Purple | Violet blossoms, hibiscus tea, small quantity of red onion skins, red wine |
| Yellow | Orange or lemon peels, carrot tops, chamomile tea, celery seed, green tea, ground cumin, ground turmeric, saffron |
- Container (preferably a clear glass container, so you can easily see your miniature garden)
- Coarse sand or pebbles
- Sphagnum moss
- Soil
- Seeds or seedlings
- Water
- Ornaments (optional)
- 1. Place a ½-inch to 1-inch layer of coarse sand or pebbles in the bottom of your container. This will help the soil to drain properly.
- 2. Add a layer of moss over the pebbles. The moss acts as a filter, allowing the soil to drain but not to seep down into the pebbles.
- 3 Pour the soil over the moss and spread evenly. How much soil you use will depend on how big your container is and how large the plants will grow. Pat the dirt down firmly.
- 4. Plant the seeds or seedlings. Think carefully about how you want the plants to be arranged. You may want taller plants in the center and shorter ones toward the outside so that you can see them all. Add pretty stones, pinecones, figurines, or other ornaments, if desired.
- 5. Place your terrarium in a sunny spot and water it regularly.
Mosaic Flowerpots
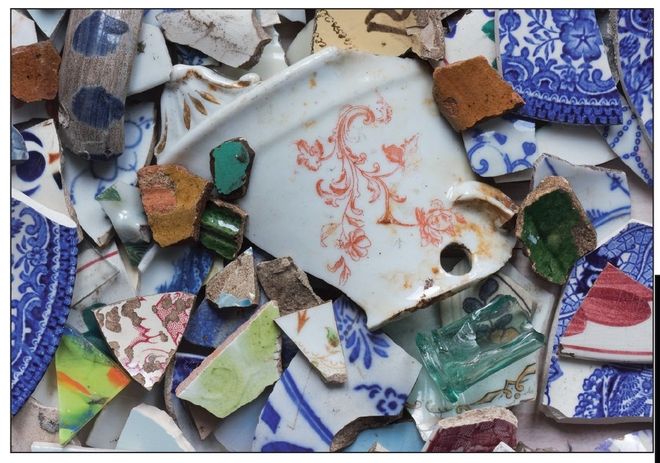
Spring is the time to start planting seeds so you’ll have seedlings to transplant to the garden come summer. Make your pots unique by decorating them yourself with bits of beach glass, pottery, sea shells, or beads. This is a great project to do with kids, but be careful of sharp pieces of glass or pottery.
- Putty knife
- Ceramic tile grout
- Terra cotta flowerpot
- Pieces of beach glass, broken pottery or mirror, tile, beads, charms, etc.
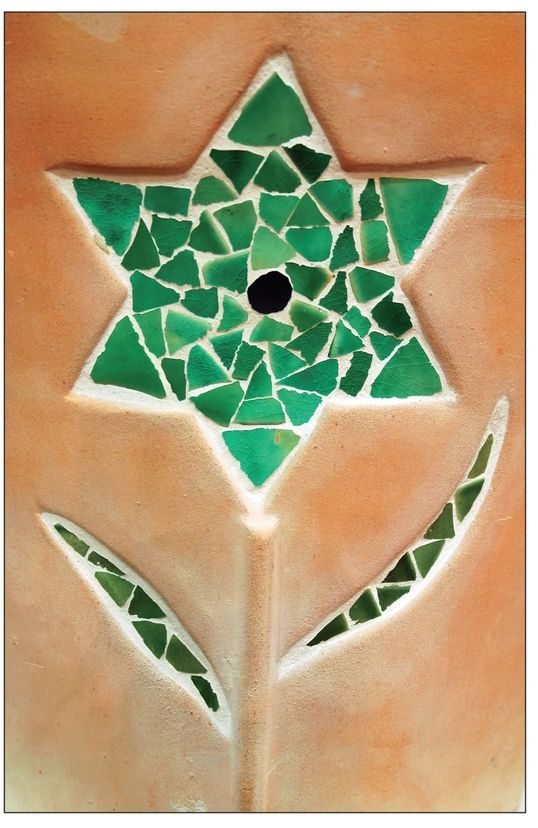
- Use the putty knife to spread a thick layer of grout around the outside of the flowerpot (at least ¼-inch thick).
- Press the pieces into the grout and add more grout around each piece to cover any sharp or rough edges.
- Allow pot to dry thoroughly. Then wipe away any grout residue from the pieces with a damp sponge.
TIP
Look for nontoxic grout online or at your local hardware store. Alternatively, you can make your own grout by mixing one part Portland cement to two parts sand in a tub. Add water slowly while stirring until the mixture is thick like mud. If desired, add natural iron oxide pigments to the grout for a more colorful background for your mosaic.
For an even simpler “faux grout,” mix two parts white sand to one part white glue. Add acrylic paint or concentrated natural dyes as desired. The “faux grout” won’t be as strong or as smooth as real grout, but it will work in a pinch.
Homemade Weddings
Weddings are wonderful, memorable, and very personal events. Every couple is unique and weddings are an opportunity to celebrate their distinct experiences of love, beauty, and joy. Couples who do some or all of the wedding preparations on their own or with the help of friends and family (rather than relying entirely on professionals) often find their day especially meaningful—and they’re less likely to start off their married life in debt.
There are endless ways to add homemade touches to a wedding. The invitations, flowers, centerpieces, favors, food, and even the attire can be made or arranged without the help of professional florists, caterers, and other service providers. Couples should think about what aspects of the wedding matter most to them, what they would most enjoy doing on their own, and how much time they can realistically dedicate to wedding preparations. Delegation is also key—friends and family are often more than happy to be a part of the celebration by assisting with certain tasks.
Bouquets
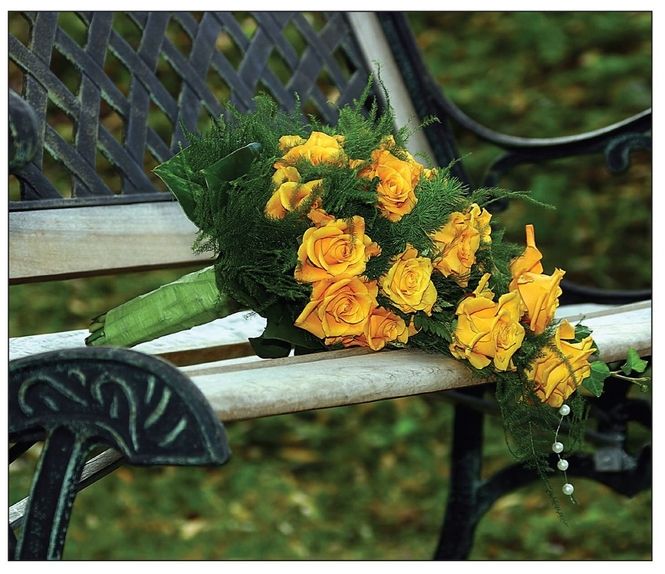
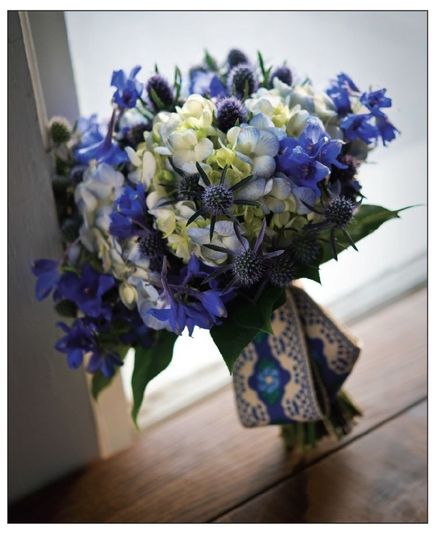
Once you’ve chosen the flowers you want in your bouquets (often based on color and season), think about what shape the bouquets will be and how you will arrange them. Smaller bouquets can be secured with a wide ribbon tied around the stems a little below the flower heads. For larger bouquets or for flowers with rough or thorny stems, you may want to bind the stems together with a ribbon that covers the length of the stems.
- Flowers
- Floral tape
- Ribbon
- Corsage pins
- Arrange the flowers in a bunch, cutting the stems evenly at the bottom. Wrap a piece of floral tape around the stems just below the blossoms. Cut a piece of ribbon about five feet long (or longer for very long stems).
- Begin wrapping the ribbon around the stems just below the blossoms, leaving a tail of ribbon about two feet long.
- Wrap the ribbon around and around the stems, working your way down and making sure the ribbon lies flat. When you reach the bottom, wrap over the bottom of the stems and work your way back up to the top.
- Now you should have two ribbon tails that you can tie into a full bow. Use pearl-headed corsage pins to secure the ribbon in place. Trim the tails if desired.
Hanging Flower Pomander
Flower pomanders should be made as late as possible before the celebration, since the flowers will not be getting adequate water to stay fresh for as long as a bouquet in a vase would. If making the pomanders the day before the wedding, keep them refrigerated as long as possible. Choose flowers with stiff stems such as roses or carnations, as they’ll be easier to insert into the ball.
- Ball of floristry foam
- 2½-inch-wide ribbon
- Straight pins or a glue gun
- Scissors
- Flowers
- Soak floral foam in water until saturated and then set aside on a towel and allow to dry until just damp.
- Wrap the ribbon once around the outside of the foam ball, pinning it at every inch or securing it to the ball with hot glue. Leave a foot of ribbon loose on each end.
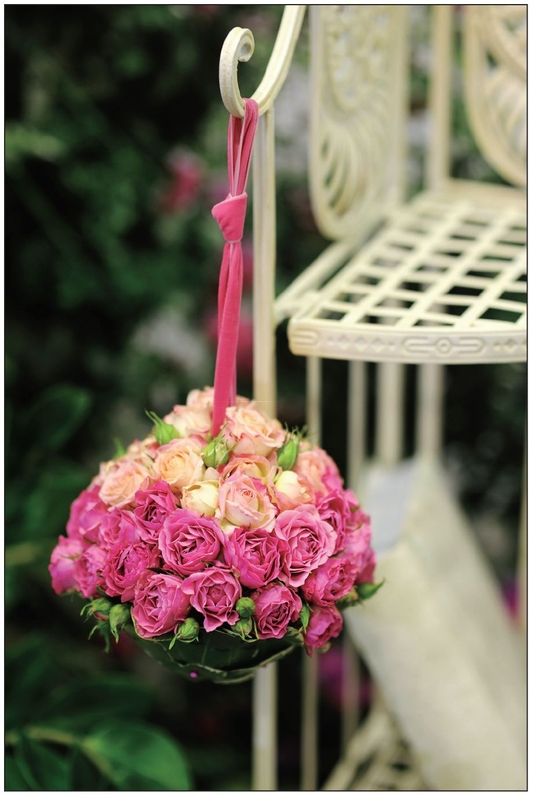
- Trim your flowers, leaving about an inch of stem for smaller blossoms and two to three inches for larger blossoms. Push the stems all the way into the ball, following the edge of the ribbon. Then do a line of flowers around the circumference so that the ball is divided into corners. Finally, fill in the four sectors, adding ferns or other greenery as desired to close up any spaces. If desired, only cover the top two-thirds of the ball with flowers and line the bottom third with large green leaves, secured with pins.
- Tie the two ends of the ribbon together in a tight knot and hang the pomander in a door or window or on a chandelier, or carry one down the aisle instead of a bouquet.
Wedding Cake
Your cake can be any flavor you like, and any shape, for that matter. But to make a traditional tiered wedding cake, follow the steps below. Be sure to do at least one test run well before the wedding.
- ½-inch-thick plywood or large cutting board
- Parchment paper
- Tape
- Frosting
- Cake tiers
- Corrugated cardboard
- Tinfoil
- Knife or toothpick
- ¼-inch-thick dowels
- Heavy duty shears
- Cake decorations
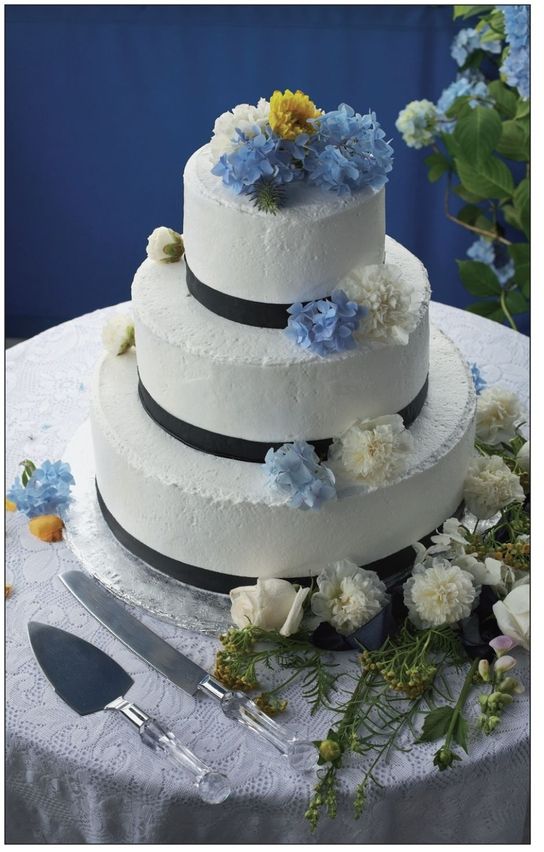
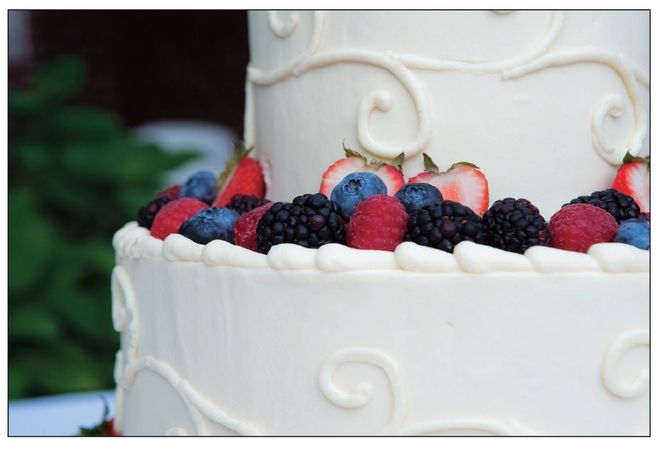
- Prepare the cake board. Cover a ½-inch-thick piece of plywood or a large cutting board with parchment paper, taping it to the underside of the board. The board should be at least 4 inches larger than the largest tier of your cake. This board will stay with your cake until it’s eaten, so do a neat job of covering it.
- Frost and fill the bottom, largest cake tier and place it in the center of the cake board.
- Cut out two circles of corrugated cardboard that are the same size as the second tier, and two circles the same size as the third tier. Tape the same-sized circles together so that they are double thickness. Cover each cardboard circle with tinfoil, making the foil as smooth as possible.
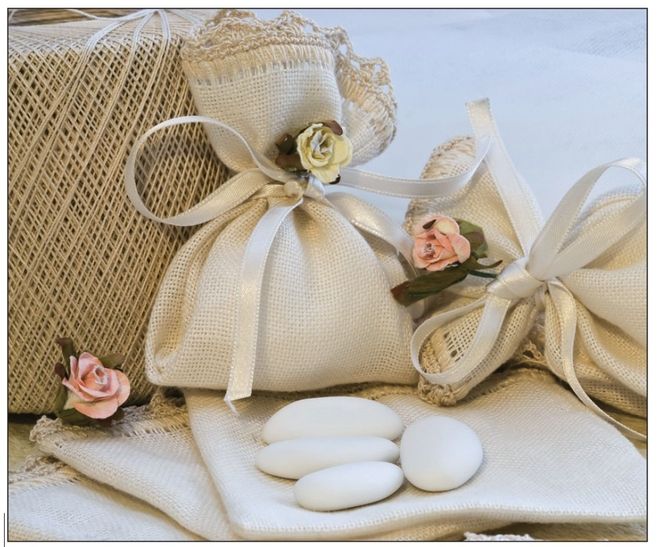
Refer to page 263 for directions for making sachets. Sachets filled with candy, a few homemade cookies, or handmade soap make lovely favors.
EDIBLE FLOWERS FOR CAKE DECORATING
Any nontoxic flowers can be used to decorate your cake, as long as you remove the flowers before serving. If you don’t want to remove the flowers, choose edible flowers such as the following:
- Apple blossoms
- Orange blossoms
- Cornflowers
- Pansies
- Violets
- Nasturtiums
- Oregano
- Lavender
- Carnations
- Clover
- Calendula
- Jasmine
- Hollyhock
- Impatiens
- Lilacs
- Peonies
- Roses
- Gently place the medium-sized cardboard circle onto the center of the bottom tier and mark around the circle with a knife or toothpick. Now you can remove the cardboard and still see the circle.
- Push a ¼-inch-thick dowel into the very center of the cake. Mark the height of the cake on the dowel and remove it. Use heavy duty shears to cut eight dowels at that length. Insert the dowels into the cake at even intervals around the circle marked on the bottom tier.
- Place the second cake tier on the medium-sized cardboard circle and fill and frost it. Place it carefully on the center of the bottom tier.
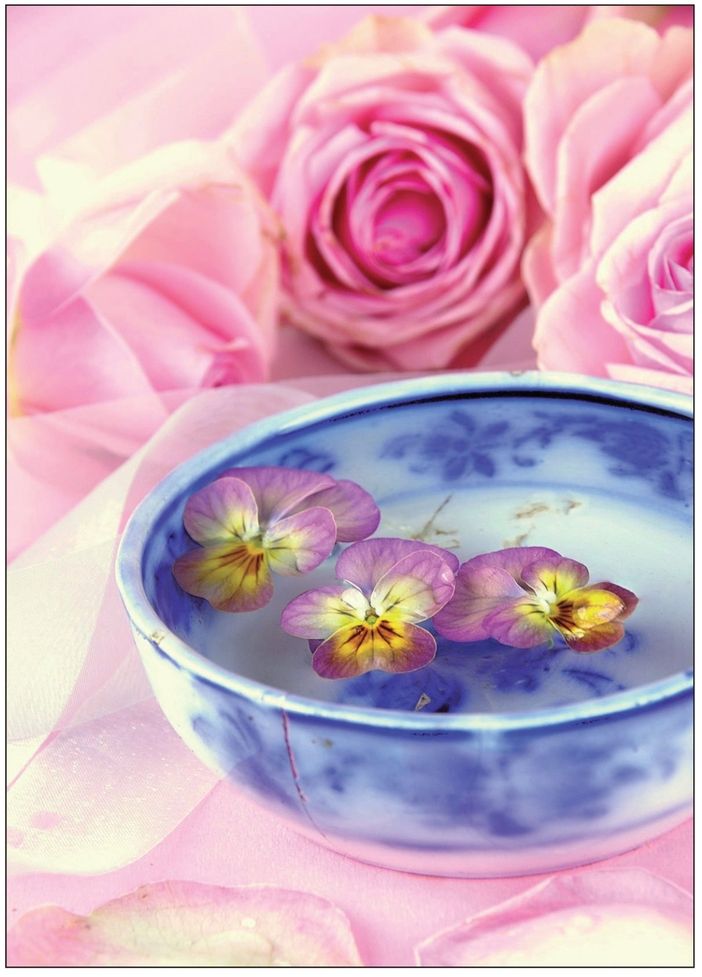
A few fresh blossoms floating in a bowl make a simple and elegant centerpiece.
- Repeat steps 5 and 6 with the top layer. To help keep the layers from sliding, sharpen one long dowel with a knife and insert it through the center of the top layer straight down through all the layers. Trim the dowel so that it’s even with the top of the cake.
- Decorate the cake with piping around the bottom of each tier, marzipan fruit, or fresh fruit or flowers.
Programs for the Ceremony
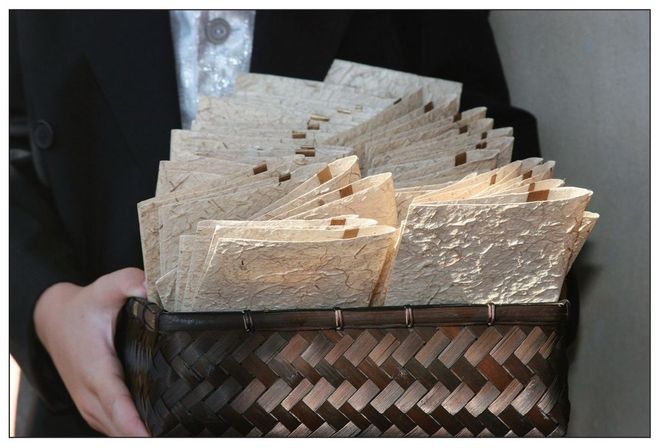
A handmade program will give your guests a unique keepsake by which to remember your ceremony. To make your own paper, refer to page 294.
- Paper in various colors
- Pen
- Paste
- Decorations
- Cut a piece of sturdy, attractive paper to 7 x 11 inches, or desired size.
- Write or print the text on paper of a contrasting color or texture, making sure it fits on a rectangle that is slightly smaller than the original cut rectangle (about 6 x 10 inches).
- Cut out the second rectangle and paste it to the first, centering it carefully. Allow to dry and then fold the program in half.
- If desired, paste ribbon, pressed flowers, or other accents to the outside of the program.

Slip flowers into folded napkins to add color to simple table settings.
