Chapter 3: Designing your Knife
How to design a knife
The primary purpose of designing a knife, say on paper, is to know how the knife will be once it is done. So, in designing a knife, you could get a piece of paper and a pencil and draw out your design on the paper. Make sure you like your design before moving on to the next phase. That way, you can get a feel for the knife and know that you like the design. You can decide to use any kind of design as your imagination leads you.
However, since it is your first time as a beginner, don't go for something too complicated. Start with something you can handle. (While designing the knife, you should have in mind what you want to use it for and the size, taking note that bigger doesn't mean better.)
Here are the processes involved in drawing out a design of your knife;
●
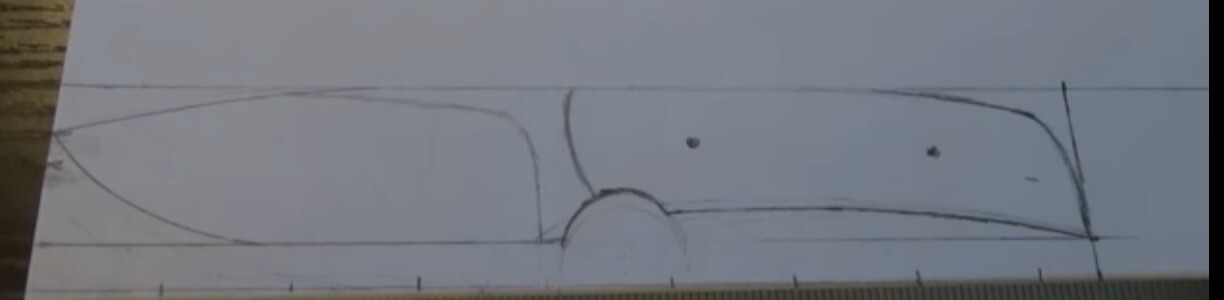
On your piece of paper, with your ruler, draw a line and mark it one ratio one (One inch per division on the line)
●
Think of your knife as a four-inch blade with a four-inch handle. So on your design, the blade and handle's length is four inches separately.
●
Make your handle to be at least one inch tall on the design.
●
Start drawing your knife design from the tip. You could start drawing the blade from the tip downwards.
●
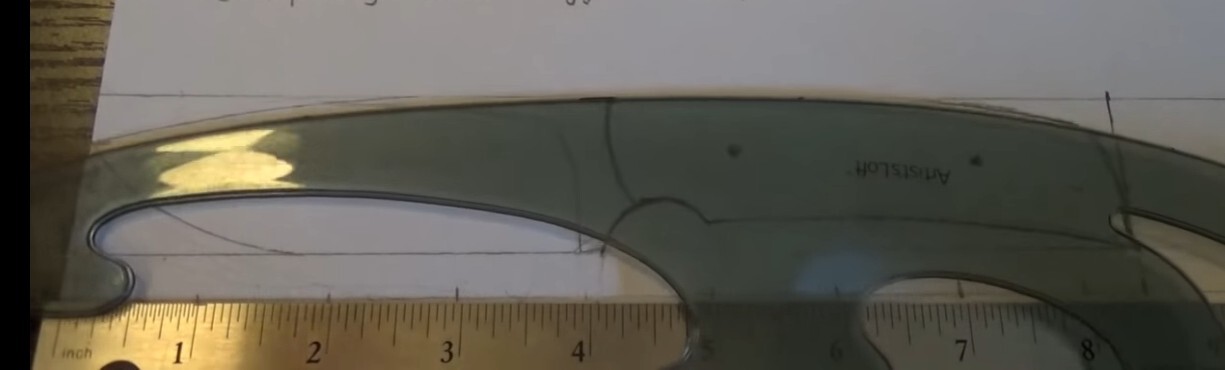
When you are drawing, do not make your knife design just a big block. Try and add a little curve to it as curves give eye appeal. (You can use a French curve to give your knife design a nice curve. You can get a French curve from any technical store)
●
So when you are done drawing, you will need to cut out your design from the paper with sharp scissors. When cutting, remember to leave a little bit of space for errors so in case there is any form of error, you can recover and still have that form of design you were hoping for.
●
Make a photocopy of your design to keep as a reference.
Things to consider when designing a knife:
●
How is the knife you are planning to make going to be used? Is it going to be used in the kitchen, for hunting, or whatever the case may be!
●
Think of your knife design as a whole. Not as two pieces joint together, but as a whole.
●
Be skeptical of your designs. As it is your first design, never criticize your design. Analyze your design, look at it, test it out. Even though your design doesn't come out the way you want, keep it up. That way, you are learning more.
This concludes the designing phase of your Knife-making process.
Popular types of knives
Keeping in mind that the shape of a knife is determined from the design, here are few types of knives:
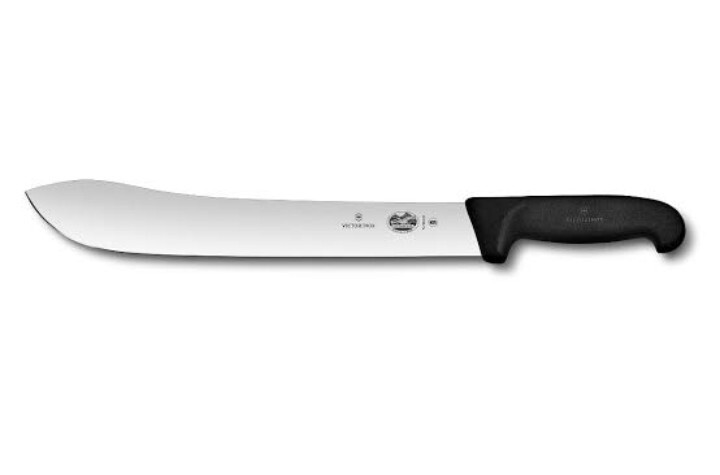
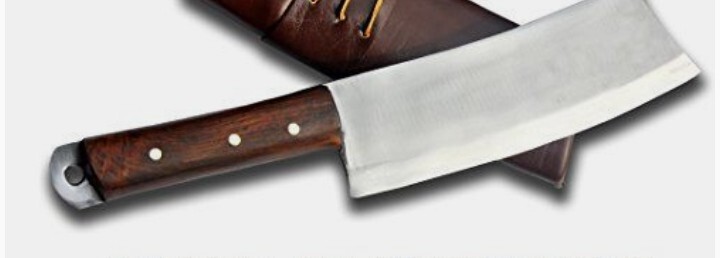
1. The Butcher Knife:
This is a heavy-duty meat knife used for butchering large-sized meat, slicing steaks, cutting joints apart, et cetera. The blade in the butcher knife is usually fairly straight with a curved end. The blade is usually six to ten inches in length and one inch in width.
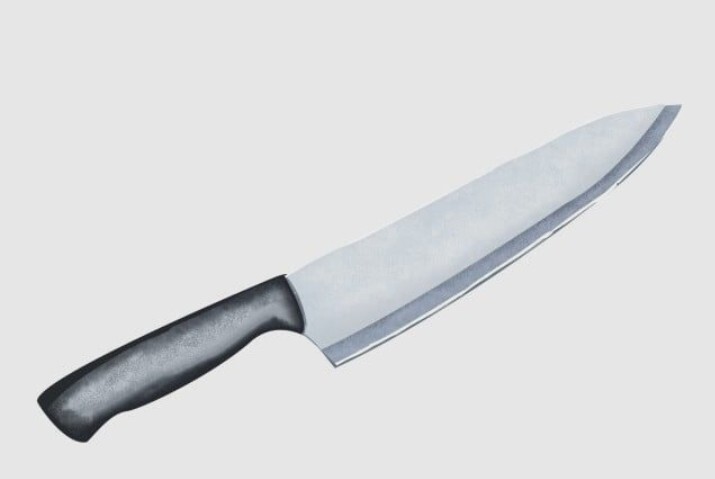
2. Vegetable Knife:
Chefs mainly use this knife. The French knife has a long, curving blade. The curve is usually more visible near the tip. The knife's dropped edge gives adequate finger clearance for dicing and chopping vegetables by rapidly rocking the knife up and down along the edge. The blade length is usually about five to ten inches.
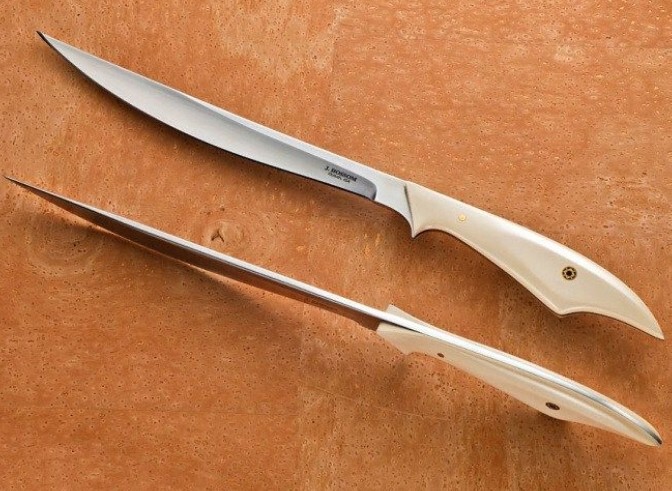
3. Filet Knife:
This knife is very narrow, flexible, and, most importantly, very thin. It is used in slicing thin slabs of meat along the contour of a bony area. It can only perform this function because of its flexibility. It is about five to twelve inches in length.
4. Carving Knife:
The carving knife is more slender than the butcher knife with a more pointed tip. It is also relatively rigid.
5. Chopping Knife:
This knife is used for chopping piles of food in a single downward stroke of their straight blade. The square shape of the blade provides plenty of weight along the whole length of the blade. This Chinese chipping knife is used for precise, high-speed chopping.
Making a template
Before making a knife, it is essential to begin with an end in mind when building your first knife. For instance, making a wooden template is a great way to see your design start to take shape and work out any error you might want to adjust.
Having a physical representation of your knife is no longer just a picture or vision in your head, as you have something solid to work towards as you make your knife.
Here are the processes involved in making a template;
●
Earlier, we discussed the process involved in making a design. Now that you have your design, the next step is making a template out of the design.
●
Glue the design of your knife, which you've cut out on a piece of wood. You could spray adhesive on the piece of wood and gently place the knife design on it.
●
Next, trim out your knife design on the piece of wood using a Saber saw or a Band saw.
●
The cut-out template might not be very smooth when you cut it out initially. You can fine-tune the template to get rid of the irregular saw marks.
●
To fine-tune your template, you can make use of a wood file.
●
The more exact template you cut out, the more you will get a feel for what your knife will be like.
●
Hold the wooden knife template in your hand and get a feel for it.
●
Check if the handle needs to be shorter or longer. Also, check the blade length to see if it's what you want.
●
If you have any errors in the design, now is the time to fix them!
Tip:
Although it may seem strange, try going through the motions of using your knife template. Why? Time spent making sure your design is perfect in the early stage can prevent you from troubleshooting problems later on.