Chapter 8: Grinding your Blade
Blade Profiling
Before you move on to the next step, make sure that your blade profile is all set.
Note:
If you skipped the blacksmithing process, you would need to cut out your blade's entire profile. In case you used the blacksmithing method, you can still profile your blade for any error you omitted in the blacksmithing stage.
Let's proceed;
●
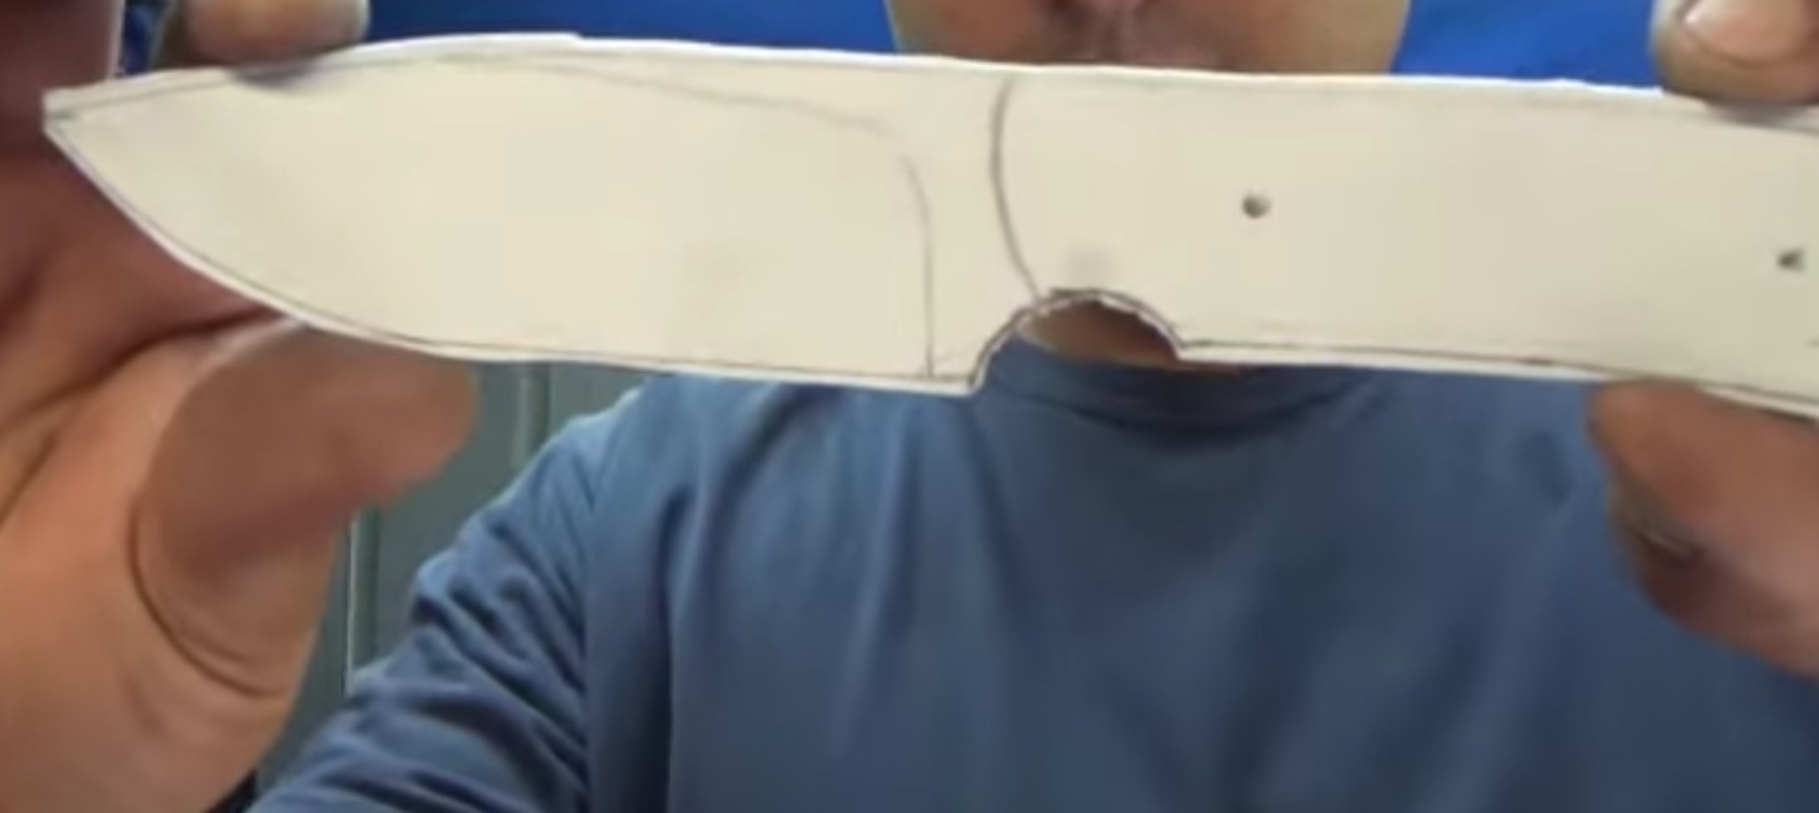
First, you will need to cut out your knife design from your paper to profile your blade. (Make sure you leave a little space while cutting in case there is an error) If you have already done this, move on to the next step
●
Next, get your bar of steel and spray glue.
●
Measure the length of the steel you will need for the knife by using the knife design as a guide.
●
Mark the steel tip from where you won't use it and spray glue up until that point.
●
Take your knife design, and stick it right on the steel. Use your hand to make it smooth.
●
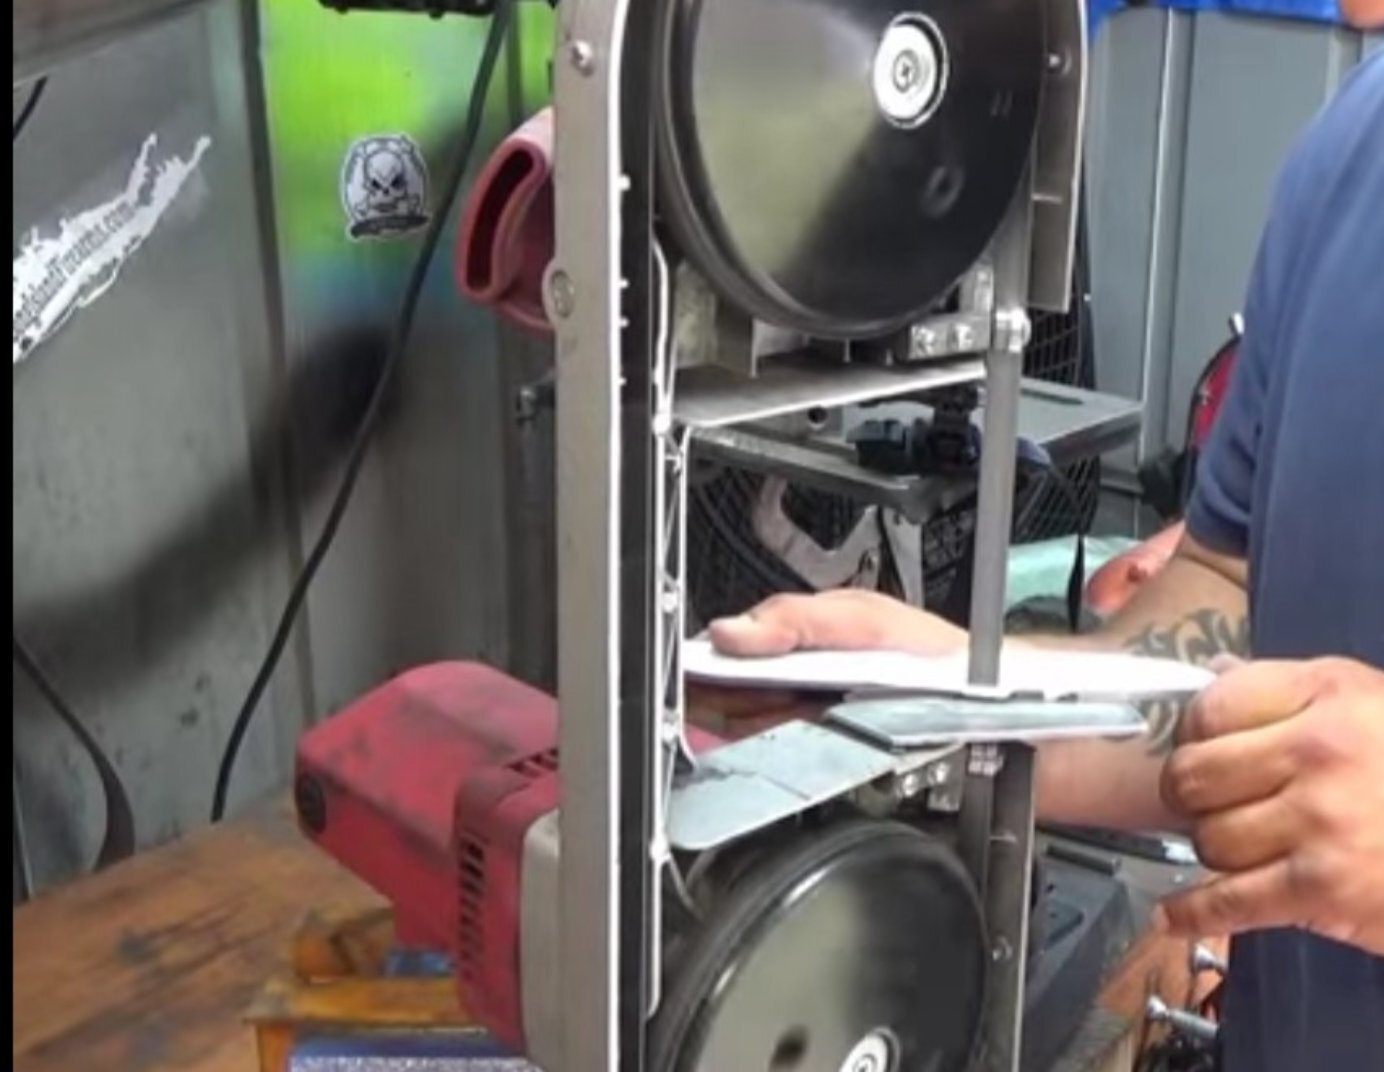
Next, using a Bandsaw, cut off the excess steel. Also, use it to trim the knife sides, making it look more like a knife. It is advisable not to touch the pencil while cutting. (You can use an Angle Grinder or even a Hacksaw, depending on which you have. But getting a Band saw isn't a bad idea)
●
You can mount the Band saw in a vice.
●
Once you're done shaping, your steel will start to look more like a knife.
●
Next, we are going to grind to the pencil line to get the perfect shape we want. So have the steel rest on the grinder and move the sides around the grinder belt gently.
●
Use a low powered grinder (maybe even a 36 grit belt.) Also, when using a grinder, you might want to use a respirator.
●
After grinding the steel, the sides might be a bit rough and not aligned.
●
To align it, swap to a (120) grit belt and set your knife on it steady and straight. You can use anything to align the knife on the belt. Once you are done, the sides should be smooth.
●
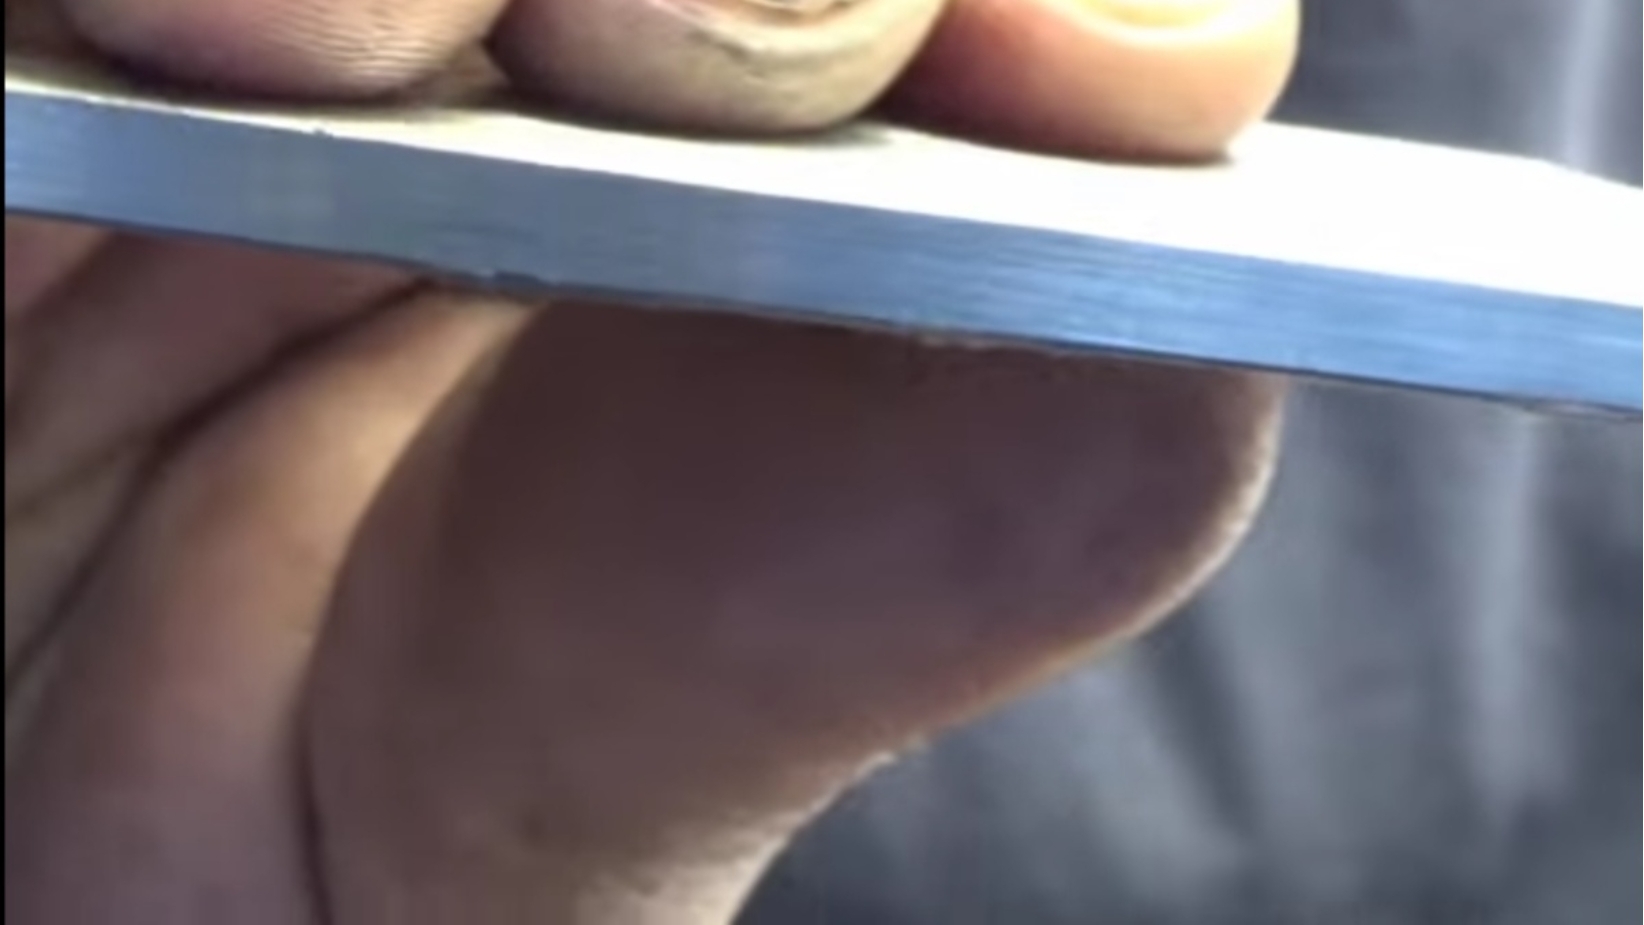
The image below is a picture of a one hundred and twenty grid finish.
●
You can finally remove your paper design as your knife is in perfect shape.
Drilling holes in your knife
To drill holes in your knife, you are going to need the following tools;
-
A center punch tool
-
A Caliber.
●
To drill holes in your knife, you first need to mark the point where the holes would be.
●
The hole needs to be precisely at the center of the knife.
●
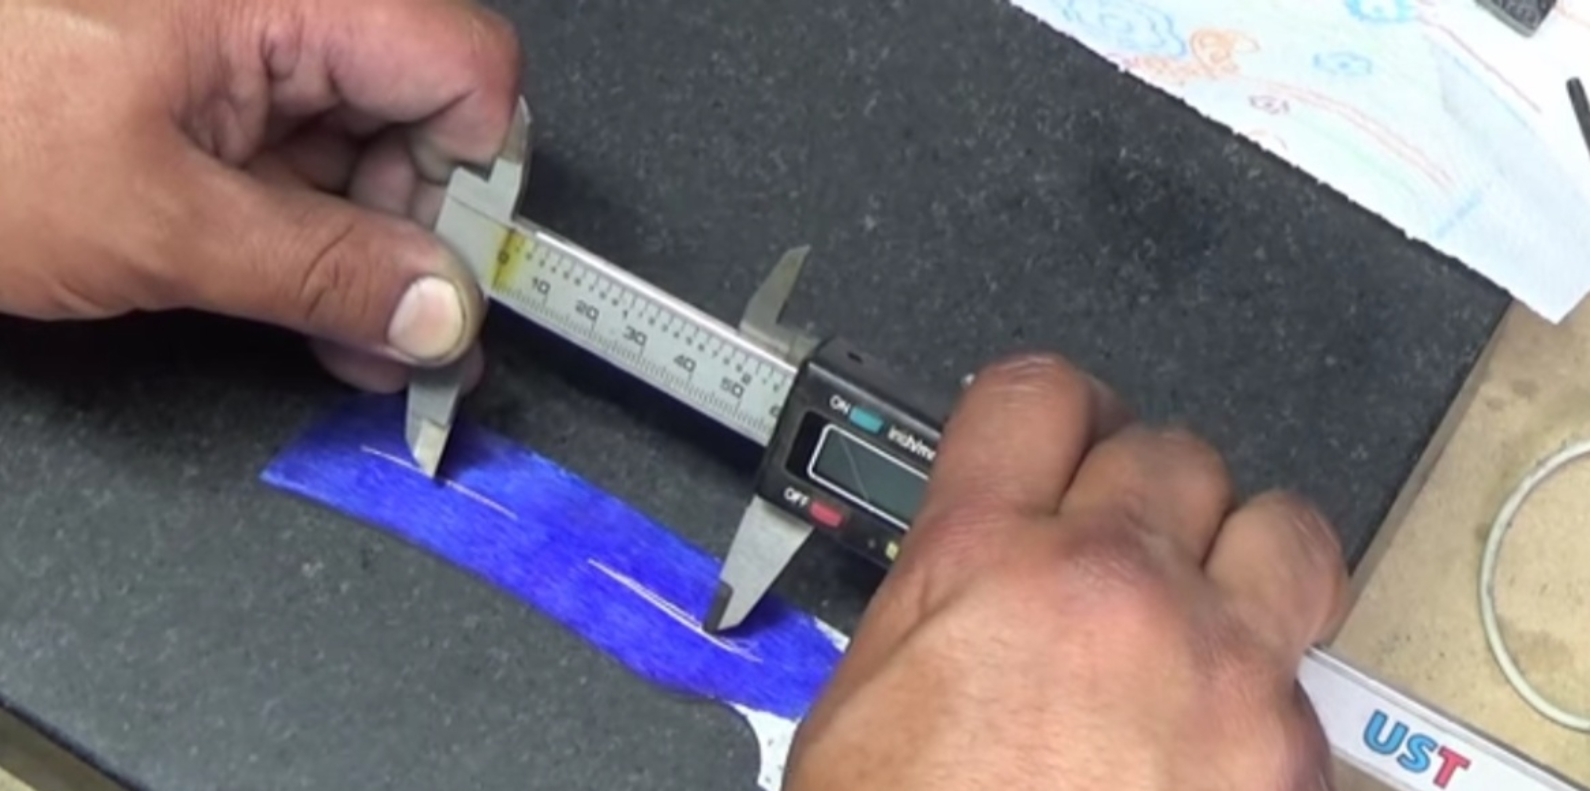
So using your caliber, measure the whole length of the knife at where you want to punch the hole.
●
If the caliber reads (26 mm), this means your hole will be centered at (13mm) on that spot on the knife.
●
Reduce your caliber to (13mm), and scribe a line in the center. You can dye the handle part of the blade so that the marks you scribe will be visible.
●
Next, put your pin on the center of the knife, where you want to make the hole, and punch it.
●
Carry out these same procedures for the back of the knife so that the hole will be on both sides.
●
In case you are making multiple holes, using your caliber, make sure that the holes are spaced evenly by manipulating your caliber.
●
You don't have to measure for every single hole. Once you have measured two already, you can figure out where the next whole will be by dividing the distance between the two holes into half its length and then marking it.
●
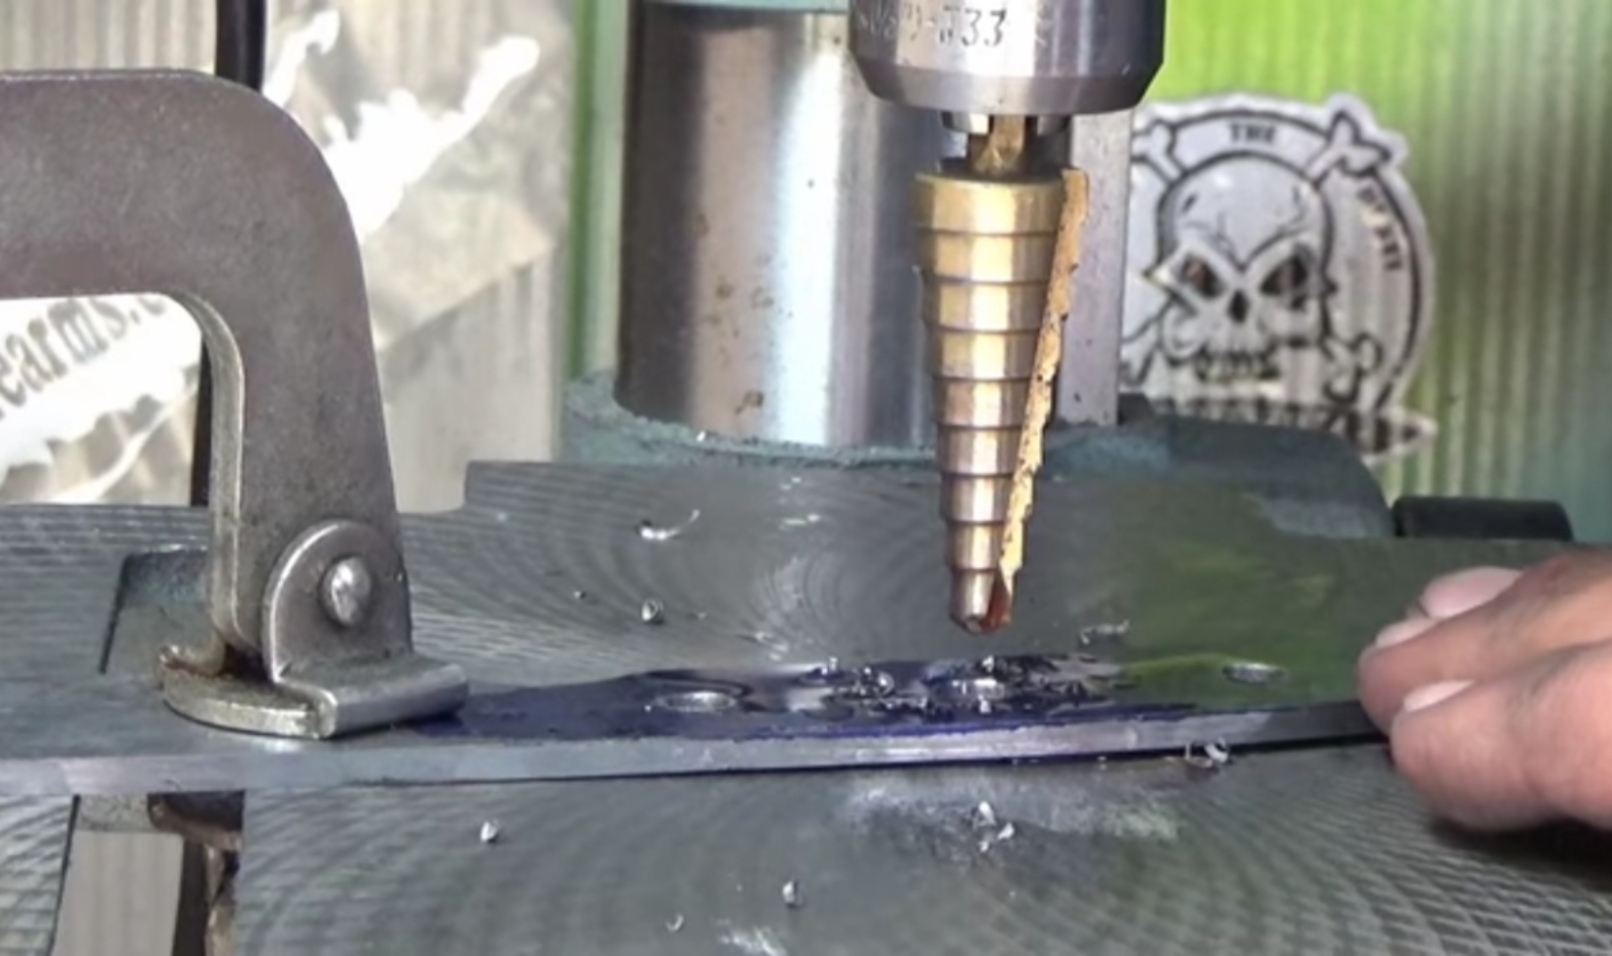
Next, we drill quarter-inch holes on the marked dots using a drill pin. While drilling, you can hold the knife with your hands or use a clamp to firmly hold it down. I recommend using a clamp because it is safer.
●
One after the other, carefully using the drill pin, create a hole on each dot.
●
Use sharp drill bits when drilling to make your work faster.
●
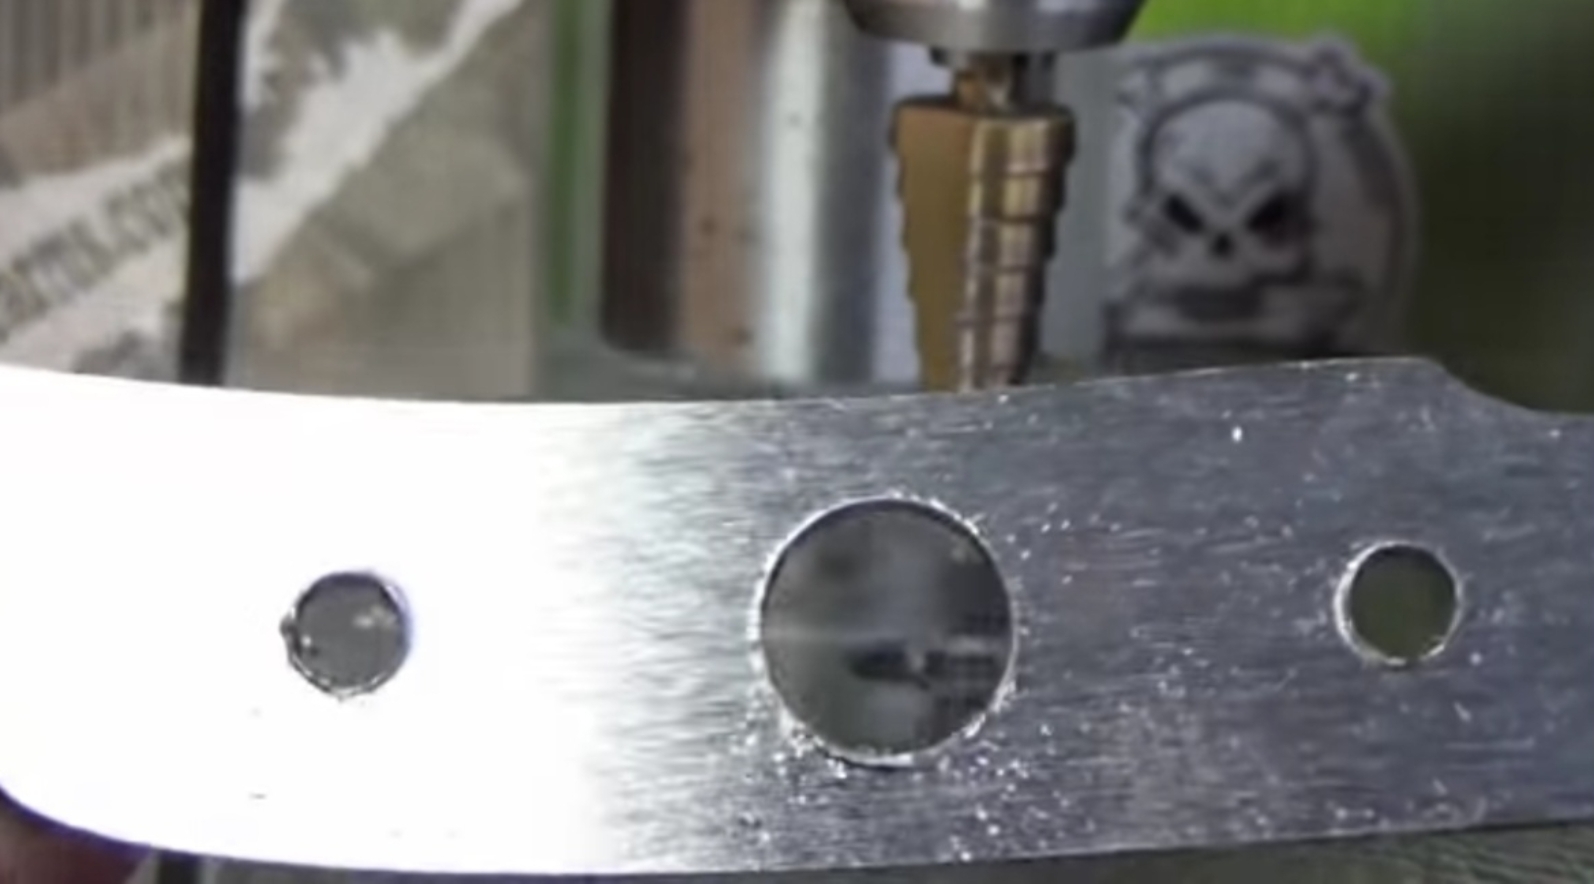
To make a larger hole in your knife. For instance, you want to have two small holes on the handle part's top and bottom and a large hole in the middle, swap your pint-size drill bit to a "Step Drill Bit" and drill away to make a bigger hole right in the middle.
●
You are done drilling holes in your knife.
Surfacing and scribing centerlines
After profiling and drilling holes on your knife, you should make your steel as flat as possible. The only way to make your knife perfectly flat is with a 'Surface Grinder.' However, if you don't have a 'Surface Grinder,' you can use a belt grinder instead.
The only other way to surface your knife is to put it on sandpaper and move it back and forth. It would take a lot of time. However, if you are patient, you will get the job done. Once you start surfacing the knife with your grinder, it might get hot due to friction. You can dip your knife in water from time to time to cool it down during the process.
Grinding
It is time to start grinding! After your knife's profile is refined, you will be systematically removing material to create bevels on your knife. The bevels will form an angle that makes the cutting edge of your blade. Everything you've been doing from the beginning comes down to this moment. It is the point where you turn your steel into a knife.
There are different types of grinds that you can use for your knife;
-
Scandinavian Grind.
-
Full Flat Grind.
-
Hollow Grind.
-
Convex Grind.
-
Asymmetrical Grind.
-
Sabre Grind.
-
Chisel Grind.
For beginners, I recommend starting with the 'Scandinavian Grind.' It is easy and less stressful to learn.
Scandinavian Grind:
This is a type of flat grind that starts below the blade's halfway point. This grind can maximize your knife's durability by leaving a lot of material in the blade's spine. This grind lacks a secondary bevel, giving it a shaper edge. A knife made with a Scandinavian Grind will cut through wood with ease.
A Scandinavian Grind is made by making a V-shaped bevel on the cutting edge of your knife.
Procedures:
1. Mark your Grinds
●
On your knife, find the centerline of your cutting edge.
●
Color the entire edge of the steel with a permanent marker or dye.
●
Measure the thickness of your blade using a Caliber.
●
Use a drill bit of half that thickness of your blade and run it along a flat surface next to the steel, dragging the tip along the blade edge.
●
Flip the blade and do the same thing again.
●
The line you create will give you a reference as to where your bevels should meet. The reason you colored the edge of your
blade is so that the line you draw will be visible to your eye.
●
Put a mark on the ricasso of both sides of the blade where you want your Grinds to end. (The mark is a reference to prevent you from taking the grind too far).
2. Grind off the ninety-degree angle of the steel's edge
●
Firmly hold the tang with your left hand with the cutting edge side facing up.
●
While using your right hand as a guide, grind the ninety-degree corner of the cutting edge into the belt to create a forty-five-degree angle.
●
Doing this will bring about a straight and even line, which you will bring up further to create the bevel.
●
You should stop this before the grind reaches the centerline, as you will need to leave the edge at about the thickness of a quarter.
●
On the other side of the steel, repeat this process.
Tip:
You should use an old belt for this procedure. If you use it on a new belt, you might end up ruining it.
3. Find the flat spot
●
Put a new belt on the grinder (50 grit belt). You should use a new belt because the won't heat up super fast, and you won't have to be dipping it inside water often to cool it down.
●
Bring the steel toward the belt gently with your hand.
●
Let the steel find the flat spot you have created and start moving the steel perpendicular to the grinder.
●
Don't apply a lot of pressure on the blade. Just gently move it across and let the belt do its job.
●
Use this technique for finding the flat spot to continue your grind every time you take your steel off the grinder.
4. Start working in your grinds
●
Make light passes across the full length of the cutting edge of your knife.
●
To keep the grind lines even, switch sides every few passes.
●
You could start from the tip of the knife and work your way up to the plunge line.
●
Make sure you keep an even pressing on the blade. Also, keep the steel moving.
●
You can check your progress every few passes.
5. Keep a close eye on the plunge lines
●
Be careful not to overrun the plunge line on the blade.
●
The radius of the plunge lines will be set using the belt's flexible edge over the side of the platen.
●
You can start setting these lines, however, do not cut them all the way in.
●
It is way easier to clean up your plunge lines with a finer belt after your blade goes through heat treatment.
●
You should also be careful when grinding on the tip because there's less material to take away.
6. Work your grinds up the blade
●
Continue working your grind higher toward the spine of your
blade.
●
Every pass you make should be slightly higher than the previous one.
●
Try to watch the amount of pressure you are putting on the blade. Applying too much pressure could cause wavy lines.
●
If there is an area with less material taken off, try slowing down on those high spots and putting more pressure on the blade's back.
●
The aim is to remove about (70-75) percent of the material that will make your bevel.
7. Clean up your grinds
●
On your grinder, remove the (50) grit belt there and replace it with a (120) grit belt.
●
Colour the ground surface with a permanent marker.
●
Take your blade back to the grinder and use the (120) grid belt to clean up your grinds.
●
Keep working the blade on the belt until the marker is finally removed.
●
With a (220) grit belt, repeat this process.
●
The reason for cleaning up the grind is to prevent the blade from warping or cracking during the heat-treat process.