Chapter 9: Heat and Steel
Heat treating your steel
Heat treating of steel is a series of thermal, industrial metalworking processes used to change the steel's physical properties and chemical properties. Heat treating can also be defined as the controlled heating and cooling of steel to make specific steel properties change without changing its shape.
Every kind of metal undergoes specific changes at a particular temperature. These specific temperatures are called 'Critical Temperatures.' Different steel requires different temperatures for heat-treating due to the different critical temperatures of the various steel.
Here are the heat treating steps that you should follow in your Knife-making journey;
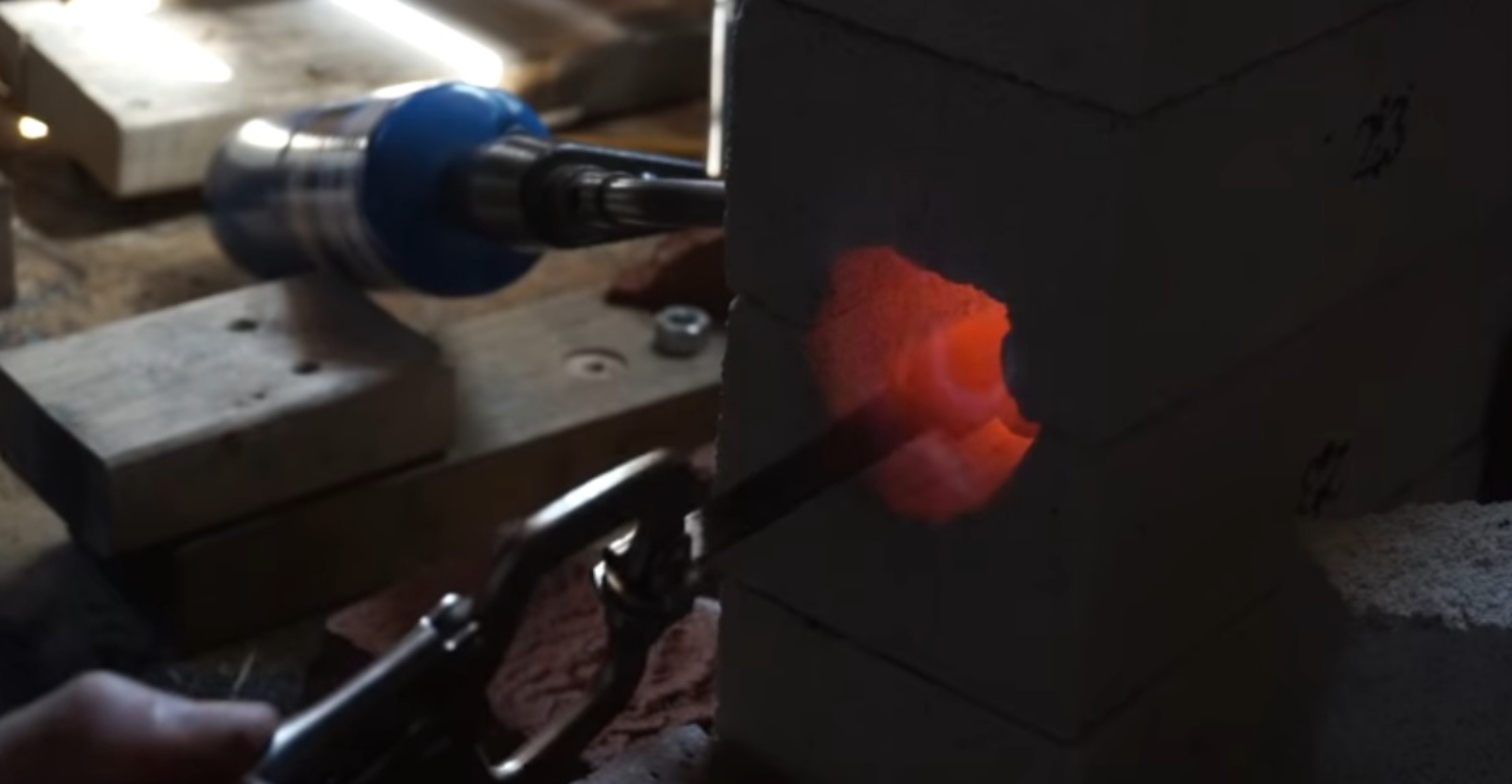
Step 1: Normalize
Normalizing is as it sounds – it resets and re-distributes all the steel ingredients to a uniform or normalized state. It also relieves stresses inside the steel caused by working the steel, otherwise known as shaping the steel with tools. Normalizing in most cases should always be done before 'Quenching.' However, if your steel comes normalized from the manufacturer, you can get away without normalizing. Still, it is so simple to do that there's no reason not to normalize.
How then do you Normalize?
●
Generally speaking, depending on the type of steel you are using, heat the steel to (1500-1600)°F. (In this case, we will be using a forge)
●
You should rotate the steel and move it back and forth during the heating process to prevent just one side from heating well
●
Next, allow the heated steel to cool in still air. It causes the metal to form a fine pearlite structure.
●
Repeat this process two to three times. It is as simple as that.
How do you know if you have heated the steel to (1500-1600)°F?
Use a magnet!
The nice thing about steel is that it becomes non-magnetic around 1425°F 'The Curie Point.' So if you heat the steel to the point where it becomes non-magnetic, then you would know you are around 1425°F, and a few seconds would get you to (1500-1600)°F. Although, it is not exact, as it is just a reference point.
Step 2: Annealing
The annealing process is very similar to that of normalizing.
●
Your steel is brought to a temperature that is a little bit above its critical temperature, but then it undergoes a much controlled and slower cooling.
●
The slower the austenitic steel is cooled, the more carbon will diffuse and pool away from the iron.
●
This process results in a softer metal.
●
You should carry out this process before you attempt to file or drill your steel because it makes your steel much easier and stress-free to work with.
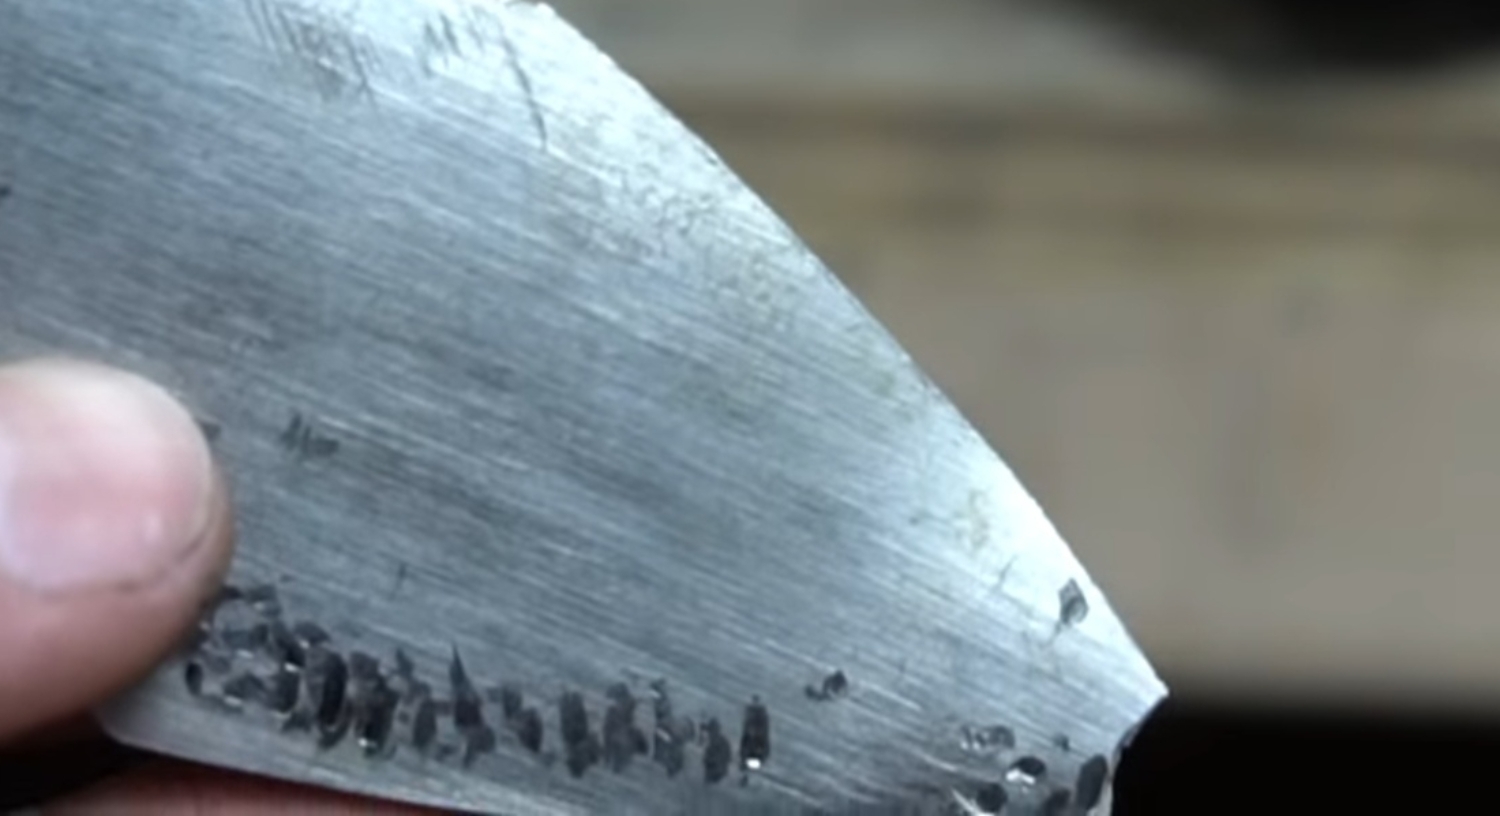
Step 3: Hardening
When the austenitic steel is cooled, the carbon is trapped in its position in the steel. Right there, a new structure is formed—Martensite. The martensitic steel is very hard but brittle, and using a hardened blade on it could result in breakage or near the breakage point. So you must handle the martensitic steel as gently as possible until you put it through the tempering process.
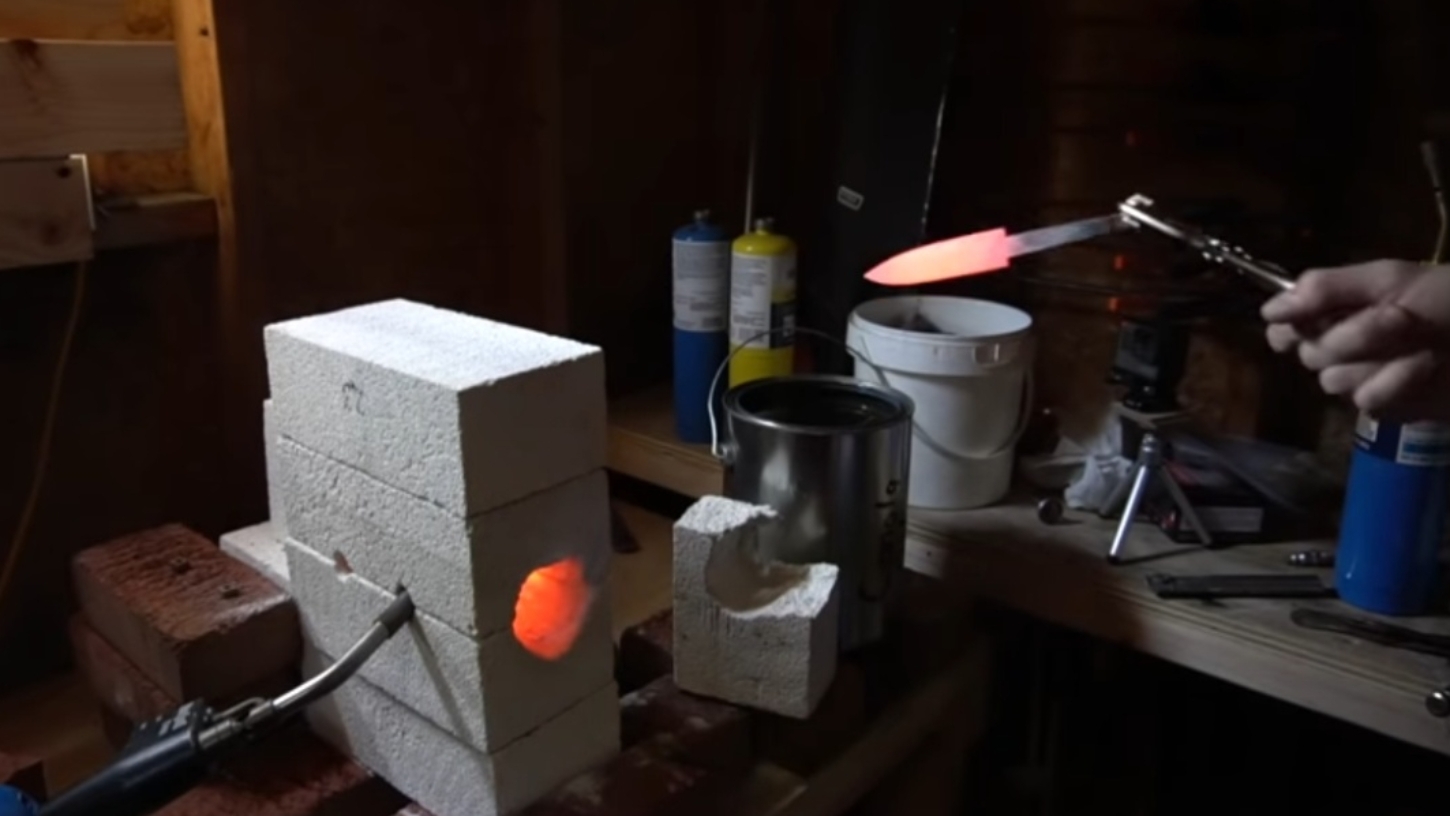
Step 4: The Quench
Quenching is a non-technical term describing hardened steel formation by rapidly cooling the heated normalized steel in either oil or water. So you need to note that our normalized steel is in the soft state, and our quenched steel is in the hardened state.
●
Quenching is done by heating the steel to (1475-150)°F, depending on the steel type.
●
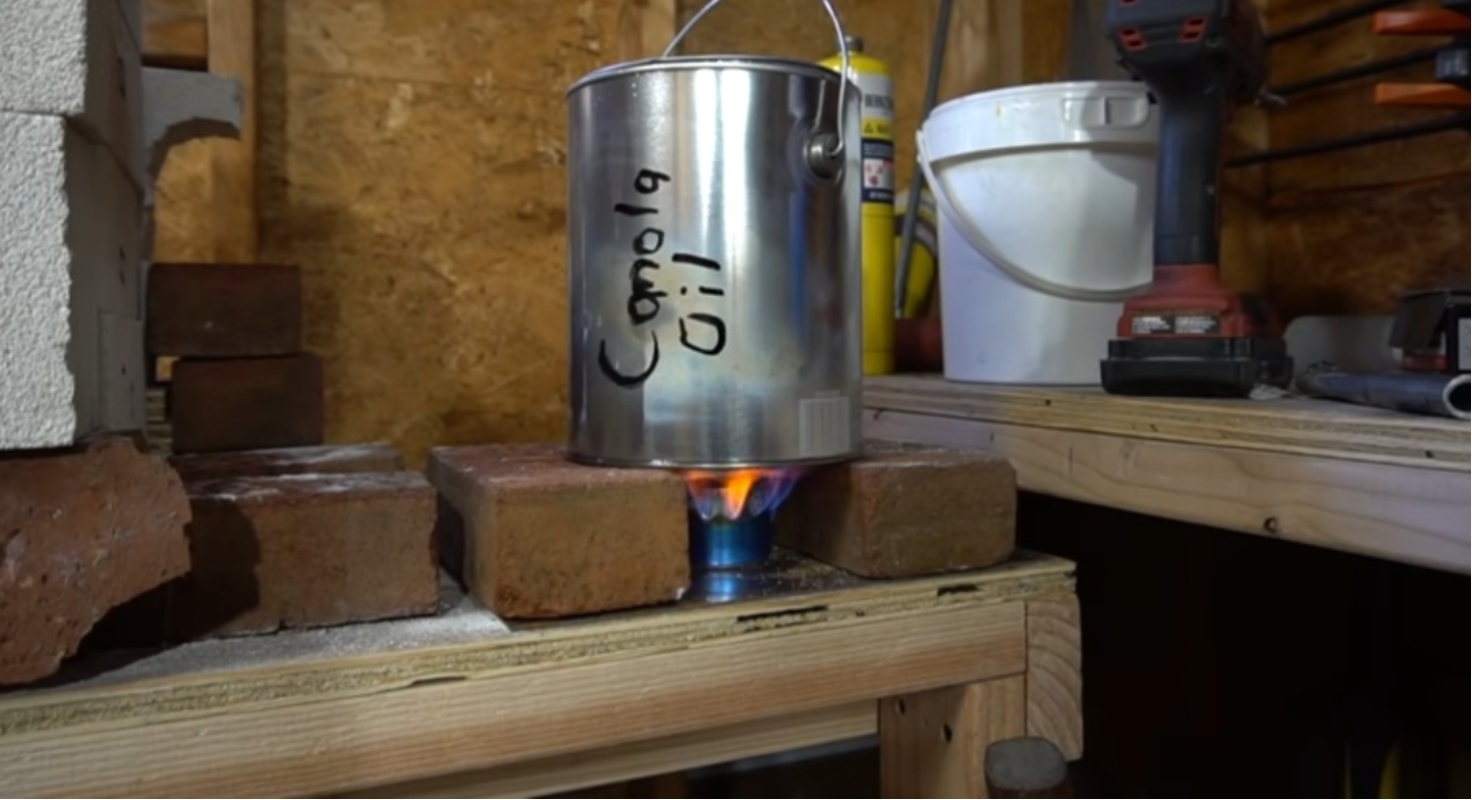
And after, quickly plunge the steel into a can of vegetable oil or water.
●
Whether you Quench your steel in oil or water is really up to you. I would suggest you Quench your steel using vegetable oil heated to about one hundred and thirty degrees Fahrenheit over water. Why? Pre-heated oil cools faster! Heating the oil lowers its viscosity or its thickness, and thinner oil cools more quickly!
●
The reason why I suggest using vegetable oil instead of water is because of cracking. Water tends to cool the steel way too fast, which can lead to cracking a blade, especially if your blade is very thin.
●
Vegetable oil has a slower cooling rate than water, thus, reducing the possibility of a crack in your steel.
●
With Quenching, it is a balance between not going too fast and not going fast enough.
●
Taking the heated piece of steel into the oil needs to be very
fast but precise. Fast because the steel temperature will drop dramatically the second you take it out of your forge.
●
Once the steel is in the oil, stroke the steel slightly back and forth, the movement prevents air bubbles from forming around the steel, which could cause uneven cooling.
●
For the blade to harden, it needs to cool to about 900° in about eight to ten seconds.
●
You are done with the Quenching stage.
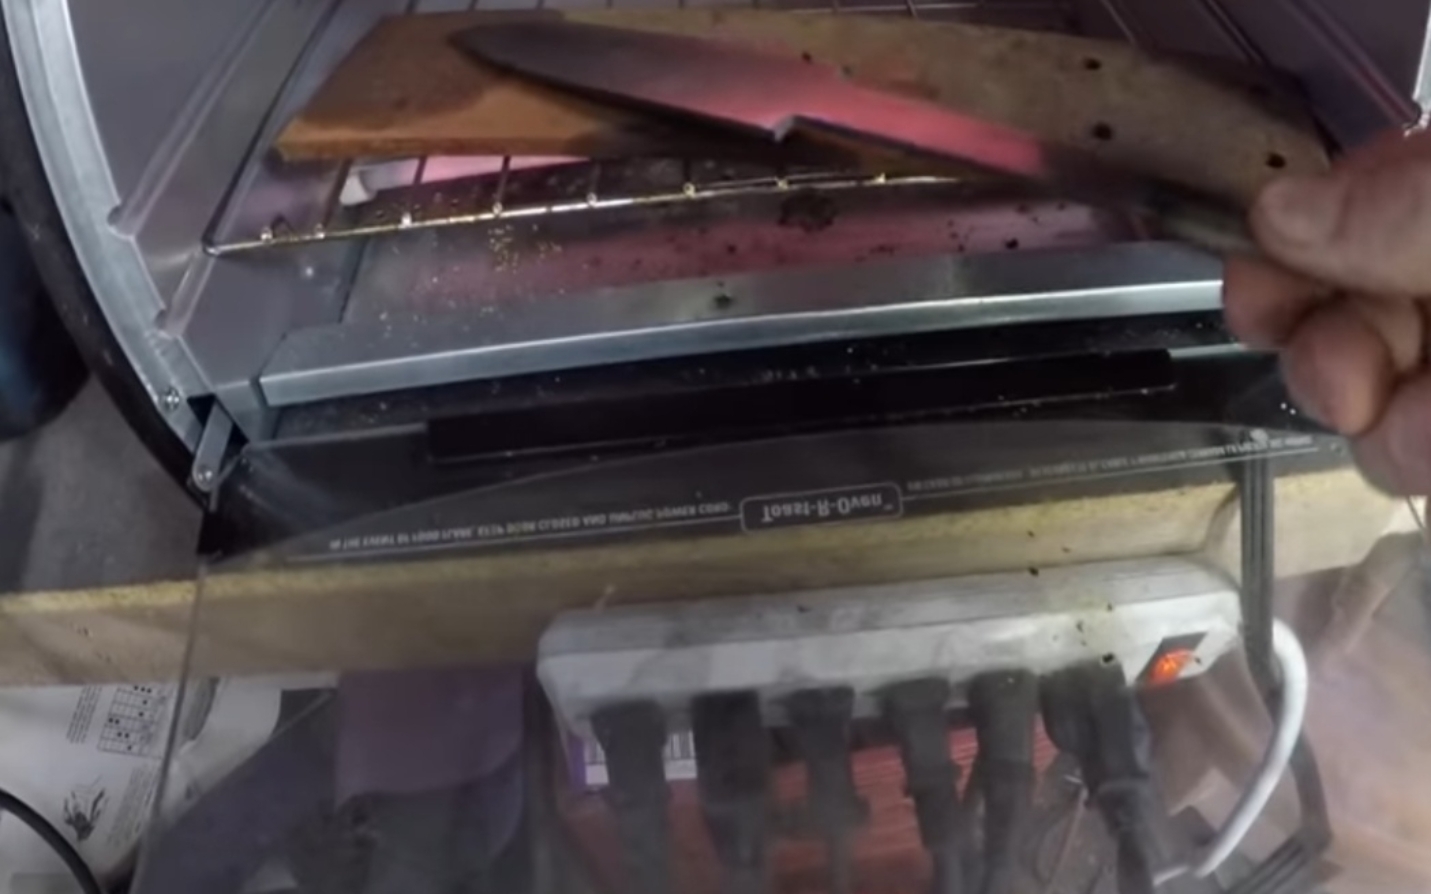
Step 5: Tempering
After Quenching, your knife is in a super-hardened state. If you were to leave the knife exactly how it is after Quenching, you would have great edge retention on the blade, which is what we are after. However, the blade is also super brittle, and it could crack and shatter into pieces if you were to drop it on the floor mistakenly. To toughen up a blade, we need to bring the hardness level by a notch or two.
●
With the tempering process, we slightly heat our blade by baking it in a kitchen oven.
●
The hotter your tempering temperature is, the softer the blade is going to be.
●
Each steel type has its tempering recipe.
●
However, if you temper in the range of around (400-500)°F, you will most likely be happy with the result.
●
With (400°F), leaving your steel blade harder yet a slightly brittle edge, and with (450-500)°F giving you a slightly tougher edge.
●
The choice is up to you to decide what's best for the particular type of knife you are making.
Once you are done tempering, you are pretty much done and ready to finish your knife.