Chapter 11: Making a Full Tang Wooden Handle for your Knife
Before you start making your handle, cover the blade part of your knife entirely with tape. Doing this will protect you from getting scratched with your blade and prevent scratches on your blade.
●
Get a wooden material from your local store. Make sure it is about (0.180 inches) thick.
●
Trace out the tang shape on the wooden board with a permanent marker.
●
Flip the tang to the other side and retrace the tang shape.
●
Find a means of identifying the two sides. You could write an inscription on them.
●
Next, go to your metal cutting bandsaw. (Do not use a wood cutting bandsaw for this. If you don't have a metal cutting bandsaw, you can use an Angle Grinder).
●
When cutting with the metal bandsaw, make sure you are wearing a respirator.
●
Trim out the shape you drew on the wooden scale by tracing out the markers.
●
As always, you want to leave yourself some room in case of any error.
●
Next, set up those cut wooden materials for drilling.
●
Clamp one of the wooden scales to your polished knife before you drill it. (You can use any leveled block to support your knife while drilling).
●
To drill the pint-sized holes, use your quarter-inch bits.
●
Next, to save time, just take the second wooden scale and clamp it together with the first one and drill the two wooden scales together using the first one you already drilled as a reference.
●
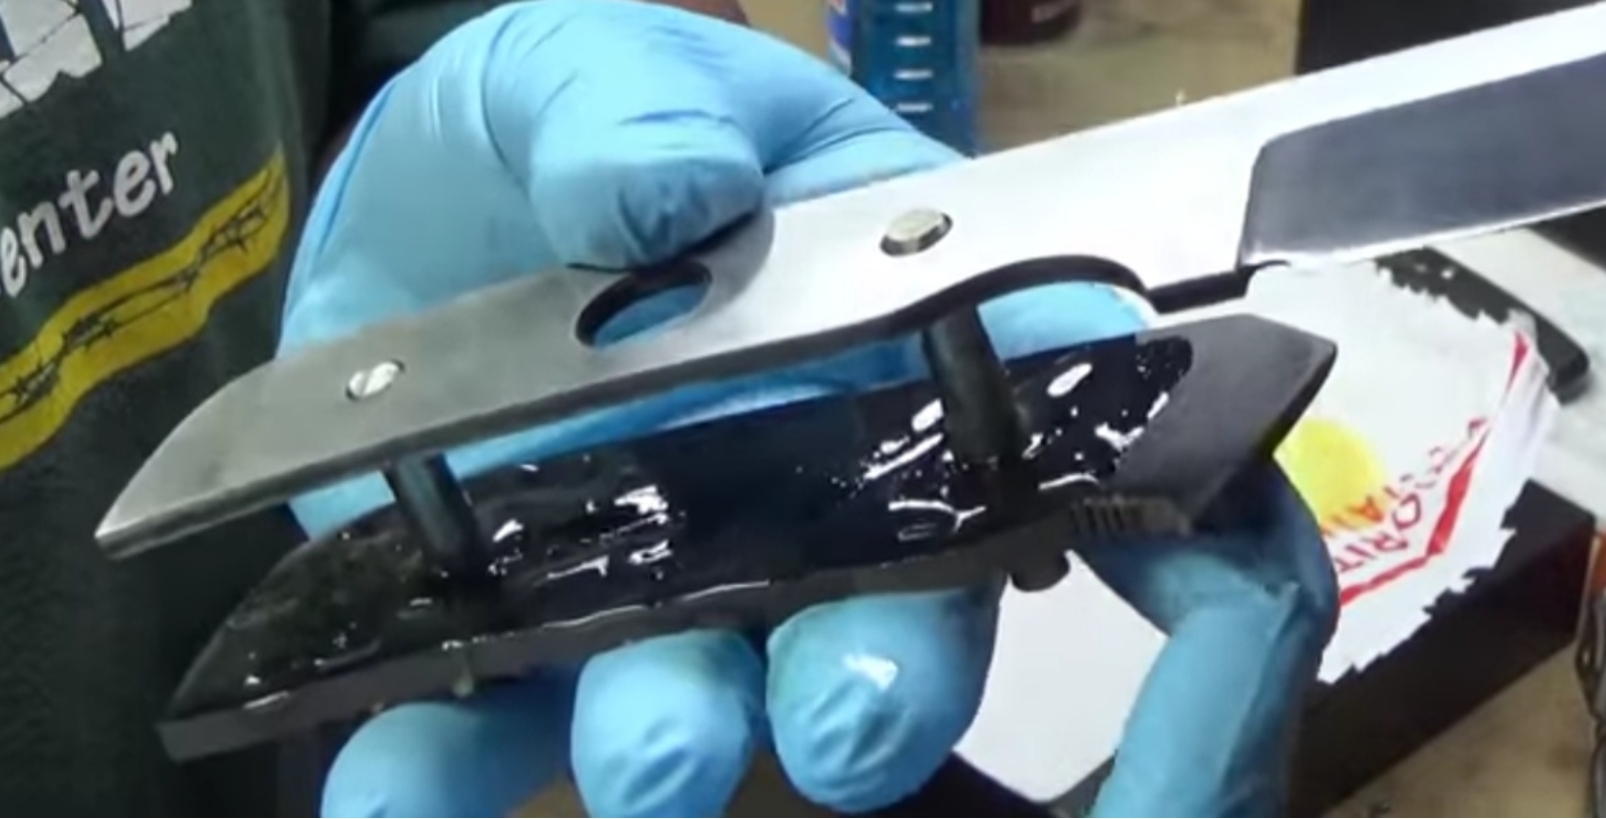
Once you drill through both scales, you need to insert your pins through the holes. (Pins are pieces of thin, round metal that helps you hold the two scales together to a full tang blade. These pins, once finished, will leave a small circle of metal visible on the handle. Pins can be made out of almost any kind of metal, depending on your taste).
●
You can make your pins from any metal. Just shape the metal down to the size of a pin.
●
If the holes you have drilled are the same diameter as your pins, you will need to thin your pin down to the fitted size.
●
Take your pins to the belt grinder sander and grind them down evenly from the steel's circumference. Test them in the holes until they have a good fit. You could also gently apply taps with a hammer on the pins till they fit into the hole.
●
For the next step, using your respirator is an absolute must.
Using your belt grinder, trim the scales down to the marker. You could also decide to add any design you want on the handle. Use a (120) grit belt for this.
●
Once you finish shaping the scales, rinse them with water as they will be dusty.
●
Next, polish your wooden scales to make them smooth.
●
Next, you are going to glue the handles. You can use epoxy or other adhesive to glue them.
●
I recommend you wearing a pair of gloves because using glue can get messy, and also, you don't want your fingerprints to be on the handle.
●
Use a little bit of alcohol on a paper towel and rub it on your scales.
●
If you are using epoxy, mix them up and apply them in-between your scale and the knife. If you are using glue, go right ahead and apply it.
●
Do not apply too much in-between the scales and the tong to avoid it spilling from the sides and messing up your knife. Apply a little at specific ends.
●
Once you are done applying the epoxy on both sides, close
them up gently, together with the pins. Allow the glue/epoxy to dry and harden. It might take a while, depending on what adhesive you used.
●
Next, inspect the whole knife if some of the glue spilled around the scale or on the knife, and clean it with alcohol.
●
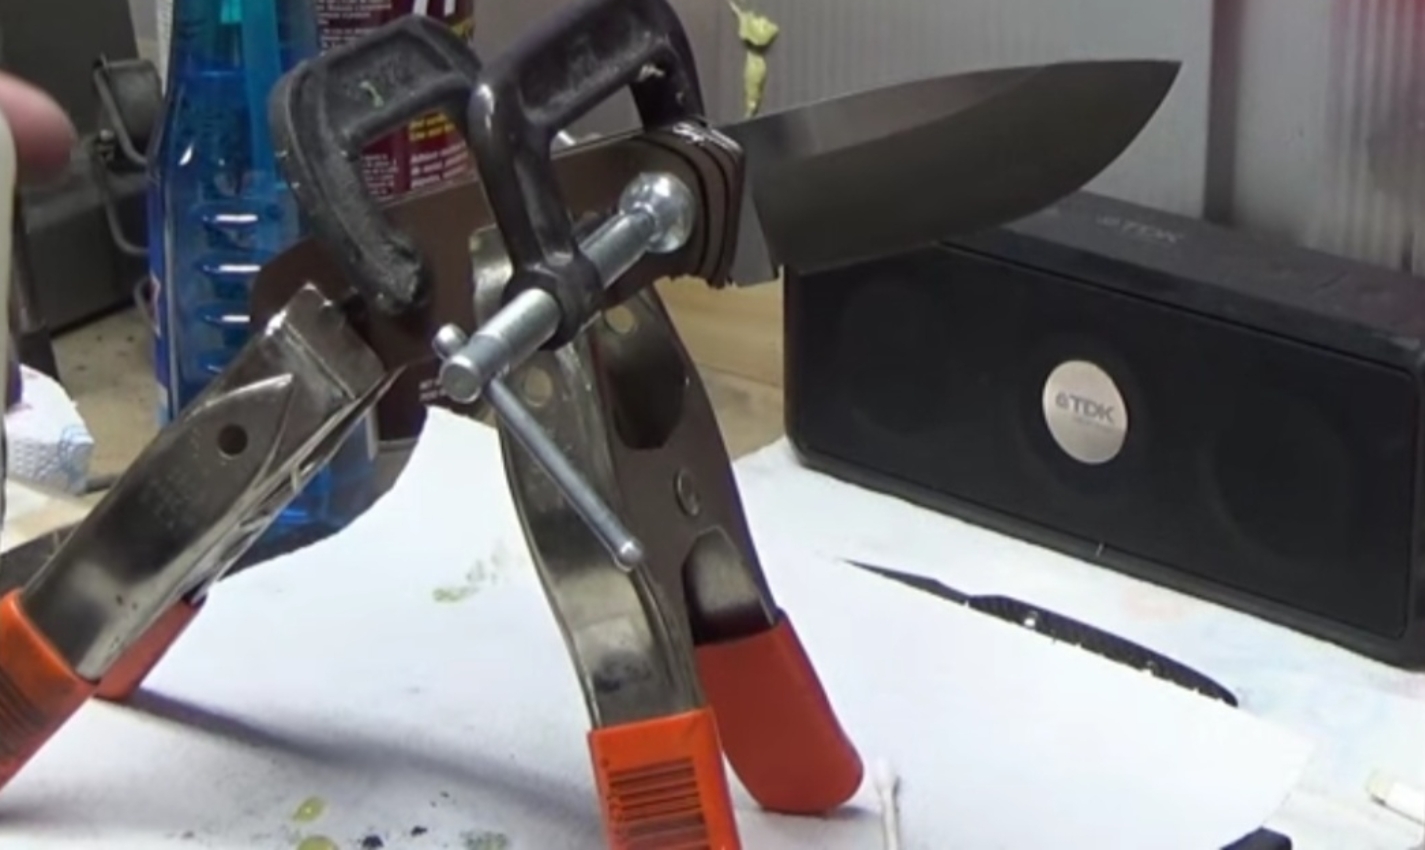
Finally, you are done with the handle! Place it in your house for it to dry up entirely.