During development using TDD, we test our code all the time. In fact, we only write code if a failing test tells us to. But let's face it; sometimes, you're not in the right mood or believe that without tests, you are faster (which is rarely the case) and need to fix that bug now. Whatever the reason behind why you don't write a test first is, you still want the test harness to prevent you from breaking existing features. The idea is to always have a compliable, presentable app in your source code management system.
Continuous integration helps with this task. A continuous integration server can be configured to compile the project and run all the tests whenever someone makes a change to the repository. Or, you can configure it to compile and run the tests every night at 2 AM, for example. This way, when you arrive at your office at 8 AM, you can check whether the project is still in good shape.
In this section, we will use Xcode Server to set up continuous integration for our ToDo app. Xcode Server can be downloaded from the App Store for about $20. But if you are a registered iOS or OS X developer, you can download it from Apple's website for free.
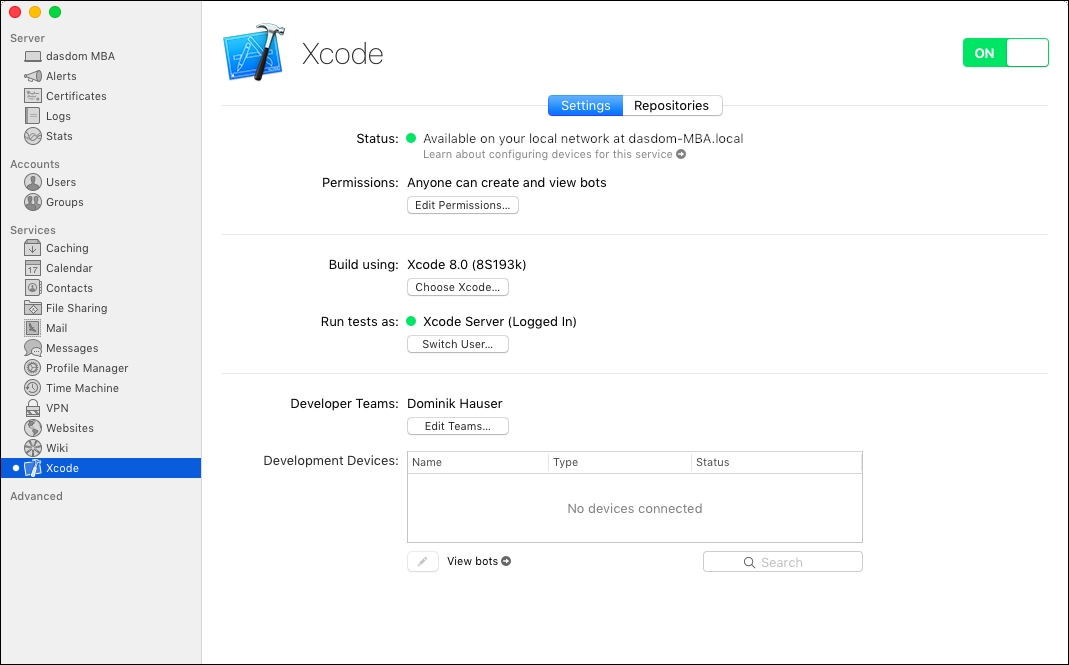
Download OS X Server from https://developer.apple.com/download/, or search for it in the App Store. Make sure that the developer in the App Store is iTunes S.a.r.l. After downloading and installing it, open Sever.app from the Applications folder, and follow the setup instructions. Go to the Xcode section under Services and click on Choose Xcode..., as shown in the following screenshot:

Select the Xcode version you use for development. When you set up OS X Server on a remote Mac, you need to download Xcode first from the App Store.
When OS X Server is finished with setting up Xcode, it will ask you to create a user for the continuous integration of your project. Use the default values already put into the text fields and choose a password. Then, click on Create User, as shown in the following screenshot:
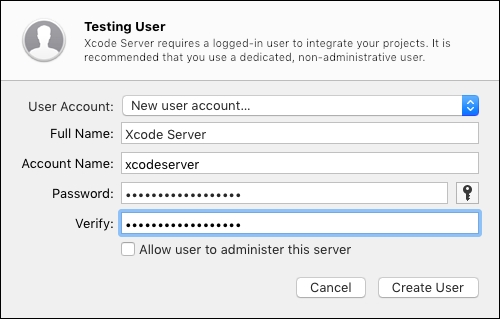
Xcode Server will set up a user for you. After it is finished, it will ask you to log in to that user. This is important because the integration can only run on a logged in user. After you have logged in, you are presented with the desktop of a fresh user. The user you have just created is a normal user on your Mac.
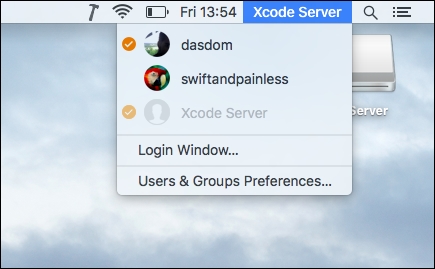
You might see a warning pop up on the screen that screen lock is still enabled. You should turn it off because it will halt the execution of UI Tests. For now, click on Ignore. Our first bot won't use UI Tests. We have finished the setup of the new user. Switch back to your normal user. You can use fast user switching for this, as shown in the following screenshot:
After you have switched back, you should see a window similar to this:
To enable continuous integration, the Xcode Server needs access to the repository of the app. If the project is already hosted by a web service, such as GitHub, you can give Xcode Server access to this repository. We will use a different approach here. We will host the repository of our app on Xcode Server.
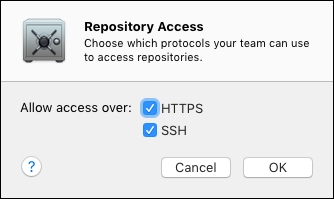
Click on the Repositories button. Then, click on Repository Access and navigate to Allow access over and check HTTPS and SSH, as shown in the following screenshot:
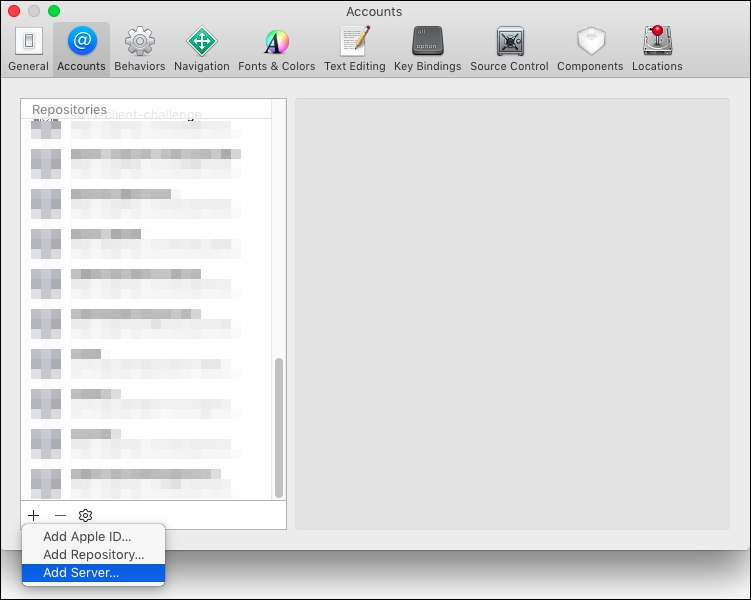
Now, open Xcode, navigate to Xcode | Preferences and select the Accounts tab. Click on the + button at the bottom and select Add Server..., as shown in the following screenshot:
Select the server shown on the list, or enter the address of localhost (127.0.0.1) and click on Next. Enter the username and password of the admin account of your Mac.
Before we can add the Xcode Server as the location for a remote repository, we need to make sure that the project is already managed by Git. Open Terminal.app and navigate to the directory of the ToDo project. Enter the following command and press return:
ls -a
If you see .git in the output, it means that you already have a Git repository for the project. If not, put in the following command and press return:
git init
This command creates a Git repository for the project. Next, put in the following command and press return:
git add -A .; git commit -m "Initial commit"
Quit Xcode and open the ToDo project again.
We now have a local Git repository for our project. Next, we will add a remote repository to the Xcode Server. In Xcode Server, go to Repositories and click on the + button, as shown in the following screenshot:

Put in the name ToDo and click on Create. Double-click on the created repository and copy the ssh path. Then, open the ToDo project in Xcode and go to Source Control | ToDo - master | Configure ToDo. Select the Remotes tab, click on the plus (+) button in the bottom-left corner, and choose Add Remote.... Paste in the ssh path you have just copied and click on Add Remote.
We will now add a bot. Bots are the implementation of continuous integrations shipped with Xcode.
Go to Product | Create Bot.... Make sure that the checkbox next to Share scheme is checked and the server you have created is selected as Server; then, click on Next.
In the window that appears, Xcode will ask you to provide credentials for the Xcode Server. Click on Sign In, put in your username and password (the one you used when you set up the server in Account Preferences in Xcode), and click on Next. Leave the build configurations as they are and click on Next. Change the selection in Schedule to On Commit and click on Next. Specify the devices you want the test to run on. The more devices you select here, the longer the integration will take. So, for a start, select Specific iOS Devices and check one simulator. Click on Next. For now, you don't need to set environment variables. So, click on Next. In the window that appears, you can select a pre and post trigger. This means that you can add actions before and after the integration is run. We won't use the trigger here. Click on Create.
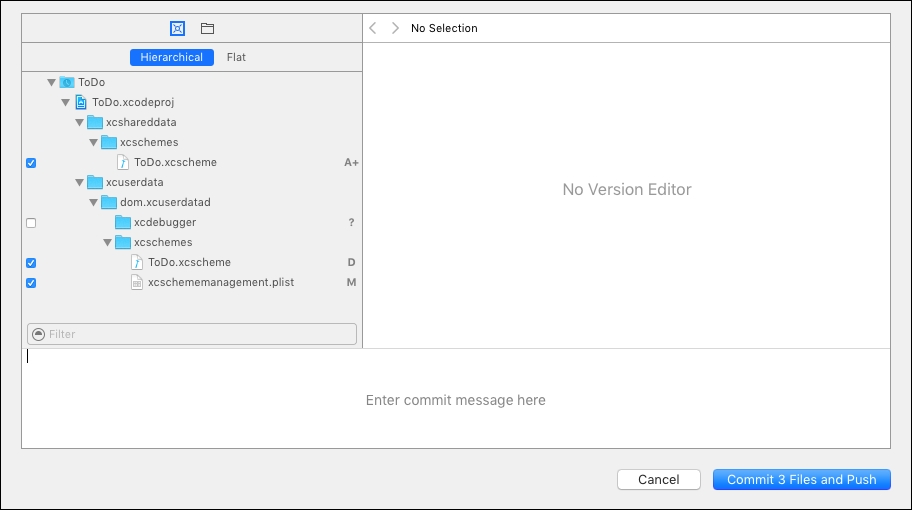
Xcode will open a commit window because it changes the project to enable continuous integration. Add the Added Bot commit message and click on the Commit button, as shown in the following screenshot:
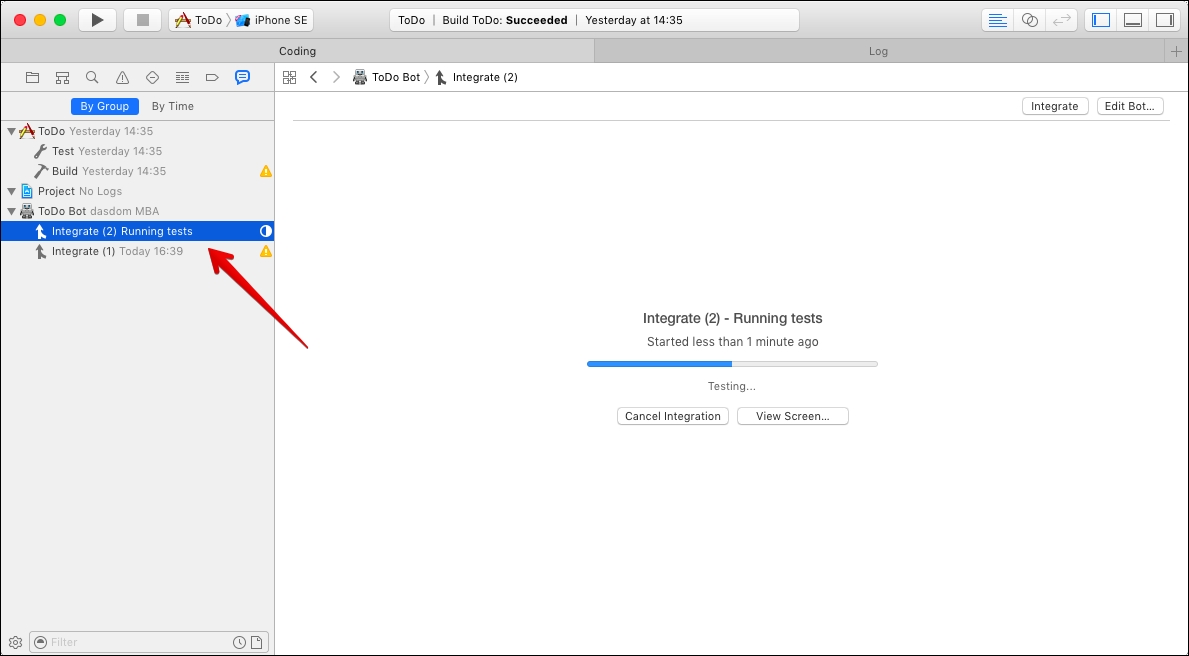
The bot will immediately start the integration. To take a look at what is going on, expand the bot by clicking on the triangle next to it in the Report Navigator, and select the currently running integration, as shown in the following screenshot:
When the integration is finished, it will present you with a summary, as shown in the following screenshot:

The Summary shows the number of Errors, Warnings, Analysis Issues, and Tests. In addition to this, it shows the created .ipa, archive and the summary of all the devices you have selected to run the tests on.
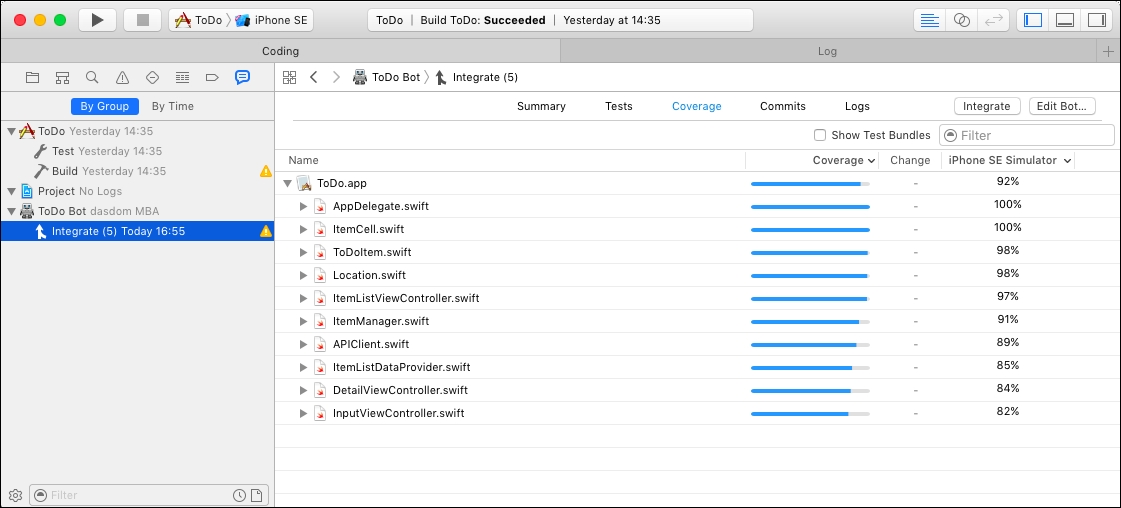
At the top of the window, you can select detailed information on the integration. For example, under Coverage, you will find information on the code coverage we have enabled in the previous section, as shown in the following screenshot:
Out of curiosity, let's make a test fail, and then, take a look at what this looks like in the integration summary. Open Location.swift and remove the following lines from the implementation of the equal operator:
if lhs.name != rhs.name {
    return false
}
Go to Source Control | Commit..., add the Added bug for test purposes commit message, and click on Commit. Next, go to Source Control | Push... and click on Push. The integration will automatically start after a few seconds. Select the running integration and wait until it is finished.
In the summary view of the integration, as shown in the following screenshot, you can already see which test has failed:

Two tests fail because of the bug we have introduced. Before we continue, make the tests pass again.
Tip
UI testing was introduced in Xcode 7, and there are still some strange bugs at the time of writing. Sometimes, UI tests fail during integration for no particular reason. Because of this, I will disable UI tests for continuous integrations until they are more reliable. To do this, remove the UI tests from the build scheme.