ravenous rats
The rats' bodies are knitted in stockinette stitch, with simple shaping and i-cord legs and tails.
RATING

yarn
For each rat
Lightweight (DK) yarn
 Oddment in brown, grey or ecru (MC)
Fingering-weight (4-ply) yarn
Oddment in pink (A)
needles
2 × size 2 (2.5mm) knitting needles
2 × size 0 (2mm) double-pointed knitting needles
notions
For each rat
2 × ¼in- (6mm-) diameter toy safety eyes (or black/blue yarn)
gauge
15sts and 19 rows to 2in (5cm) of st st, using MC and size 2 (2.5mm) needles for st st
Don't worry if the gauge is not exact – it doesn't matter if the rats are a little bigger or smaller than shown.
finished size
Approx. 4½in (11.5cm) long (not including the tail) × 2in (5cm) tall
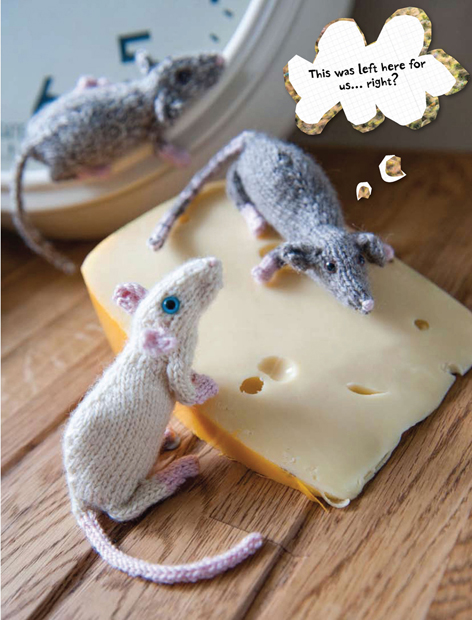
Tawny, Mouse (a rat called Mouse – I know – but she doesn't care!) and Whisker are three of the cleanest, most affectionate and lovable pets you will ever own. Some say they are unsurpassed by even the cutest kitten or cuddliest puppy – and they'll only eat all your biscuits if you leave them lying around!
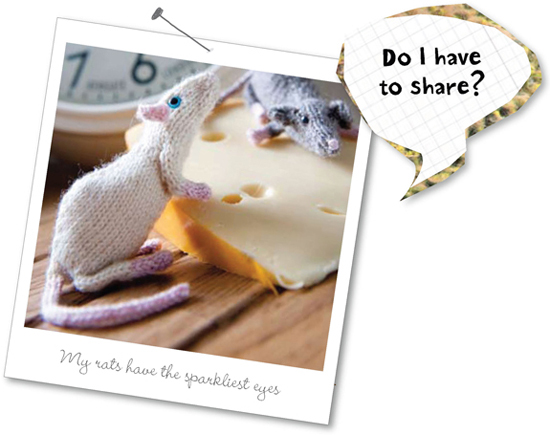
It's worth seeking out blue eyes to make your white rat look just right.
GREY RAT PATTERN
knitting notes
The main part of the rat is worked in one piece from the head to the tail.
The rats are worked on double-pointed knitting needles using the i-cord technique.
Even safety eyes can present a choking hazard for a very young child. So, instead of using toy eyes, embroider the eyes with thread.
If you want a tighter fabric, simply knit on needles that are one size smaller than specified.
knitting notes
The brown rat is worked as the grey rat, but using yarn MC for the tail and ears.
The white rat is worked as the grey rat, but using yarn A for the tail and ears.
HEAD, LEGS, BODY AND TAIL
Cast on 2 sts using MC and size 2 (2.5mm) needles.
Row 1 (RS) Kfb twice. 4 sts.
Row 2 *Pfkb, rep from * to end. 8 sts.
Row 3 Kfb twice, k4, Kfb twice. 12 sts.
Row 4 Pfkb, p to last st, pfkb. 14 sts.
Row 5 Kfb, k to last st, kfb. 16 sts.
Work 7 rows in st st, beg with a p row.
Shape top of head
Row 13 (RS) K11, turn.
Row 14 Sl 1, p5, turn.
Row 15 Sl 1, k4, turn.
Row 16 Sl 1, p3, turn.
Row 17 K.
Row 18 Pfkb twice, p to last 2 sts, pfkb twice. 20 sts.
Row 19 Kfb, k to last st, kfb. 22 sts.
Work 3 rows in st st, beg with a p row.
Divide for front legs
Row 23 (RS) Kfb 3 times, sl next 5 sts onto a safety pin, kfb 6 times, sl next 5 sts onto a safety pin, kfb 3 times. 24 sts. (Keep gauge tight as you knit under the sts held on safety pins.) Work 3 rows in st st, beg with a p row.
Row 27 (RS) K12, M1, k12. 25 sts.
Row 28 P.
Row 29 K12, M1, k1, M1, k12. 27 sts.
Row 30 P.
Row 31 K13, M1, k1, M1, k13. 29 sts.
Row 32 P.
Row 33 K14, M1, k1, M1, k14. 31 sts.
Row 34 P.
Row 35 K15, M1, k1, M1, k15. 33 sts.
Row 36 P.
Row 37 K16, M1, k1, M1, k16. 35 sts.
Row 38 P.
Row 39 K16, k3tog, k16. 33 sts.
Row 40 P.
Row 41 K15, k3tog, k15. 31 sts.
Row 42 P.
Row 43 K14, k3tog, k14. 29 sts.
Row 44 P.
Row 45 K13, k3tog, k13. 27 sts.
Row 46 P.
Row 47 K12, k3tog, k12. 25 sts.
Row 48 P.
Divide for back legs
Row 49 (RS) K3, sl next 6 sts onto a safety pin, k7, sl next 6 sts onto a safety pin, k3. 13 sts. (Keep gauge tight as you purl in front of the sts held on safety pins.)
Row 50 P.
Divide for tail
Row 51 (RS) K2tog twice, k1, sl next 3 sts onto a safety pin, k1, k2tog twice. 6 sts. (Keep gauge tight as you knit under the sts held on safety pin.)
Cut yarn and thread end through rem sts. Pull up tight and secure.
Work front legs (make 2)
Sl 5 sts held on the safety pin for one front leg onto size 0 (2mm) needle.
Row 52 (RS) MC K.
Work as i-cord for 6 more rows or until the leg measures ¾in (2cm).
Change to A, work as i-cord for 7 more rows or until the leg measures 1½in (4cm).
Bind off.
Work back legs (make 2)
Sl 6 sts held on the safety pin for one back leg onto size 0 (2mm) needle.
Row 66 (RS) MC K.
Work i-cord for 8 more rows or until the leg measures 1in (2.5cm).
Change to A, cont to work as i-cord for 2 more rows.
Row 77 K2, k2tog, k2. 5 sts.
Work i-cord for 6 more rows or until the leg measures 2in (5cm).
Bind off.
Work tail
Sl 3 sts from the safety pin onto size 0 (2mm) needle.
Row 84 (RS) MC K.
Work in i-cord for 2 more rows.
Join A and work tog with MC until the tail measures 4in (10cm).
Cut yarn and thread end through rem sts. Pull up tight and secure.
EARS (MAKE 2)
Cast on 5sts using MC and size 0 (2mm) needles.
Row 1 (RS) Kfb, k3, kfb. 7 sts.
Row 2 P.
Row 3 K2, k3tog, k2. 5 sts.
Row 4 P.
Row 5 K1, k3tog, k1. 3 sts.
Cut yarn and thread end through rem sts. Pull up tight and secure.

MAKING UP
HEAD
Following the manufacturer's instructions, snap the eyes in place on each side of the nose. Alternatively, embroider the eyes with yarn.
With right side facing and working backstitch, join the head and body, leaving an opening in the belly for turning through and stuffing. Turn through.
Stuff the head and neck without distorting the shaping or knitting. Sew the opening closed.
Sew each ear to the side of the rat's head and embroider a nose using yarn A and straight stitches.
BODY AND LEGS
Oversew to close any gaps under the arms, legs or tail.
Sew a couple of stitches to bend the back legs so they sit alongside the belly.
If you wish, stitch the front feet together and sew the front legs to the sides of the body to bent them slightly.
Curl the tips of the feet under a little and hold in place with a couple of stitches to give the impression of tiny fists.