When working with resin clay, coat your gel or modeling paste plate with cooking spray or mold release to keep the clay from sticking. Also let the clay cure on butcher paper (the shiny side) or plastic as it may stick permanently to other surfaces.
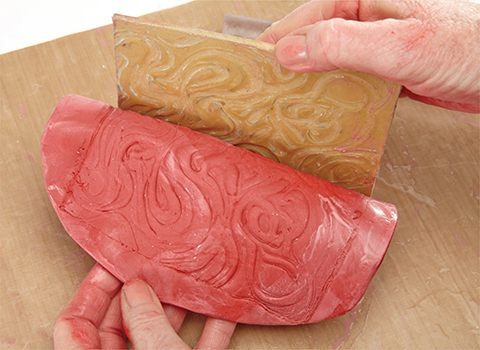
STEP ONE: Lay a 1⁄4" (6mm) layer of prepared resin clay on your gel or modeling paste plate and brayer to transfer the pattern. Red Apoxie Sculpt is used here. (Apoxie Sculpt comes in twelve different colors and can be custom colored if desired.) Remove the clay from the plate.

STEP TWO: Trim the edges or cut the patterned clay into shapes (like the dress shown at the beginning of the chapter). Let the clay set up for about two hours until it begins to stiffen but is still pliable.

STEP THREE: Lay the clay over a dowel or rolling pin to shape it if needed (in this case, to drape the dress). Then let the clay set up fully and add it to your assemblage. Paint the clay and add a contrasting color glaze if desired.
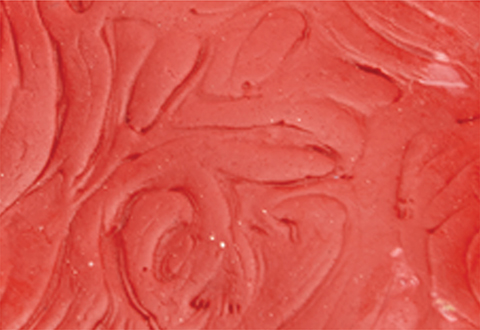
Detail of patterned clay.