Explore the possibilities of creating a “frame” using narrow slab strips adhered to the perimeter of a larger slab and inscribed or stamped to create texture. Once your slab piece has fully cured, you will be able to finish the piece with any kind of paint or wash that you want. Cut out shapes to place within your frame that can be covered with paper or any other collage element.
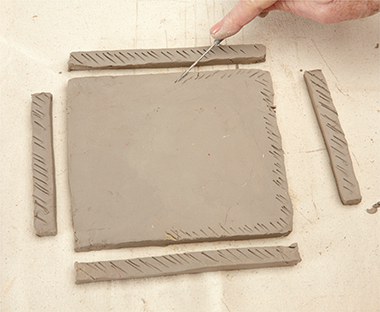
STEP ONE: After rolling out your slab, cut out your base and sides and score all edges with a clay tool.
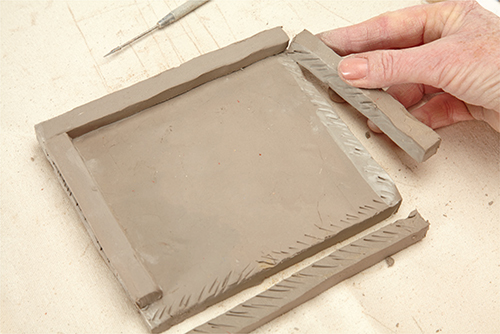
STEP TWO: Wet the scored edges of the base and the strips, and attach them together.
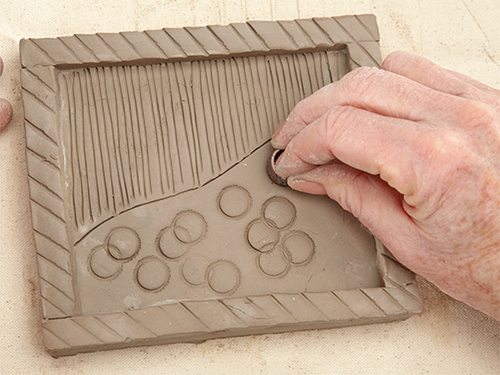
STEP THREE: Make marks in the clay to decorate the frame and to create the artwork inside. Set this aside to dry.
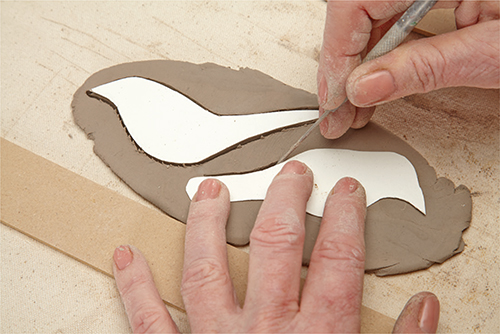
STEP FOUR: Trace and cut bird shapes out of more clay. Let them dry, flipping the birds frequently to avoid warping (this may take 1–6 days to dry thoroughly).

STEP FIVE: Paint the clay frame once it has dried.
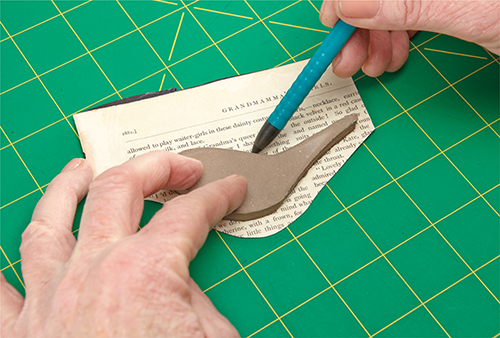
STEP SIX: Trace book pages to roughly fit the bird shapes. Adhere the pages to posterboard or cardstock first, because putting lightweight paper directly on the clay may result in visible bumps and wrinkles.

STEP SEVEN: Adhere the book pages to the clay birds using soft gel.

STEP EIGHT: Flip the birds over and trim the excess paper.
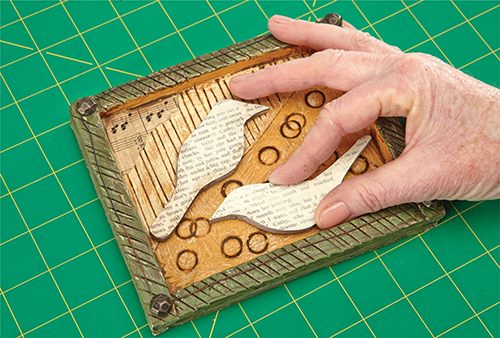
STEP NINE: Adhere the birds in the frame using epoxy glue or premium white glue.

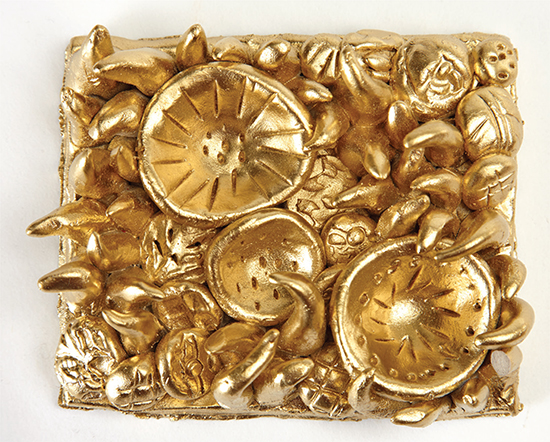
Seeking more dimension? Try this high-relief option following the instructions below.
Because of its excellent modeling abilities, with Critter Clay you can create any kind of modeled shapes that can be adhered to a clay background to create a super-high relief texture. This would be a particularly wonderful way to make individual tiles, or you could cover the entire surface of a giant sculptural piece.
When attaching your molded clay components, be sure that you score and wet both the surface you are adhering your shapes to and the underside of the shapes themselves. Go ahead and go for some way-out dimensional elements!
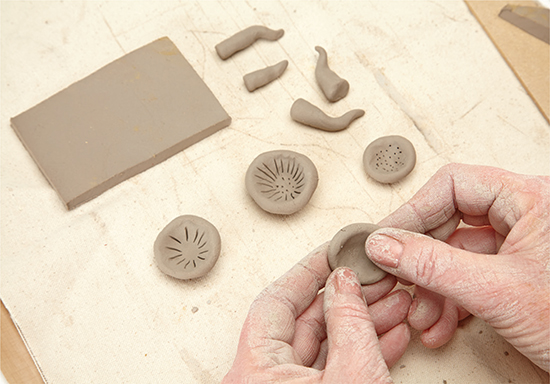
STEP ONE: Roll out and cut a clay slab base. Form a variety of shapes with more clay.

STEP TWO: Score the bottoms of the shapes and the base where they will go.

STEP THREE: Brush a little water onto the scored parts before pressing the shapes onto the base. Let this dry anywhere from 1–6 days (depending on the thickness of your clay pieces) before painting.