CUTTING OUT ANYTHING
This is the part where you get to learn the selection tools, the best tool for removing an image from a background, and how to cut something out entirely from your image like it never happened.
UNDERSTANDING THE SELECTION TOOLS
There are different selection tools in Photoshop, and they all work slightly differently, though, to get the same result. But they are used based on the contrast and brightness in your image. However, we will be discussing most of them in this section. You do not need to know all of them at once, but practice makes perfect. The tools are:
THE QUICK SELECTION TOOL
This tool makes selections based on object boundaries. As the name implies, it makes selections quick and as simple as dragging the mouse over all the areas you wish to select.
All you need to do is select the tool in the Tools panel, click and drag over any place you want to select, and the tool selects similar tones automatically till it gets to the image edges. To subtract from the selection, use the Alt key (Windows) or Options key (macOS) to select the area you wish to remove. Once you release the key, the Quick Selection tool automatically highlights where you have chosen, and the desired image is ready to be moved. You can then proceed to move what you have selected with the Move tool.
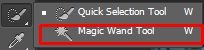
THE MAGIC WAND TOOL
Just like magic, the selection you make happens once. All you do is click once, and a big area will be covered. It is very helpful in selecting the sky in photos, and it selects portions of images based on the similarity of their colors.
However, with this selection tool, you hold Shift to add parts to your selection and Alt or Option to subtract from the selection. You can also access this great tool by pressing the letter "W." You can then proceed to move what you have selected with the Move tool.
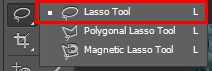
THE LASSO TOOL
This tool is slightly similar to the Marquee tools because they create selections within an image. Any of these three, Lasso Tool, Polygonal Lasso Tool, and Magnetic Lasso Tool can also be accessed by pressing the letter "L."
The Lasso Tool can draw a selection around the content you want to be selected in your image with the mouse. Just click and hold down the mouse as you make drawings. Then, you end the selection where you started to make a complete selection. It may be challenging to get a precise selection, but they can give you a rough selection of your object. You can then proceed to move what you have selected with the Move tool.
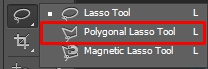
THE POLYGONAL LASSO TOOL
This tool creates selections with straight lines and offers more accuracy than the Lasso, as mentioned earlier Tool.
When you select this tool, simply click on the part of the image you want to begin your selection. Release the mouse button and click once again to form your first straight line/edge of the selection. The more you click, the more it keeps selecting your content. To end the selection, simply click on the spot you started from. You can then proceed to move what you have selected with the Move tool.
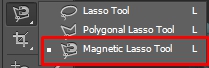
THE MAGNETIC LASSO TOOL
Magnetic Lasso tool automatically follows the edge of the object you want to select in your picture. This gives you more accuracy and control in selection than the previous two Lasso tools.
When you select this tool, click a starting point on the edge of the object you wish to select, and begin to follow the item as closely as possible. The tool automatically snaps to the object's edge as you move. You can click as you move, just like the Polygonal Lasso Tool, but it is not required as the selection would be made without laying down more points. When you are done selecting, click on the starting point. You can then proceed to move what you have selected with the Move tool.
USING THE REFINE EDGE
This feature helps you make the edge of the content you have selected in an image smooth and free from unusual pixels. You must refine edges after using any of the selection tools discussed earlier.
Now, you can pick some sample photos to learn how to work with smooth edges in Photoshop. Using the refine edge feature, do these:
-
Open your image. Then, create a new layer to keep the original picture unaltered.
-
Select the content using one of the selection tool; the Quick Selection Tool, Magic Wand Tool, or the others. The selection must not be perfect; it just has to be near good enough.
-
You can then proceed to move what you have selected with the Move tool to another image.
-
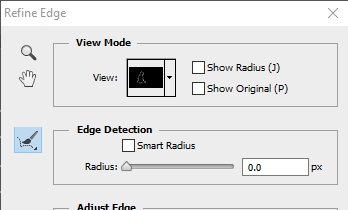
Now, go to Select > Refine Edge, or click the Refine Edge button in the options bar. The window for "Refine Edge" will pop up.
-
Select a mode using the colors of the image in Refine Edge. You can use different modes to understand which selection is best. Choose the mode at the View drop-down arrow.
-
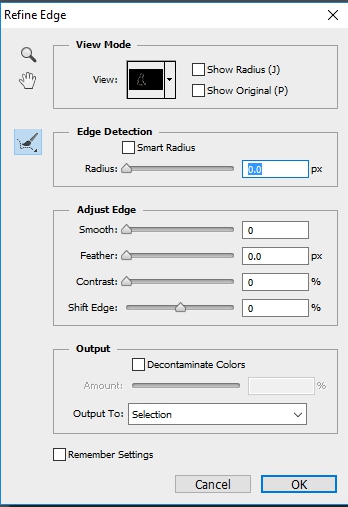
To adjust the edges, you can start with Radius and increase the slider value to make softer and more natural selections of the edges. You can use these four features to get better results:
-
The Smooth slider to smoothen out the edges.
-
The Feather slider to blend the selection into its background.
-
The Contrast slider which adds a better definition to
the edges of the image.
-
Shift Edge to expand or shrink the image selection.
REFINING THE HAIR SELECTION
There are ways to make the selection without going through so much stress. Simply follow these steps:
-
After selecting someone with the selection tool as discussed earlier.
-
Once you have a selection, make the Transparency 100% and use the "Refine edge brush tool" to remove the unusual color pixels around the person's hair, most especially a female.
EXERCISE
Get a picture of yours, and cut out your image. Then, open a new
document, make the new document size 12 by 9 inches, and then move your image to the new document.