OBJECT REPLACEMENT
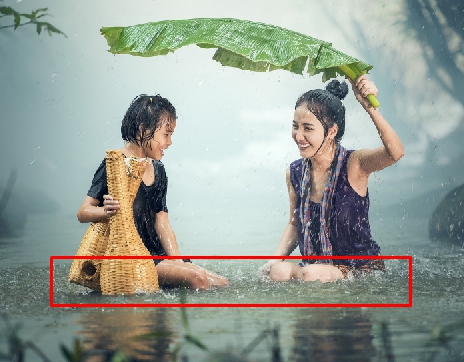
In PhotoShop, you can do little wonders like replacing an object or removing an item from your photo and make it look like it was never there in the first place. In this section, we will discuss the tools to achieve such an aim and how to remove a background from an image.
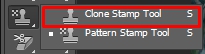
THE CLONE STAMP TOOL
The Clone Stamp tool is an excellent tool for copying a part of an image from one area to another. With ease, you can use this tool to replace an object in an image.
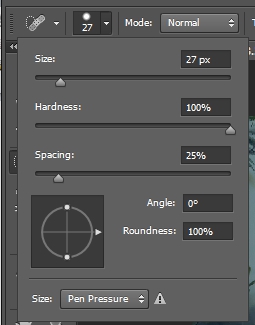
To do this, grab the tool, press, and hold down the Alt or Option key. Click the area you wish to clone, and then release Alt or Option. Now, you can your brush size at the options bar if needed, and then click on the area you want the image information and color of the area you sampled.
However, the Pattern stamp tool will give you a texture or pattern instead.
THE SPOT HEALING BRUSH TOOL
This helps a lot in removing spots and blemishes from faces in photos.
Firstly, you need to create a fresh layer, and then name it. Now, grab the Spot healing tool, adjust the brush size to fit, and set the hardness to 100% for the best result at the options bar.
After the adjustment, click on the blemishes, scars, or pimples to get rid of them. You can as well click and rub the brush on the spot for a quick outcome. This tool makes use of the content area to fix blemishes.
THE HEALING BRUSH TOOL
It also removes blemishes and undesired areas from an image. It makes use of the content area just like the Spot healing brush tool, but for more complex areas. You can copy an area's content to replace the spot for perfection; this can be done by pressing Alt or Option and then clicking on the area to copy. Release Alt or Option, and then apply what you copied on the spot.
REMOVING A BACKGROUND
Removing backgrounds is part of photography in general. With PhotoShop, you can quickly move an image of someone from a picture to another picture or to another background that you deem fit.
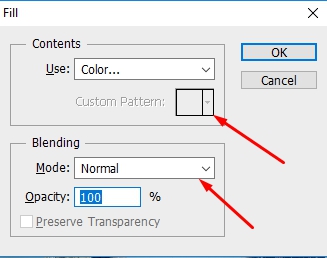
If you are removing an image from a simple background, you can utilize the magic wand tool to highlight the background and then press the Del key on your keyboard to remove. You should get a pop-up, change the color to white, and set the mode to normal. Click Ok, and your background turns white. Press Ctrl or Command + D to deselect afterward. You can then use the Move tool to move your image to another photo opened in another tab.
It would be best to use the Background eraser tool or select your object with the Quick selection tool for more complicated backgrounds. To use the Background eraser tool, do these:
-
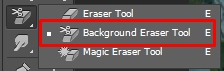
Open your photo and grab the Background Eraser tool; It can be found under the Eraser tool, and if it is hidden, click and hold the Eraser tool to display it or press Shift + E to show the Background Eraser tool.
-
Adjust the brush size at the Options bar. Begin to erase. While erasing, always try to zoom the area to prevent overlapping of the edges.
-
Do not move more than required to your object.
-
Then, make use of the refine edges, as discussed earlier, to smoothen the unusual edges.
For the Quick selection tool, grab your tool and select the object you want to move (you can refer to the Quick selection tool section as explained earlier). Now, use the Move tool to relocate your object to another background already opened on another tab.
BRUSH HOTKEYS
Here are some quick shortcuts to help you navigate quickly while using the Brush tools.
-
To increase or decrease the brush size, use [ or ] respectively. To increase or decrease its hardness or softness in increments or decrements of 25%, use Shift + [ or ].
-
To select a previous or the next brush size, use comma (,) or period (.).
-
To select the first or the last brush, use Shift + (,) or (.).
-
To display the specific crosshair for brushes, use the caps lock.