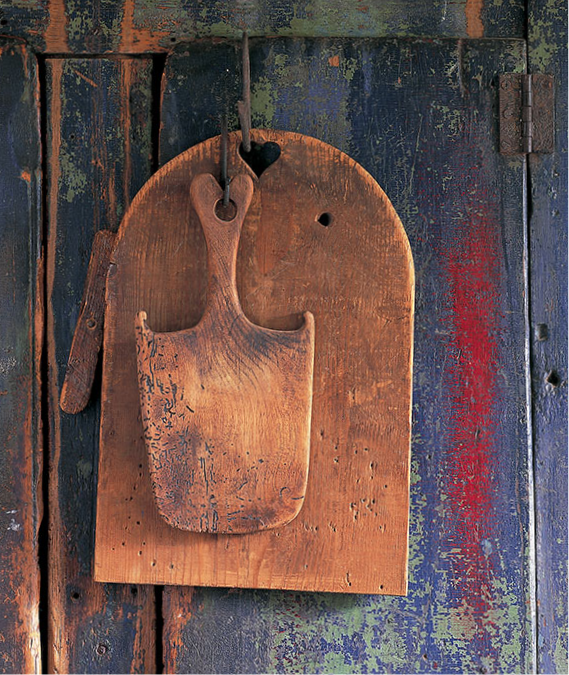
Cutting Boards
Wooden cutting boards are still among the most useful objects in the kitchen today—and they look good, too. The advantage of a wooden surface is that it does not blunt the knife as quickly as some other materials, and, contrary to some modern ideas, if properly cleaned after use, it is a hygienic surface. Boards come in all shapes and sizes, some with handles and a means by which they can be hung up. For serving bread or cake at the table, circular and sometimes decoratively carved boards are still very popular. Sycamore is the best wood for objects that come into contact with food, with beech and maple close contenders. Pine, although cheap, is too soft and does not wear well with use.
ABILITY LEVEL
Novice/Intermediate
SIZE
12 x 10 x 1 in. (305 x 254 x 25 mm)
MATERIALS
Sycamore, Beech, Maple, Pine
CUTTING LIST
A 12 x 10 x 1 in. (305 x 254 x 25 mm)
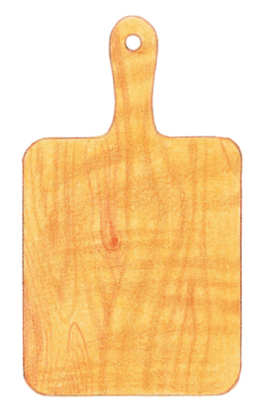
B 14 x 8 x 1 in. (355 x 203 x 25 mm)
C 10 x 10 x 1 in. (254 x 254 x 25 mm)
See Template chapter patterns for handle of board B, and pattern on board C.
1: Select well-seasoned material wide enough across the grain to match, or at least approximate to, the dimensions given.
2: Where this is not possible, you can make boards up out of narrower pieces edge-joined together (see Tools & Techniques chapter for advice on edge joining). Make sure you use a good-quality waterproof adhesive.
3: Plane or sand both surfaces clean and perfectly flat.
4: Where required, draw the outline of the shape directly onto the wood and cut it to shape using any safe method (see Tools & Techniques chapter for advice on cutting). Always cut on the outside (the waste side) of the drawn line. The rectangular board (A) is easily marked out using a set square and ruler. The handle of the handled board (B) is marked out and cut to the pattern given in the Templates chapter. The circular board (C) is marked out by using a pair of compasses.

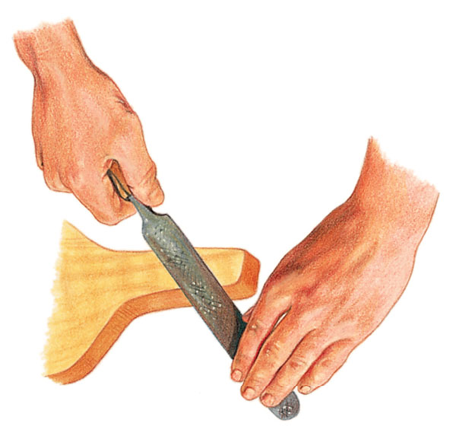
5: Clean up the sawed edge surfaces by planing any long straight edges, taking care with the end grain. Use a suitable file or other abrasive tool to clean up curved edges and to get into any awkward corners. Or use a spokeshave. Round over or chamfer the edges so that they are not sharp. Finish off with fine sandpaper.
6: The rectangular cutting board is now complete (see also step 9 below).
7: The handled board requires a .25 in. (6 mm) hole drilled through the handle to thread a cord for hanging.
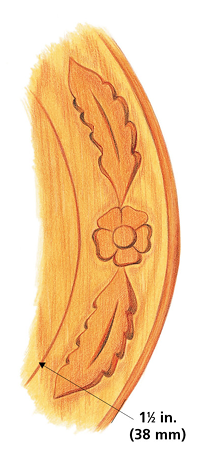
8: The circular board has one flat surface decorated with carving. To help you reproduce this design, a pattern is given in the Templates chapter. You can either trace this off and transfer it to your board, devise a pattern of your own design, or leave the board plain and simply round its edges over.
9: For regular use, the boards should be left untreated with no surface finish at all. Keep them clean by wiping them regularly with a damp cloth and an occasional scrub in water. Traditionally, cutting boards were kept clean by scouring them regularly with wet sand. If you require a finished surface, apply several coats of vegetable oil to the wood.