GARDEN GATE 11
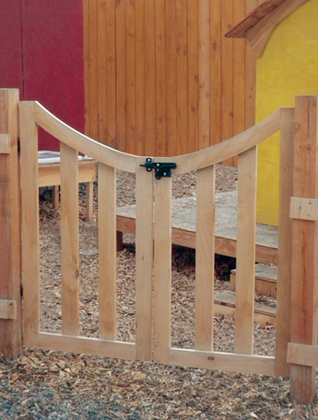
Those of us who have a dog sometimes need to block off certain portions of our yards for one reason or another — in our case, we had to come up with a way to keep our spaniel from digging in our newly planted garden. We solved this conundrum by making a simple gate that is both functional and attractive. It only requires a small amount of materials, and if you have a couple of extra boards laying around, or scraps of the right length, you might be able to avoid a trip to the lumber yard. Even if you don't have enough odds and ends on hand, you'll only need about 6 board feet of lumber, so you can save the bulk of your materials budget for other projects. The exact size will, of course, vary depending on your situation. If the opening is narrow, you may prefer a gate with just one panel instead of two.
I suppose there is some chicken-and-egging involved with building a gate: do you wait until the support posts are set into place before you measure for the gate or do you build the gate and then position the posts accordingly? I suppose that your own answer to this judgment call will just reflect the timing and logistics of your own project, because either approach can work out just fine. In this case, the posts were in place first, so I measured the resulting opening and went to work on the gate.

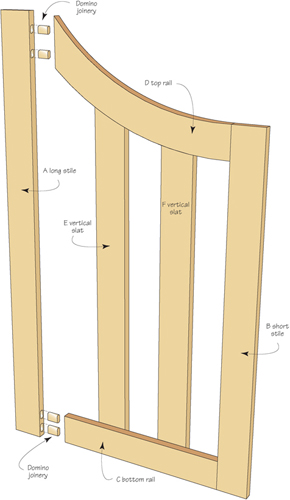
GARDEN GATE • INCHES (MILLIMETERS)

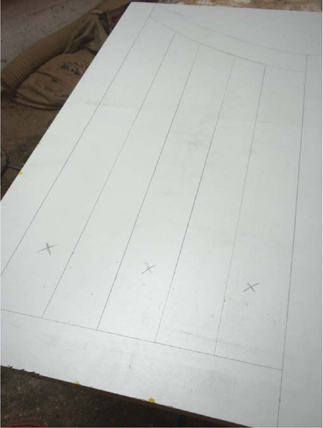
1 The overall height of the gate at its highest point was easy to discern, and now that both the height and the width have been determined, a full-size drawing makes it possible to establish a nice proportion for the various components.
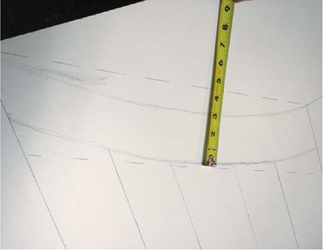
2 A full-size drawing is also useful in a situation like this because it makes it much easier to lay out the curve on the top of each half of the gate. The size and placement of the curve determines the height of the shorter vertical piece, and having this piece of information is critical. To determine the width of the stock required for the curve, I simply drew a pair of dotted parallel lines that fell just beyond the curve's outline: in this case, I found that a 4½" wide blank was sufficient.
HOW TO MEASURE FOR A TWO-PART GATE
In this case, the opening between the posts was 46½". I knew that I'd need to leave a small gap of about ¼" between the halves of the gate, and that the thickness of the hinges would take up about  ″ on each side, so I added up these figures. I then subtracted the total of 5/8″ from the width of the opening. This gave me 457/8″, which I divided in half to arrive at the finished width of each section of the gate (22
 ″).
″).
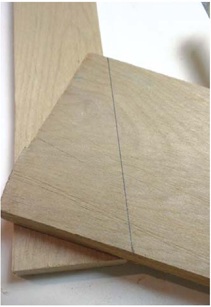
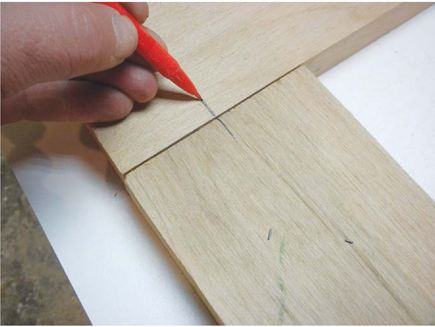
3 Fitting the blank into place at the top of the gate is easy if you know how: my method calls for you to place the blank on top of the vertical stiles, which have been laid out in the correct position. If you then stand directly above the spot where the blank intersects the stile, you can draw a line that follows where the stile runs below the blank. (It looks like the line is off a bit in this photo, but that is just because the camera wasn't placed directly above the joint).
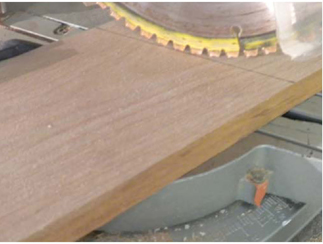
4 I don't usually worry about determining the required angle — I simply swivel the blade on my chop saw until it lines up with the pencil line on the stock.
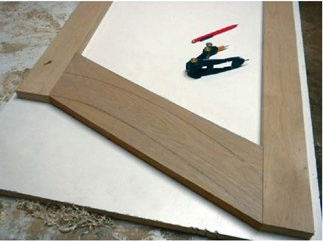
5 A perfect fit shouldn't take more than a couple of minutes to achieve. Once the shape and size of the curve have been established, a jigsaw or band saw will work to cut it out. I use one of the curved pieces as a pattern for creating the other one.
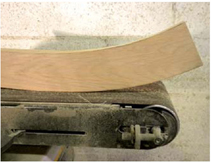
6 Any eccentricities in the curve can be easily faired with sandpaper and a rasp. I often use a belt sander to tackle the outside portion of the curve and a sanding drum mounted on a drill press for the inside of the curve. Your approach here would naturally be dictated by the tools that you have available.
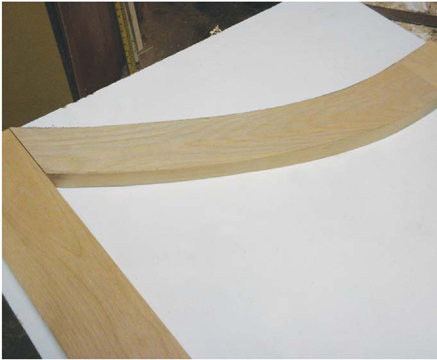
7 The final result looks quite nice.
8 I built the frames for the gate using pretty standard techniques: in this case, I used Dominoes to join the stiles to the rails, but you could also use dowels or anything else that you're comfortable with — just make sure to use an adhesive that is rated for outdoor use.
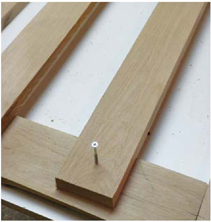
9 After the glue has had time to dry, the slats can be attached to the frame. I had decided early on in the design process that I wanted the slats to be attached to the back side of the gate because I liked the way this provide more visual depth to the gate than setting them inside the frame. This is a small difference and it is simply a matter of what one finds aesthetically pleasing than anything else.
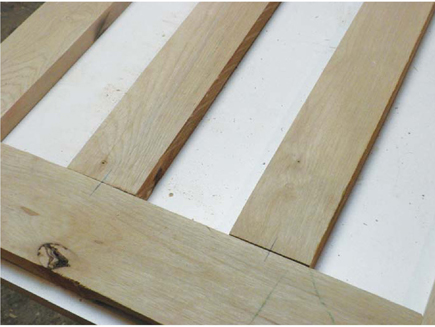
10 If you prefer the slats to be inset between the top and bottom rails, you would need to take care of this prior to assembling the gate's outer frame. Dowels or Dominos would be a good option here.
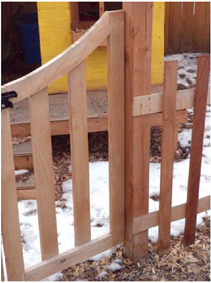
11 Hanging the gate is a fairly simply matter as long as the posts are plumb. The exact method you use will depend on the type of hinges that you have.
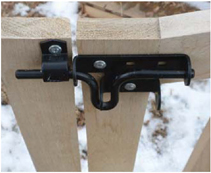
12 This latch holds the gates closed as well as keeping the gates in line with each other.


HOW TO MEASURE FOR A TWO-PART GATE
In this case, the opening between the posts was 46½". I knew that I'd need to leave a small gap of about ¼" between the halves of the gate, and that the thickness of the hinges would take up about  ″ on each side, so I added up these figures. I then subtracted the total of 5/8″ from the width of the opening. This gave me 457/8″, which I divided in half to arrive at the finished width of each section of the gate (22
 ″).
″).


