RABBIT HUTCH 15
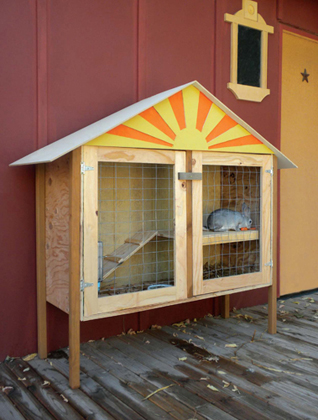
While I do not claim to be the world's foremost expert on housing rabbits, I do know a thing or two about it, and one of my strongest convictions is that there are a lot of uninspired rabbit hutches out there.
A quick Google search will pull up a lot of boring little boxes covered in wire mesh. Practical? Probably, but I couldn't resist jazzing things up a little. The end result sacrifices nothing in terms of functionality — the large doors provide easy access to clean out the whole interior, and the pitched roof will readily shed snow — the brightly colored sunshine motif below the eaves adds what I think is a bit of much-needed visual interest.
A structure like this would also make a fine home for a guinea pig or your choice of exotic birds (parrots, anyone?).
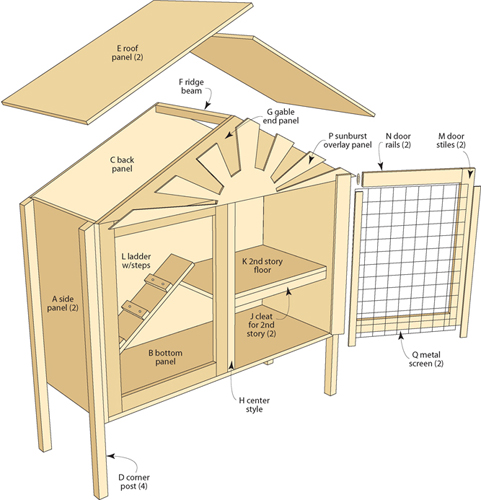
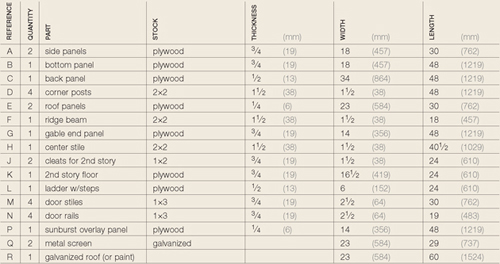
RABBIT HUTCH • INCHES (MILLIMETERS)
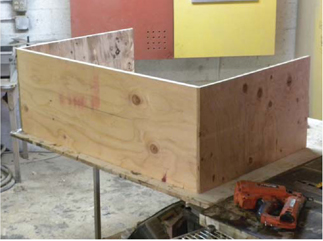
1 The rabbit hutch starts out as a “U” shaped assembly made of ¾"-thick plywood. The corners are screwed and glued together.
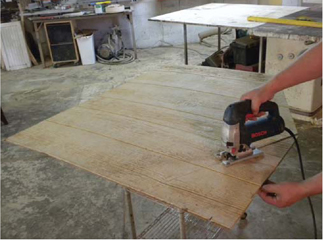
2 Instead of being a simple rectangle, the back must be cut to go all the way up to the roof line. Rather than get into a lot of complicated geometry here, I just held a tape measure out and decided that the peak of the roof looked about right at 14″ above the sides, and then I transferred this measurement to the back panel by measuring up 14″ at the center of the panel and drawing a pair of lines from this point to the tops of the sides. Thirty seconds of jigsawing cut out the finished back.
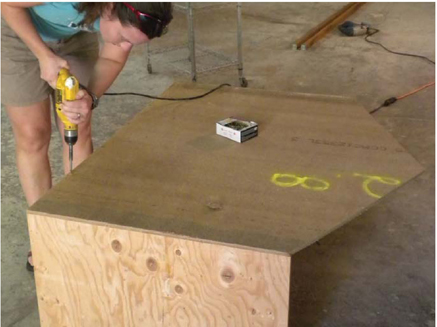
3 To have some family bonding time, my wife helped out on this one, since she was as excited as I was about getting a rabbit. She screwed the back directly to the plywood with 1¼" screws at 6″ intervals.

4 The hutch is supported about a foot off of the ground on legs made from 2×2s. A clamp does a fine job of temporarily holding them in place.
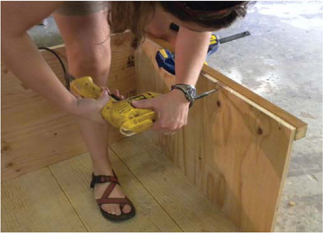
5 The legs are screwed to the hutch from the inside.
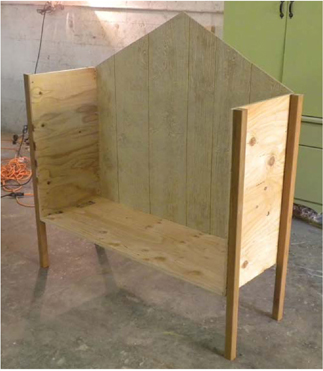
6 Once the legs are attached, the whole thing can be set upright, and it begins to look pretty good.
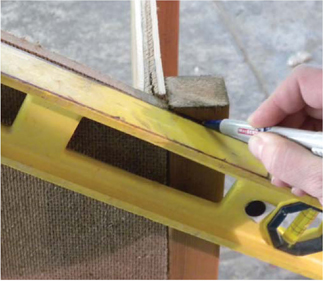
7 The tops of the legs must be trimmed so that the roof panels can sit down flush with the sides. To do this, use a straight-edge and extend the line of the roof from the back panel onto the legs, and trim the excess with a jigsaw.
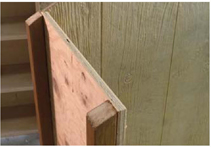
8 To mark the front legs, I traced the cutoffs from the back legs, and this replicated the angle just fine.
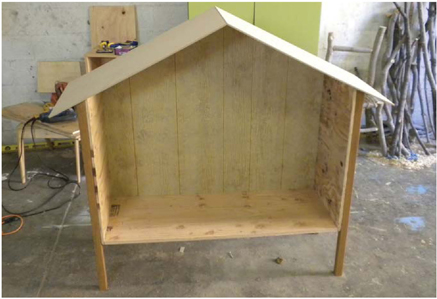
9 With the legs trimmed properly, the roof panel can be set into place and tacked with brad nails into the tops of the 2×2s. The roof will require more support, but this is a good start.
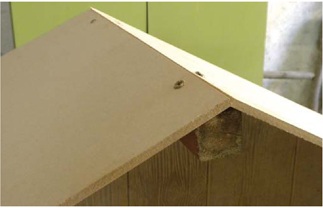
10 I cut a small “ridge beam” from a scrap of 2×2 and screwed it into place where the two roof panels meet. This will ensure that the panels don't sag at the joint.
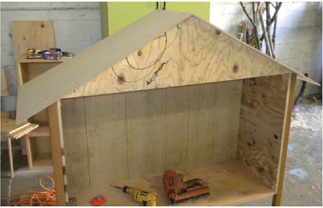
11 The front of the roof is supported by a ¾"-thick plywood panel. I screwed it into place and then added additional reinforcement in the form of a vertical 2×2 (center stile) that runs behind it from the ridge to the floor of the hutch (visible in the next photo).
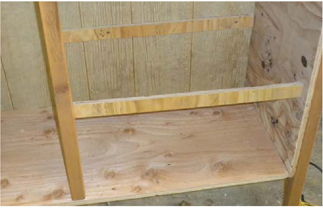
12 This hutch has two levels so that its inhabitants will have the chance to run around and get some variety. The second level is supported by a pair of cleats that run horizontally.
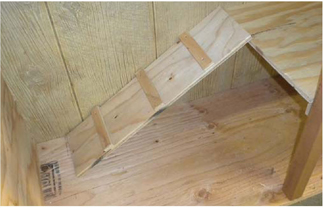
13 With the second level floor in place, I added a ramp.
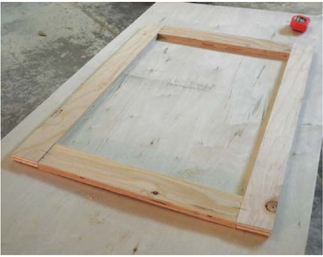
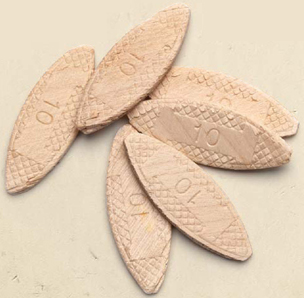
14 The doors are made of simple rectangular frames which I biscuited together. You could also use dowels or pocket screws for an application like this. Mortise and tenon joints might be overkill here.
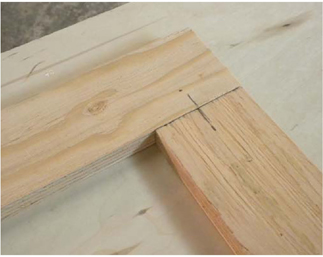
15 To cut the slots for the biscuits, I marked each joint with a small line that I could use to properly align my biscuit joiner.
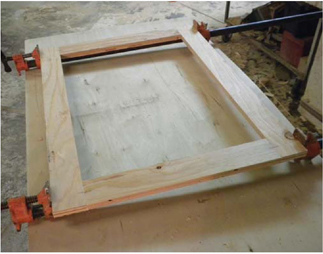
16 Once the doors were glued up, I clamped them and set them aside for a few hours. In the meantime, I turned my attention toward some aesthetic embellishments.
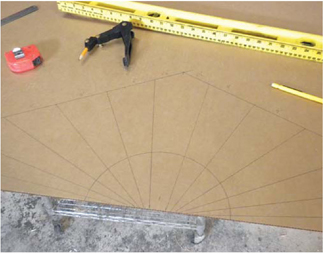
17 I knew from the beginning that I wanted to do some kind of fancy trim to dress up the hutch, and as the design evolved, it became more and more clear to me that the panel on the front right below the roofline would be the perfect spot. It occurred to me to create some kind of sunburst motif, and the next question was how to do so. I began by making a full-size drawing on some scrap cardboard.
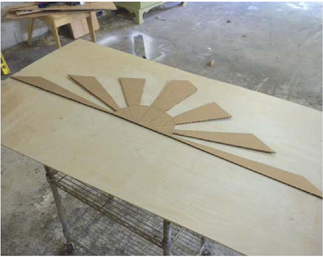
18 Once I had finished a drawing that I was happy with, I cut it out with an Xacto knife to create a one-piece pattern.
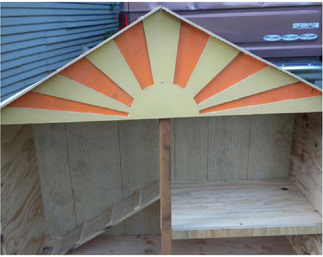
19 I traced the pattern onto a piece of ¼" plywood, and cut it out with a jigsaw. This resulted in a panel that could then be set into place like an onlay.
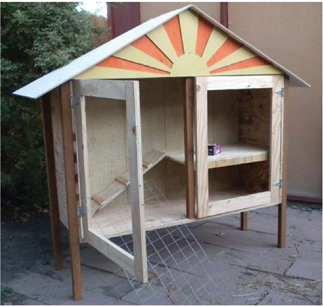
20 To simplify the painting process, I painted the sunburst onlay prior to attaching it to the hutch. At the same time, I painted the backdrop orange. Once both parts were dry, I glued and nailed the onlay to the backdrop. This method ensured that I didn't have to be at all fussy or careful in the painting, or do any touch-ups.
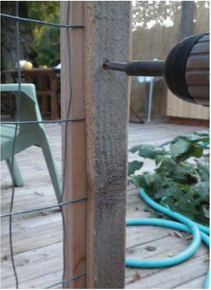
21 The wire mesh could be attached to the doors with staples, but I was concerned that they might eventually rust or fall out, so I secured the wire behind a set of strips that I screwed directly to the backs of the doors. From the front, the finished look is neat and clean, and I can rest assured that the wire won't come loose.
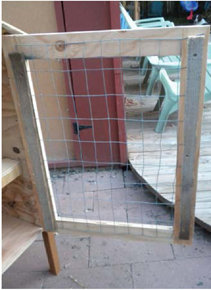
22 I wasn't expecting to house Houdini Hare, so I only used strips on the sides of the doors to attach the mesh.
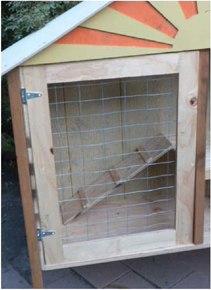
23 A couple of simple strap hinges per door and a couple of latches, and the hutch is ready for occupancy.