ADIRONDACK BENCH 2
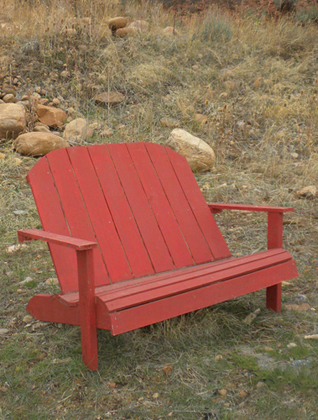
This variation has a straight back, because it seemed to me that a single curved back or two individual curved backs (think of bucket seats in a car) wouldn't provide optimal comfort — the latter might constrain two people who want to sit close.
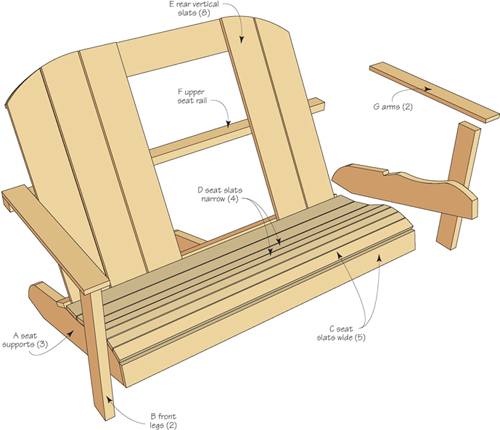
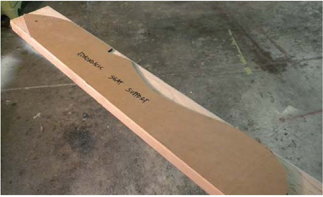
1 This is a fun variation on the classic Adirondack chair. Because it is wider, it will need a seat support in the middle, as well, so you'll need to make three instead of two.
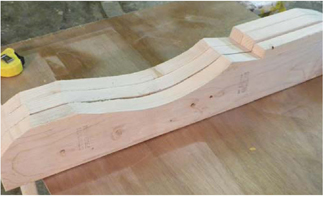
2 The nuances of the basic pattern found on page 10 are easy to modify to suit your personal preferences. In this case, I decided to “roll” the seat slats around the front edge.
ADIRONDACK BENCH • INCHES (MILLIMETERS)

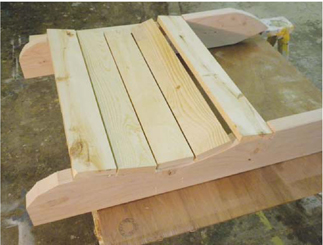
3 Test fit the slats and trim as necessary so they will follow the curve of the supports
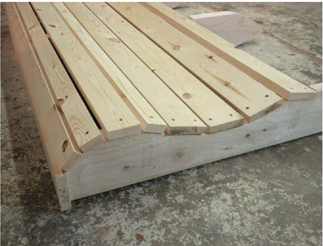
4 To avoid splitting the slats at their ends, attach them with screws inserted into predrilled screw holes.
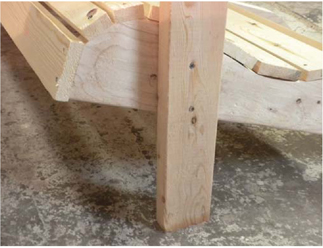
5 For the bench, I chose to attach the arms to the front legs right away, locating the front edge of the leg at the highest point of the seat curve.
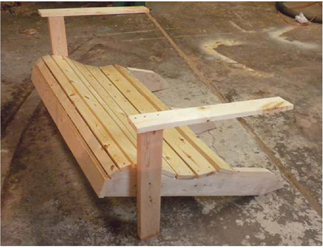
6 I next attached the two arms to the front legs, keeping them parallel to the seat supports. I allowed about an inch overhang at the front, and held the insides of the arms flush to the legs.
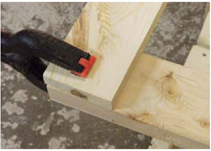
7 As an alternate way of supporting the back slats, I joined the arms together with a long rail across the back. I held it in place with a spring clamp while I checked the alignment.
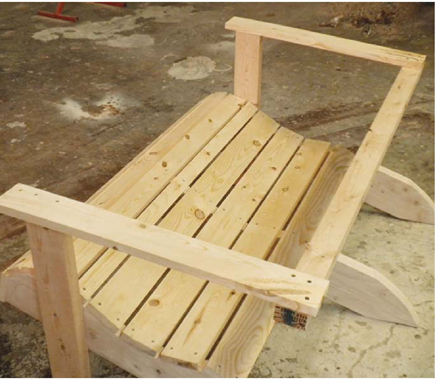
8 When all fit well, I used four screws per side just to make sure the rail was quite securely attached.
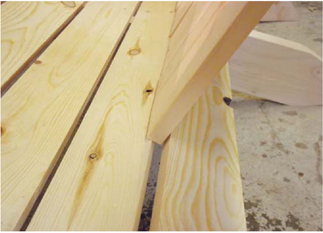
9 The bottom edges of the back slats will nestle snugly into the gap between the seat slats. I set a few in place to get a feel for how the whole thing would shape up.
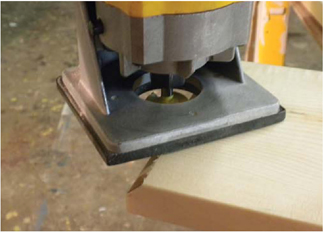
10 I used a trim router to chamfer the bottom edge of the back slats …
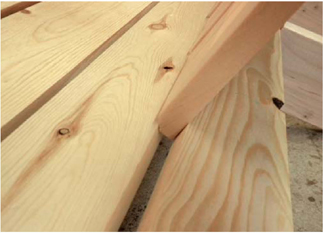
11 … this allowed them to press more deeply into the gap.
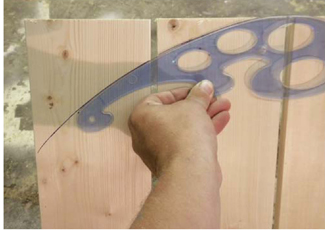
12 With all of the back slats in place, I used a French curve to lay out a curve in the upper corner of the back.
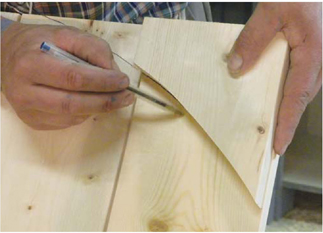
13 Once I had cut out one side, I traced the offcuts on the other side so that the two sides were consistent.
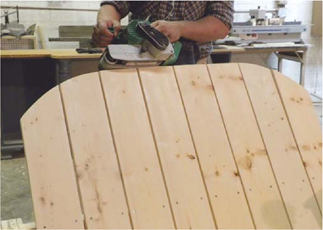
14 Any irregularities in the profile were easy to sand out with a hand-held belt sander.
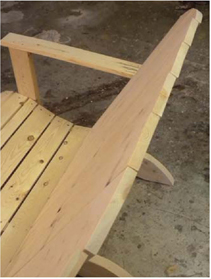
15 Even though I chose the straightest lumber that I could, there were still some small deviations that were pretty evident at this point. Fortunately, there is an easy fix for this.
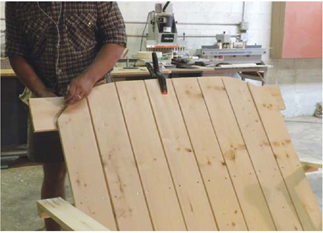
16 I clamped a 1×6 along the back of the bench and traced the profile of the curve.
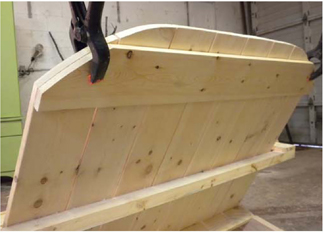
17 Once the ends were cut on the 1×6, I clamped it in place and screwed it to the slats. This served to keep the slats flat and also to add some extra strength and rigidity to the back.