
The classic pencil has a graphite “lead.” The first pencils were manufactured in England in the mid-sixteenth century. The primitive pencil was a piece of graphite wrapped in sheepskin. As its use spread through Europe, different versions were created until Italian artists developed a wooden casing that made it easier to handle. Graphite was cut into sheets, which were then cut into sticks and squeezed into long grooves in wood battens. Serial manufacture of pencils did not start until the mid-eighteenth century, at the dawn of the Industrial Revolution.

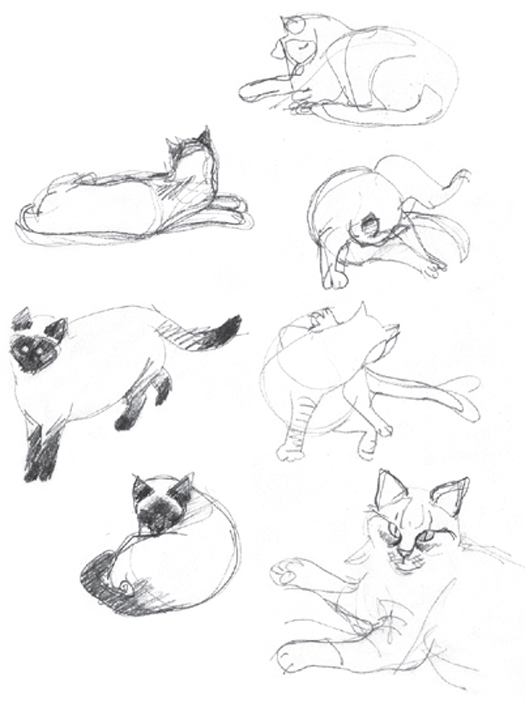
Adolf Von Menzel (1815-1905), Figure studies. The J. Paul Getty Museum
Graphite is a shiny lead-gray mineral discovered in 1564 in Borrowdale, England. At first it was thought to be a type of lead, until, in 1779, the Swedish chemist Karl Wilhelm Scheele proved that it was crystallized carbon. In 1789, the German geologist Abraham G. Werner named it graphite due to its use as a writing medium. The confusion with lead continues today. We still refer to “pencil lead” as “lead,” instead of graphite.

Graphite is a mineral (crystallized carbon) that is oily to the touch and that leaves a dense mark when rubbed against a hard surface.
Graphite comes in various forms, but the process of baking the mineral with potter’s clay is always the same.
Graphite sticks and pencil leads are actually made of mineral and potter’s clay in various proportions.
With graphite you can draw lines, strokes and marks, as delicately as you please and without strong contrasts.
COMPOSITION OF PENCIL LEADS
At the end of the eighteenth century, innovative pencil manufacturers developed a way to make modern graphite leads by mixing crushed graphite with potter’s clay and cooking the mixture to make it stronger. The greater the proportion of clay, the harder the lead. The lead’s thickness ranges around 2.5 mm in most.

A hard lead provides a fine delicate, and precise stroke and sharpens much more easily than a soft lead. The latter, however, are more useful in drawing that depends on the agility and force of the strokes (drafts, studies, sketches, or drawings with very apparent shadows). All manufacturers make pencils of varying grades of hardness, with a maximum of 20 different grades.
The number on the side of a pencil indicates the hardness of its lead. The higher the number, the harder the lead. Writing pencils usually run from 1 to 4. In higher quality varieties, the letters H (hard) or B (soft) accompany numbers showing the level of hardness or softness. Some writing pencils may have the letter F, which means that the tip can be sharpened a lot (indicating hard lead). HB, which can be translated as “neither hard nor soft”, describes intermediate leads that are most suitable for writing.
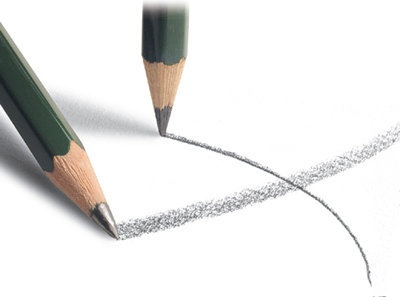
The difference in stroke intensities are considerable when hard pencils are combined with very soft pencils (with a very dark stroke).

Range of graphite pencils, showing the differing intensities of their leads. A professional range of pencils can include thirteen different values, as shown in this spectrum.
Artists seldom use hard lead pencils, whose stroke is too tenuous for most studies, drafts, sketches, elaborate drawings, etc. Precise, technical drawing, which demands accurate strokes and minimal visual ambiguity, relies on the hard lead pencil. The thin line of a highly sharpened hard lead fully satisfies the requirements of technical drawing.

This drawing features four different kinds of line, produced by pencils with various degrees of hardness.

Architecture or design projects employ pencils with the hardest leads. Fine, accurate strokes that can be easily rubbed out are most suitable for this kind of work.
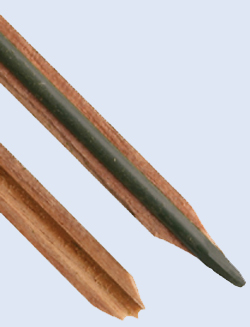
CEDAR
Cedar is the wood with which pencils are made. It is soft enough to allow for sharpening and is resistant enough to ensure the pencil’s quality. These days, the vast majority of pencils made throughout the world are manufactured with wood from the Californian cedar, a tree that is constantly replanted and, therefore, ecologically sustainable.
G raphite leads are divided into two groups: those which artists insert into refillable pencils and those handled as a conventional pencil. The former range between 1 mm (or even less) and 6 mm thick. They are usually sold in three or four levels of hardness, depending on the manufacturer. Leads that do not insert into a refillable pencil sharpen easily, and their hardness ranges from four to six (depending on the manufacturer).

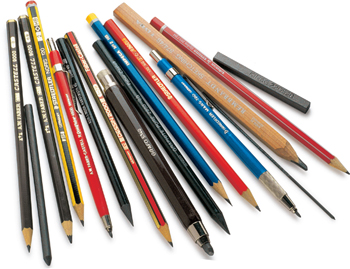
Various ways in which graphite is available to artists: pencils, leads, and sticks, all manufactured in differing hardnesses.
1. Pencils 2. Stick for refillable pencil 3. Hexagonal stick 4. Rectangular sticks 5. Conventional refillable lead pencil 6. Refillable pencil for thick lead 7. “All lead” pencils
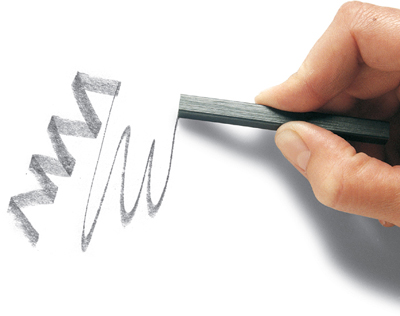
The advantages of graphite combined with potter’s clay are clear in the many varieties of graphite sticks and leads. The firmness of leads made by modern procedures does not require a wooden casing and allows for solid mineral pieces of varying size and shape. The advantage lies in the absence of the wood: the thinnest leads do not require sharpening and the thickest produce a density of stroke above that of any pencil. It also makes it easier to extend gray marks by applying the flat stick to the paper.

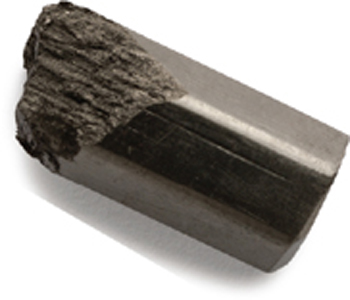
“All lead” pencils are sticks of graphite without a wood casing (they may have a fine covering of plastic), and are available in five or six different grades of hardness.

Hexagonal sharpened graphite sticks in three different levels of hardness.

Thick sticks of graphite in round, square, and rectangular cross-section

Refillable pencils facilitate work with graphite leads of various sorts. The most practical ones carry a thick lead that permits either a fine or a dense line.
T he technique of graphite pencil drawing is purely intuitive and contains no secrets. However, using the pencil in specific ways can help artists achieve desired results. For each kind of work, there are specific methods for creating soft lines, thin lines, and appropriate ways to hold the pencil. These, and other important issues that arise when working with graphite pencils are explained below.
When using the pencil as a writing instrument, gripped near the tip, it is easier to control the details and accuracies of line, but you may lose a sense of the overall image. If you hold a pencil at a higher position, cupped in the inside of your hand, you can draw broad strokes confidently. This is the best way to begin a drawing and establish its framework. To achieve shadows and intense grays with soft leads, hold the pencil very close to its tip, and press the lead flat against the paper.
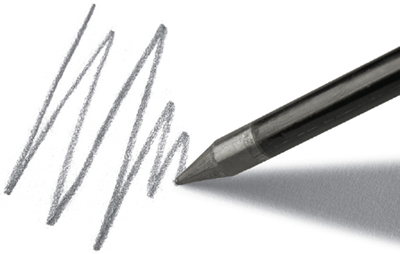
“All lead” pencils can achieve fine strokes by applying their tip to the paper.

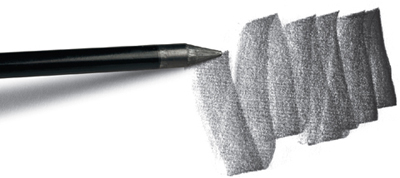
When the tip becomes blunt with use, the stroke of the “all lead” pencil becomes much thicker.
The pencil stroke varies in thickness, depending on whether it is applied at the tip or inclined against the paper.
Wear and tear may cause beveled edges that facilitate drawing with thick lines.
The sharp edges of sticks with a square or rectangular cross-section can draw very thin lines.
Using a “scumble,” or stump, helps blur an intense mark of soft graphite and achieves grays and shades of color without leaving any traces of strokes. However, some artists choose to blur directly with their fingers in order to better control the shading. Rubber erasers can easily rub out graphite, but a dirty eraser may stain the paper. To avoid doing so, clean the eraser by rubbing it on a separate piece of paper before use. If the details to be rubbed out are very small, you can cut a piece off the rubber eraser to use the edges. If the drawing is far underway, or almost finished, place a piece of paper under the detail to be rubbed out, which will protect other areas from the eraser. After each use of the eraser, eliminate the bits of rubber with a soft brush or fan paintbrush. It is very important that no remains are left on the finished drawing, as they will continue to erase the part of the drawing on which they lie.

This drawing exhibits different pencil strokes, cross-hatching, and lines, along with spots of blood-red crayon and charcoal.

Working with the tip of the pencil allows for the most precise strokes.
Here, the differences in stroke respond to various angles of the pencil on the paper.

Applied on its side, the pencil lead creates thick and blurred strokes.
I n a drawing based on lines with no shadows to accompany them, the entire presence of the drawing relies on the turns and directions of these lines. This means there must be an additional purpose for these lines that goes beyond strictly describing the subject. Hatching refers to groupings of juxtaposed or superimposed lines that create zones of shadow varying in intensity. In pencil drawings, marks and denser areas are the result of thicker and denser hatching.
Line characterizes drawing techniques that rely on fine strokes, a style widely seen in pencil drawings.
Hatching is a peculiar method for capturing a subject. Not only can hatching convey value or hue in a composition, but it can also suggest texture. Hatching in several different directions provides a work with rich tonal value, describing the character of the surfaces represented.

Drawing based solely on the line of a soft pencil. Graphite lends itself very well to this unadorned treatment of form. Work by Ramon Noè.

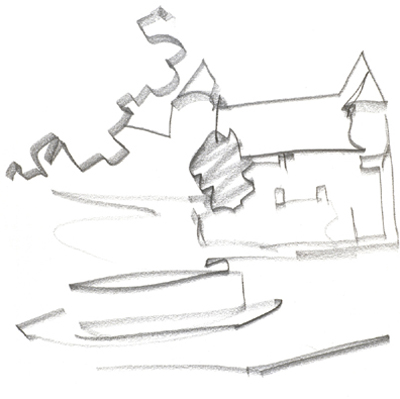
This landscape achieves shading by hatching with parallel lines that vary in their thickness and intensity.
1. Cross-hatching.
2. Parallel lines of various intensities.
The density of strokes, depending on their distance from each other, determines the intensity of the shadows they describe. Because hatching can be achieved with vertical, horizontal, or diagonal lines of any intensity, it can create a wide range of values. In addition, each area of hatching creates a texture that adds a unique characteristic to the drawing; even the darkest shadows are never completely black and retain clarity and distinction in their strokes. Similarly, lighter areas are not completely white.

1. Simple parallel hatching with long strokes.
Like all paper designed for artistic purposes, drawing paper must be completely acid-free to ensure conservation and avoid yellowing. In professional circles, drawing paper is fine-grained laid paper, manufactured in glossy finishes. Each drawing medium requires a particular kind of paper. However, graphite, because of its oily nature, works well on almost all kinds of surfaces.
Hot-pressed paper (HP) has an extremely smooth surface. As a support for graphite, it provides a wide range of grays and yields desirable results when blending lines. Coated paper is still smoother than glossy paper and possesses a certain brightness that combines well with the oily and shiny character of graphite.

Paper with a medium grain suitable for sketching with graphite.

Smooth paper is the most suitable for drawing with graphite pencils.
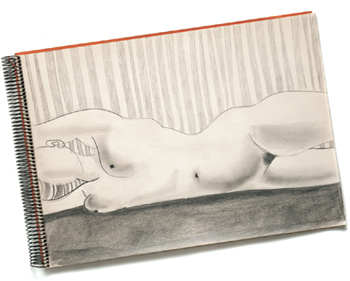
This category includes all kinds of sketching paper, which is almost always available in booklet form and widely used for drawing outlines. Fine-grain supports require lightweight paper (between 60 and 150 grams), which is suitable for work with graphite pencils, especially if soft leads are used.
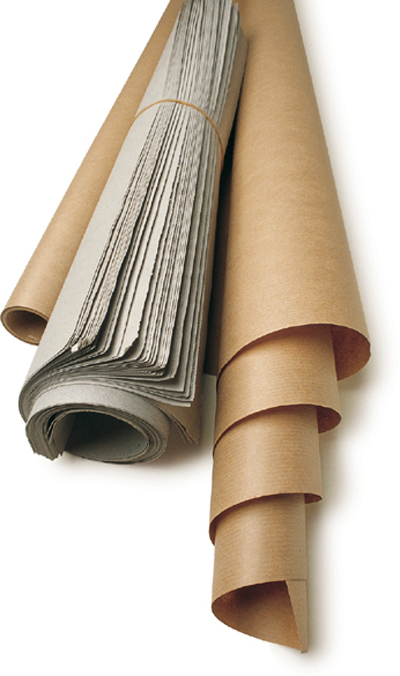
Brown paper and wrapping paper are cheap and viable supports for drawing with graphite leads.

There are many notebooks and sketchpads suitable for graphite. Some artists even use conventional lined notebooks.

Newspaper is a thin support, suitable for sketches and outlines.
The oily consistency of graphite allows for its use on irregular or low-quality paper with a waxy surface (brown paper). Such supports can serve for trial runs or sketches with no pretension to being correct or finished works: paper that the artist can comfortably use in large amounts.