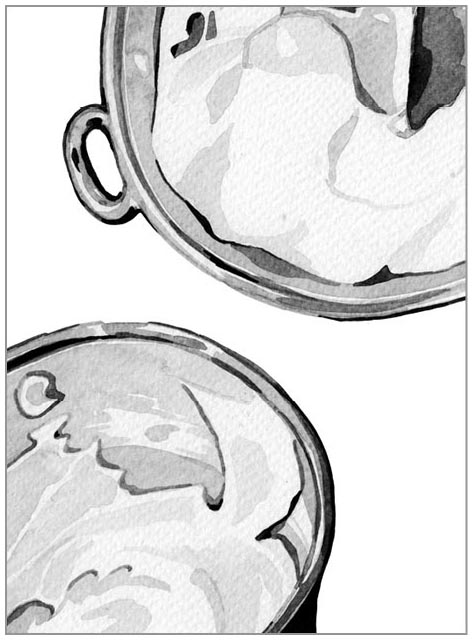
Frozen yogurt is a dessert made with yogurt as its base, but there is a big difference between yogurt that has been frozen and frozen yogurt. Yogurt that has been frozen is grainy and icy. It shatters instead of scooping and does not blend well with added ingredients.
Frozen yogurt should be creamy and smooth, and — like ice cream — it should be something that you can store in your freezer and scoop when you want to eat some. It’s easy to make at home, and making your own frozen yogurt gives you complete control of the ingredients and flavors that will go into your desserts.
Frozen yogurt does present some challenges that ice cream does not.
Yogurt doesn’t freeze well on its own because a major component of yogurt is whey, the watery part of milk. Whey freezes solid, just like water. So what happens when you freeze plain yogurt is it develops icy crystals and loses its texture — and the same thing can happen to homemade frozen yogurt. You end up with something that’s a far cry from the creamy, smooth texture that you want in a frozen dessert.
Commercially made frozen yogurts often have stabilizers added to enhance their texture, and commercial machines can infuse enough extra air into the base to keep the frozen yogurt soft. Home ice cream makers aren’t as powerful as commercial machines, but there are a few things you can do to ensure that your frozen yogurt tastes delicious and stays scoopable even after sitting in the freezer for a few days.
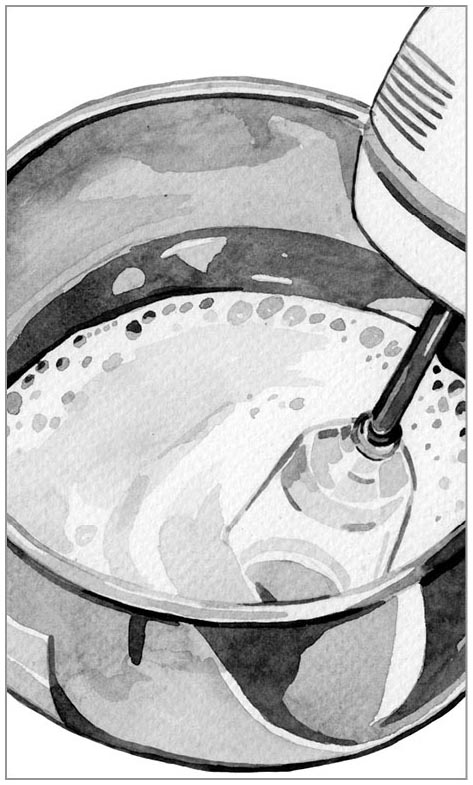
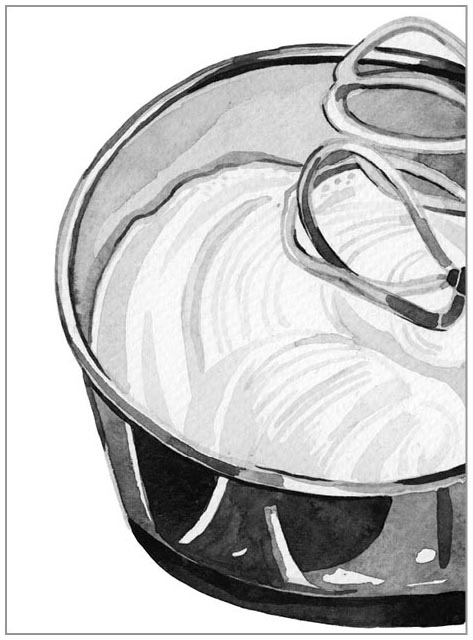
The first trick is to minimize the amount of whey in your frozen yogurt base by using thick, Greek-style yogurt, which already has a lot of the whey strained out of it. This thicker yogurt will be less likely to form large ice crystals when frozen. The second trick is to use full-fat yogurt and dairy, since the little bit of extra fat will help give your frozen yogurt additional creaminess. The small amount of fat will also help prevent the yogurt from freezing too hard. Finally, the most important thing you can do to achieve a pleasing, scoopable texture is to infuse extra air into your yogurt mixture before churning. I call this the Meringue Method, because I use an easy-to-make meringue to aerate the base and help ensure a deliciously smooth finished product every time.
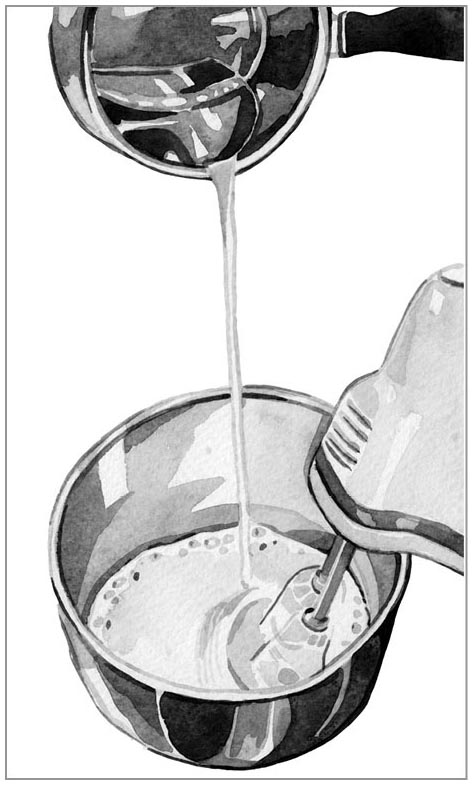
The Meringue Method for making frozen yogurt involves using a cooked meringue, also known as an Italian meringue, to incorporate extra air into the frozen yogurt base before the churning phase. Meringue is a mixture of egg whites and sugar that is beaten until stiff and foamy. Most meringues are made with raw eggs and then incorporated into recipes that call for cooking the meringue before serving. The Italian meringue uses a different technique to produce meringue that is completely cooked and safe to eat without any additional cooking or baking; it is an ideal addition to frozen yogurt. The meringue is very easy to make and makes a big difference in the creaminess of the finished yogurt.
To make a cooked meringue, you first beat room temperature egg whites until they’re foamy. Then you slowly stream boiling sugar into the egg whites while beating them until soft peaks form. The egg whites in the finished meringue are completely cooked; you can fold them into any yogurt mixture without additional cooking.
Another advantage of the Meringue Method is that the melted sweetener for the recipe is easily incorporated into the yogurt. Many recipes call for long periods of strong stirring to dissolve granulated sugar into the yogurt. So, though it may seem complicated at first, it takes only a few minutes to make the meringue, and the results are well worth the effort.
Most of the recipes in this book call for using an ice cream maker to churn your frozen yogurt base into actual frozen yogurt. There is a wide variety of ice cream makers on the market. They come in many sizes and in a range of prices, so you are sure to find something that will suit your needs. An ice cream maker will give you the best results and allow you to make frozen yogurt much more quickly than doing it by hand.
The purpose of an ice cream maker is to chill an ice cream or frozen yogurt base mixture quickly while adding air to it. Rapid chilling reduces the number and size of ice crystals in the finished product, so it will be smooth and creamy. Adding air to the mixture softens it, making it easy to scoop when frozen. That added air also makes frozen desserts taste better, since slight aeration allows the frozen mixture to melt smoothly and evenly on your tongue.
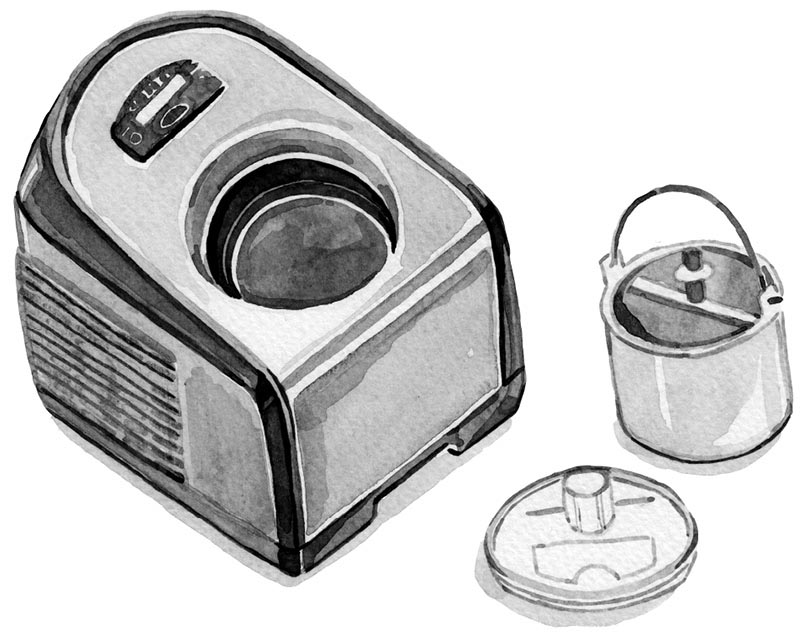
The Hand Churn Ice Cream Maker is the most basic kind. With this type of gadget, you add your own ice and salt to one chamber and your ice cream or frozen yogurt base to the other, and then you shake or stir while the base thickens up. This maker is very inexpensive and produces softer ice creams, but it works and it gives you a real workout as you churn up each batch.

Hand churn ice cream maker
The Canister Ice Cream Maker is the most common type. This model has a thick-walled canister: you freeze it in advance, and then you simply pour your base into the frozen canister and churn away. Some canister models require you to hand churn your ice cream or frozen yogurt, but most are small electric appliances that will do the work for you. Some stand mixers even offer canister attachments that will temporarily turn the mixer into an ice cream maker. The only drawback with this appliance is that you have to do some advance planning, making sure to put the canister in the freezer about 24 hours before you want to make your frozen yogurt.
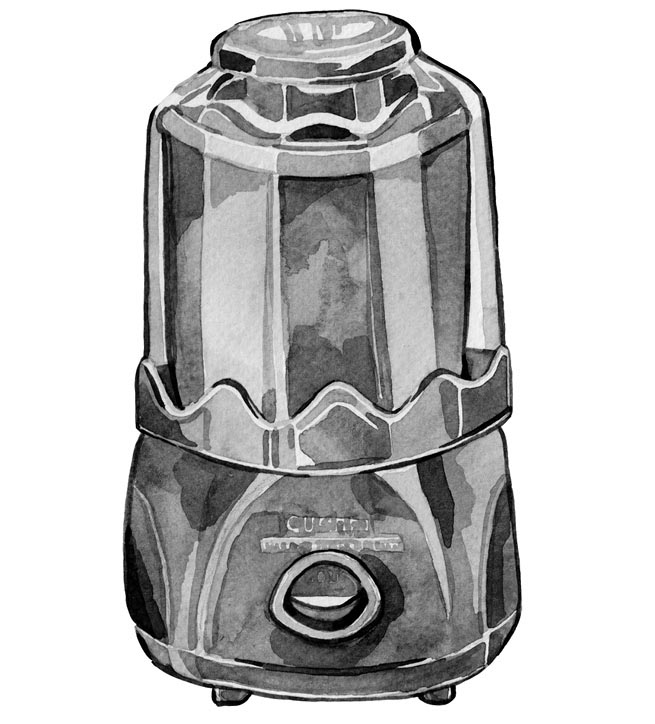
Canister ice cream maker
The Compressor Ice Cream Maker is the most expensive type. The internal compressor starts to freeze your base as soon as you turn the appliance on. You don’t have to prefreeze anything, and you don’t even need to chill your dessert base before adding it to the machine, although doing so speeds up the freezing process. The advantage of this type of ice cream maker is that the machine is always ready to go and is capable of making multiple batches, one right after another, with no waiting time. This sort of pricey machine may not suit the occasional ice cream maker, but if you love to make ice cream or find that you are often serving a crowd, you can get a lot of use out of one of these.
Compressor ice cream maker
Ice cream makers turn the process of creating frozen yogurt into a job that’s quick and easy, but it is possible to make frozen yogurt without an ice cream maker. To do this, simply make the yogurt base of your choice and pour it into a large baking dish. Place the baking dish in the freezer and come back and give the mixture a thorough stir with a fork after 15 to 20 minutes. This breaks up any large ice crystals that may have formed during the freezing. Check back every 15 to 20 minutes and repeat the stirring process until the base has become thick and is mostly frozen. At this point, you can stir in any flavorings the recipe calls for and then serve your frozen yogurt or transfer it to another container for longer storage.
Frozen yogurt made without an ice cream maker will still have great flavor, but it may have some chunks of ice in it that batches made in an ice cream maker won’t have. It might also freeze harder if you store it long term and require some extra defrosting time before you can scoop and serve it.