Decking swells and shrinks as it goes through repeated cycles of wet and dry seasons. This frequently causes nails to loosen and pop up above the deck boards. You can drive them down again, but chances are that’s only a short-term solution. They’ll probably pop up again. The long-term solution is to remove the popped nails and replace them with deck screws.
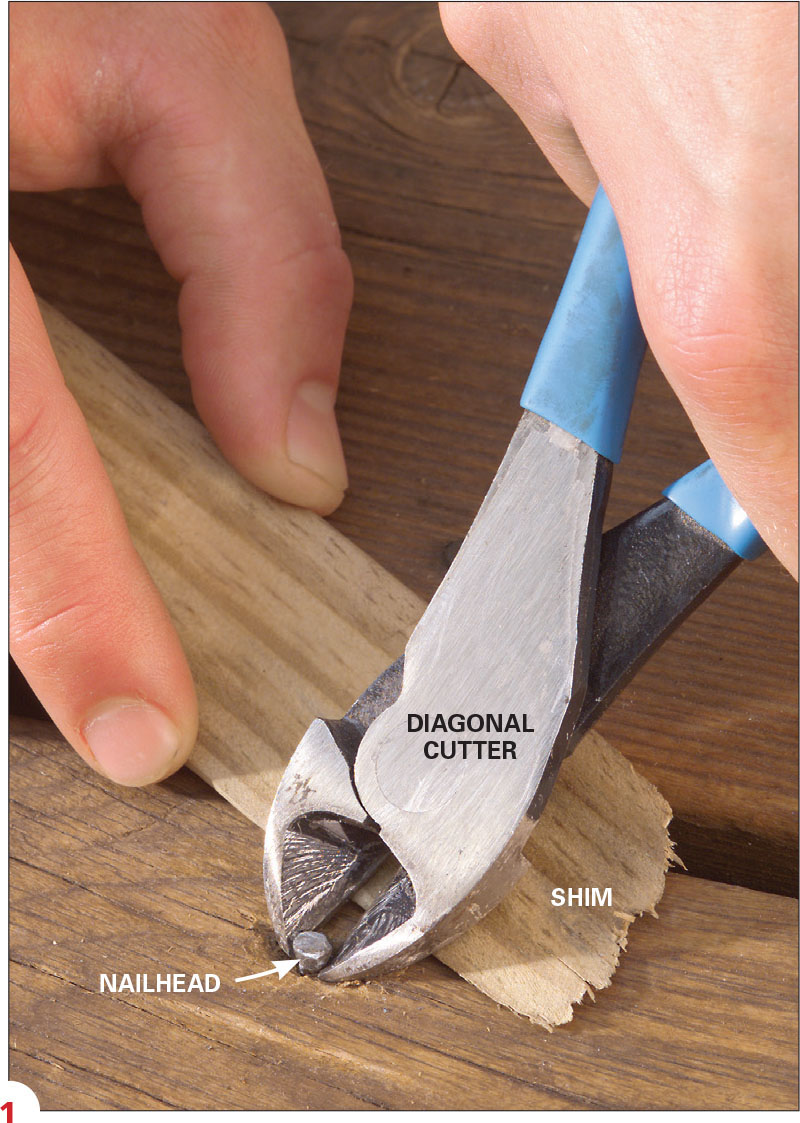
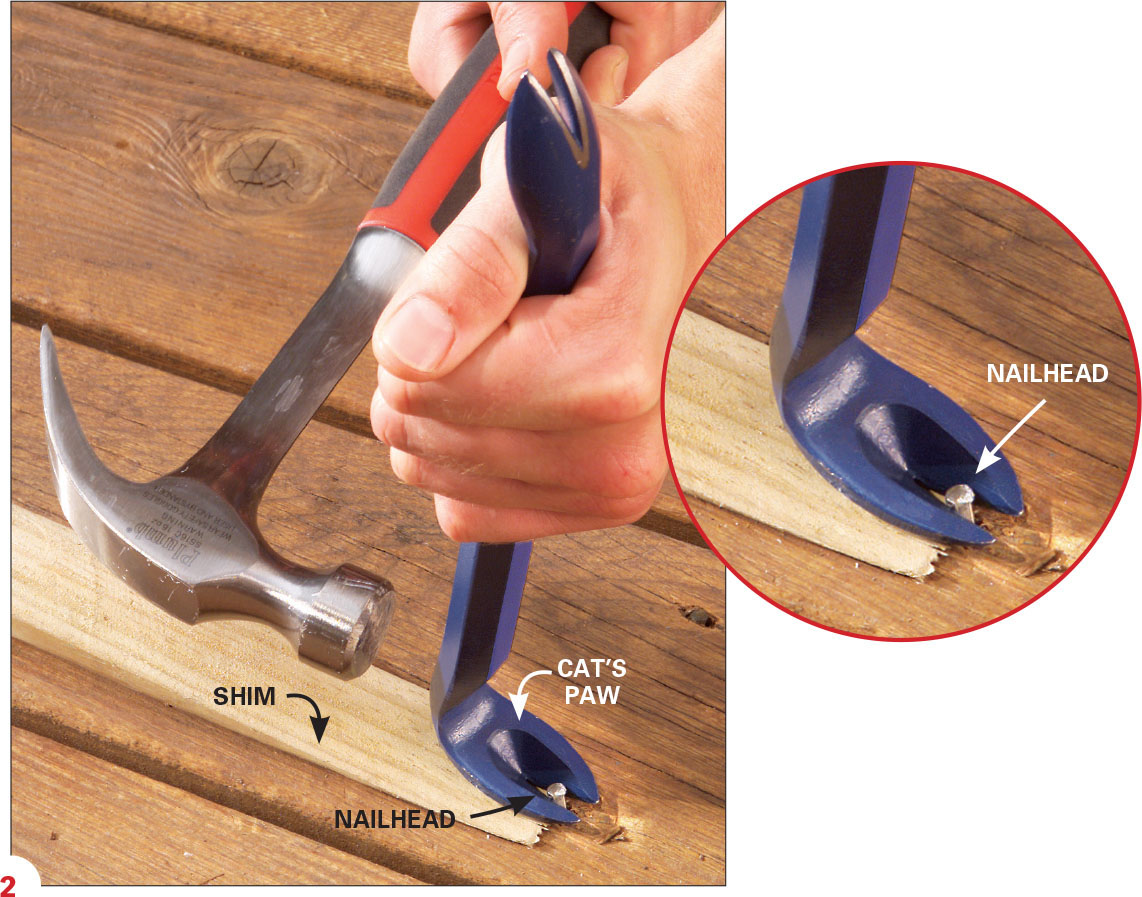
The trick is to pull the old nails without marring the decking. Always use a block under your prying tool. And work on tough-to-get-out nails using several steps. A diagonal cutter works well for nails that only protrude slightly (Photo 1). The slim jaws can slip under the head. You’ll only raise the nail a slight amount, so you may have to repeat this process two or three times. Once the nailhead is high enough, you can grip it with a cat’s paw or hammer claw without marring the deck board (Photo 2). Be sure to use thin wood shims to protect the decking.

1. Start with a diagonal cutter. Grab slightly protruding nails directly under the head with a diagonal cutter. Roll the cutter back onto shim to pry the nail up slightly.

2. Yank the nail with cat’s paw. Tap the claw of a cat’s paw under the nailhead and lever the nail up. Finish pulling with a hammer or pry bar. Again, protect the deck board with a shim or thin block.

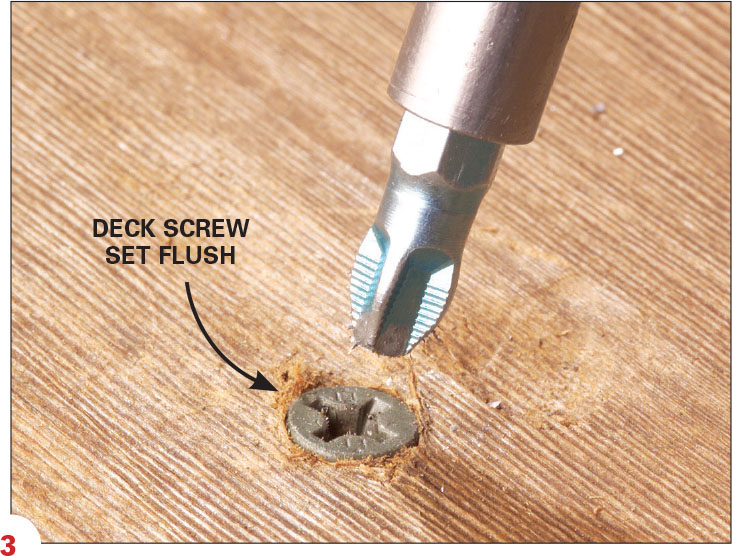
3. Replace the nail with a screw. There’s no need to drill a pilot hole if you send the screw down the old nail hole. (One drawback of screws is that their heads are larger than nailheads and can be unsightly. We recommend that you buy deck screws in a color that most closely matches the aged decking.) Stand on the deck board to hold it down. Then drive a 2-1/2 in. deck screw down into the old nail hole. Set the screwhead flush to the surface.
4. Minor dents will disappear when the wood swells after the next rain.