Learn how to use inexpensive, DIY-friendly repair kits to fix small tears in leather or vinyl car seats before they get big and ugly.
A leather/vinyl repair kit takes only an hour. But don’t expect perfection. You’ll still see the tear, and you probably won’t get a perfect color match. However, this fix will contain the tear and look better than a gaping hole.
You can buy a kit at any hardware store, home center or auto parts store.

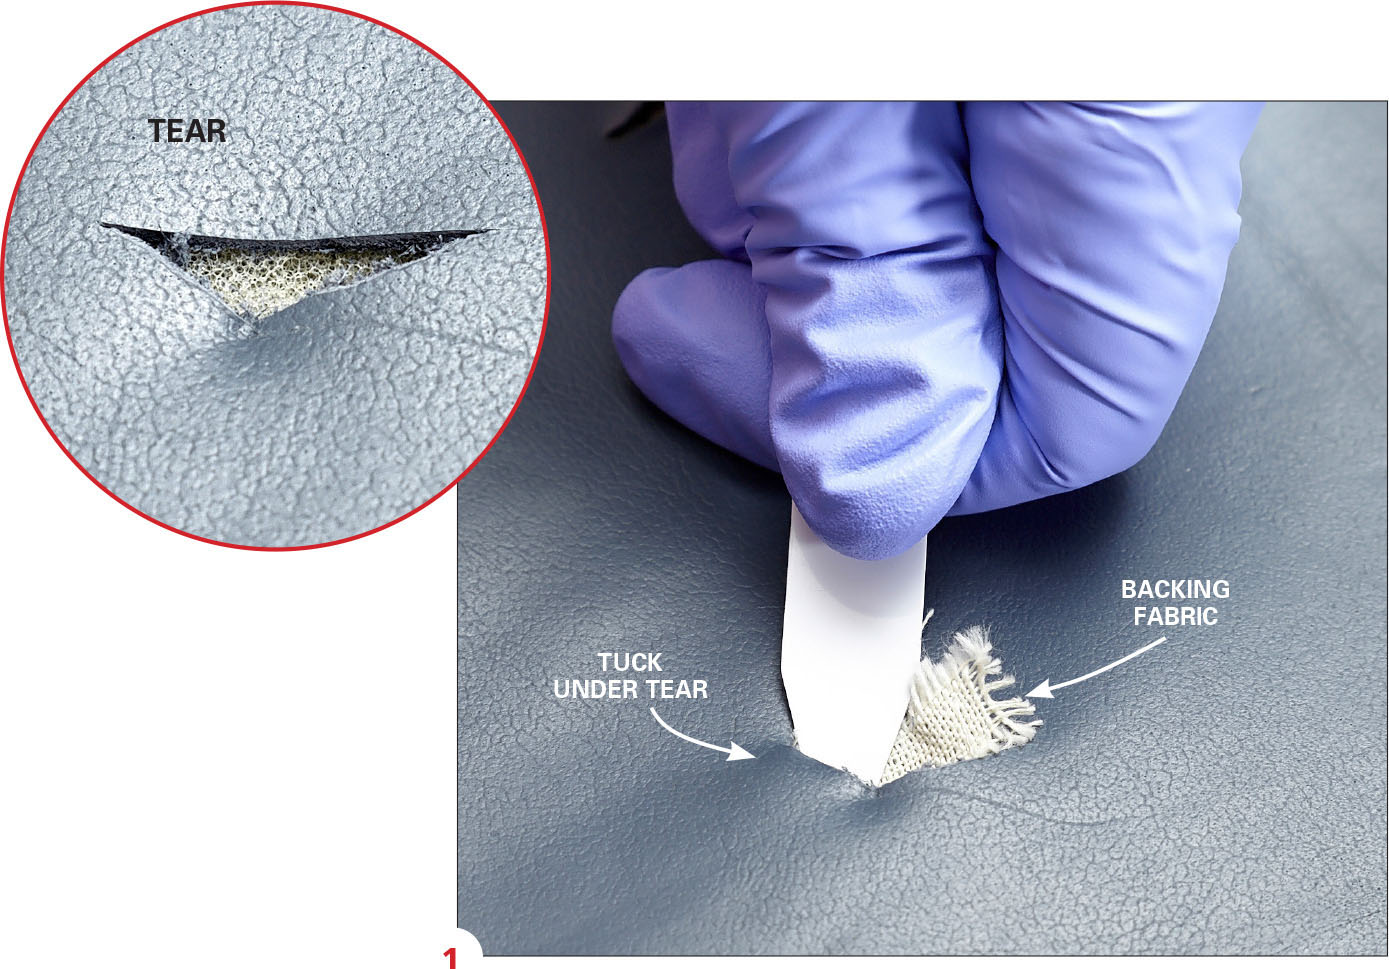
1. Follow the cleaning instructions in the kit and trim the damaged area to remove any frayed edges. Then cut the backing fabric so it extends under the tear by at least 1/2 in. Tuck the backing under the damaged area to form a patch. Then apply adhesive around the edges and the middle. Let it dry for the recommended time before adding colorant.
2. Mix the heat-set colored filler. Take your time and get as close to the color as you can. Apply just enough colorant to fill in the tear.

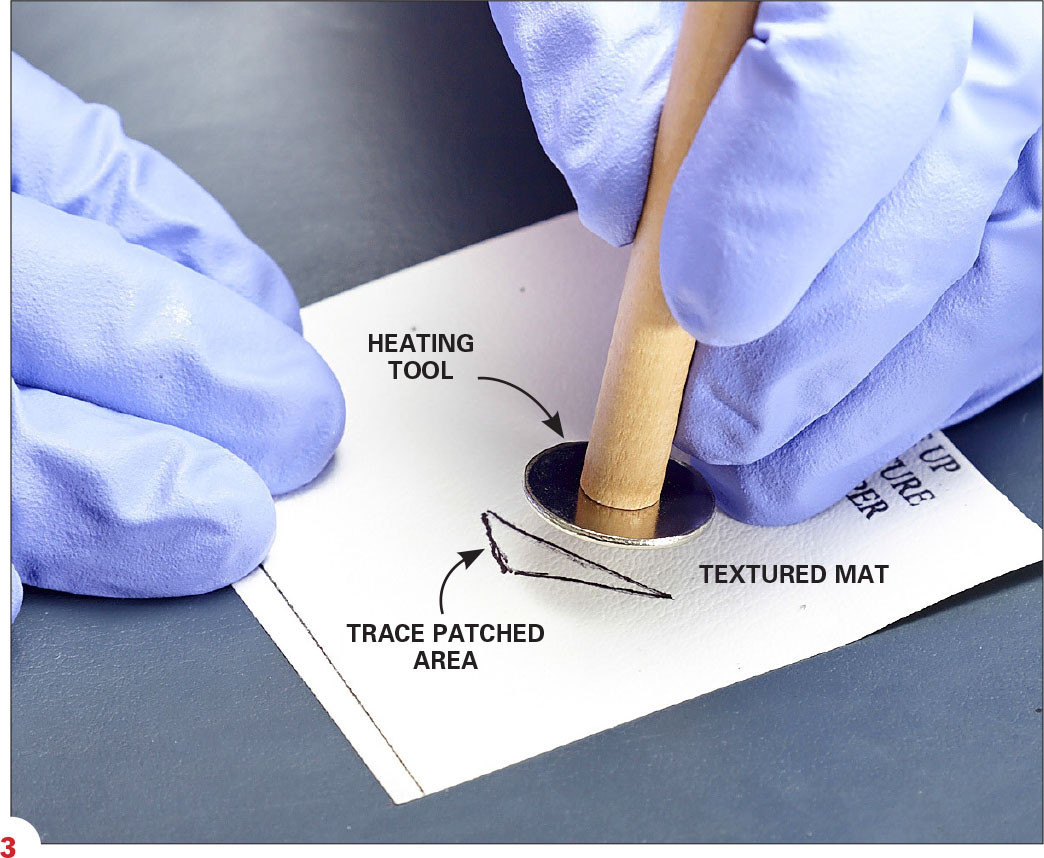
3. Cover it with the textured mat and apply heat. Touch the heating tool (included with the kit) to the face of a hot clothes iron. Then press the hot tool onto the textured mat (for as long as recommended) and hold it in place. Let it cool.

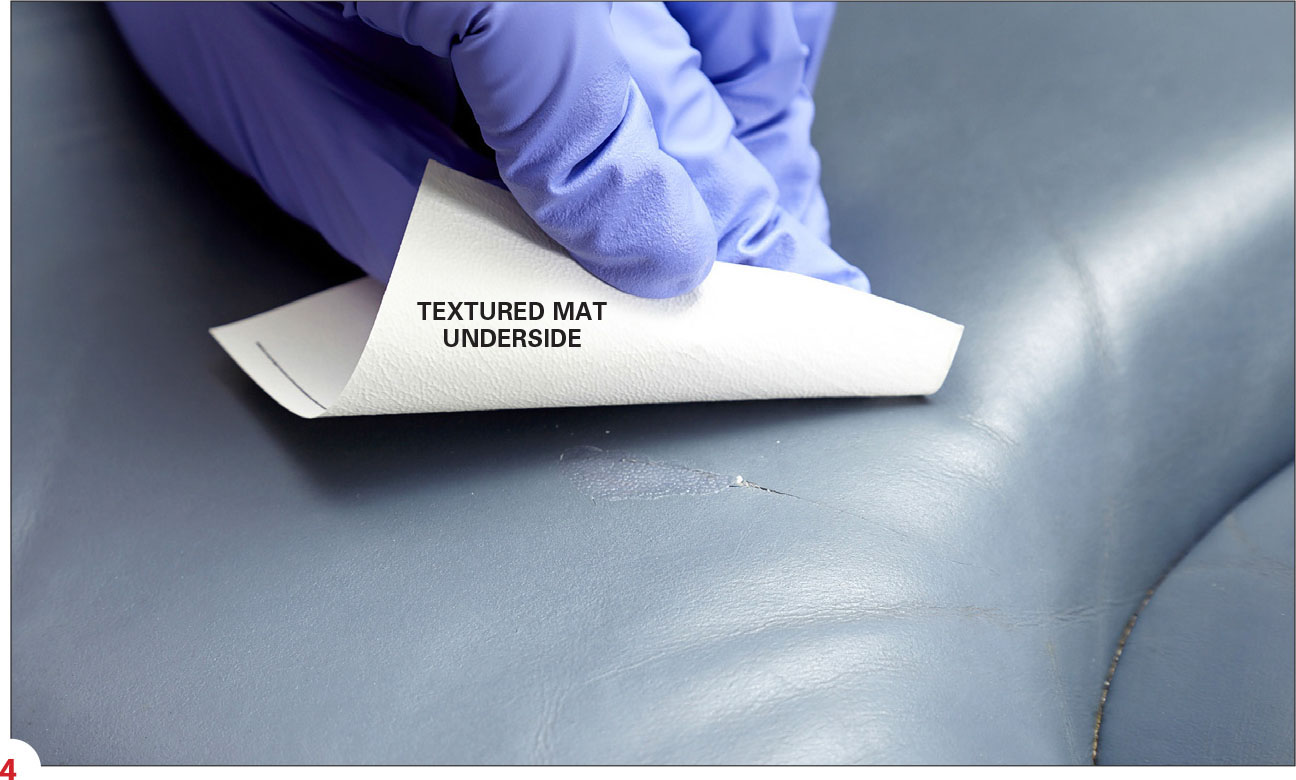
4. Remove the mat and check out the results. The patch won’t be perfect. But it sure beats the look of a tear or burn.