A leaky faucet has a torturous way of wearing on nerves and water resources. Even a slow drip can waste hundreds of gallons per month. Luckily, most dripping washer-type faucets can be cured in 30 minutes for less than a dollar.
To repair a washer-type faucet, you’ll need to replace the washer on the bottom of the valve stem and sometimes replace the valve seat as well. Replace washers for both the hot and cold water while you’re at it, not just the one that’s leaking.
1. Turn off the water-supply valves and close the sink stopper so small parts won’t disappear down the drain.

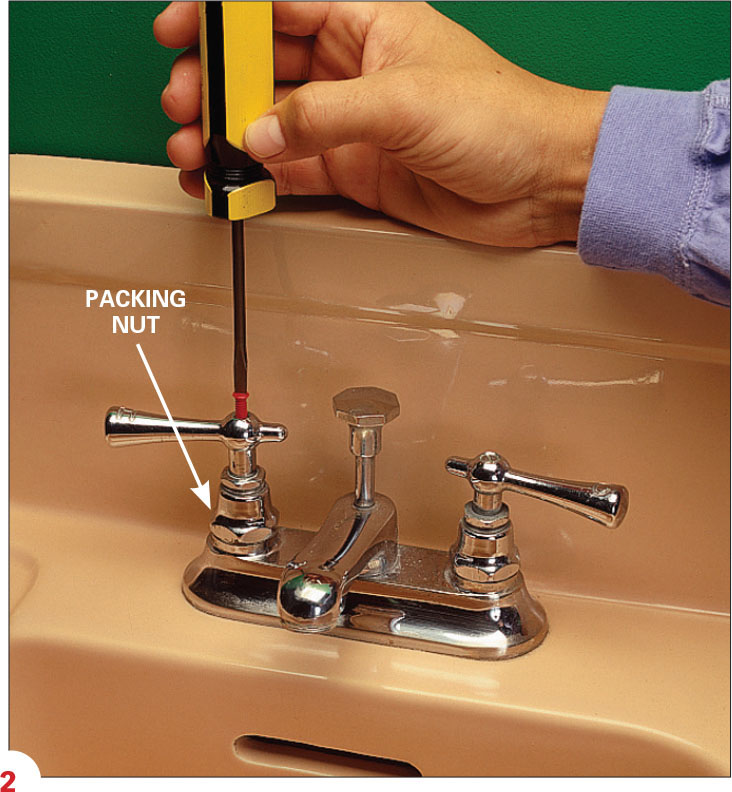
2. Remove the screw that holds the handle and remove handle. Then loosen and remove packing nut counterclockwise with a wrench. Remove valve stem assembly. It should pop or screw off.

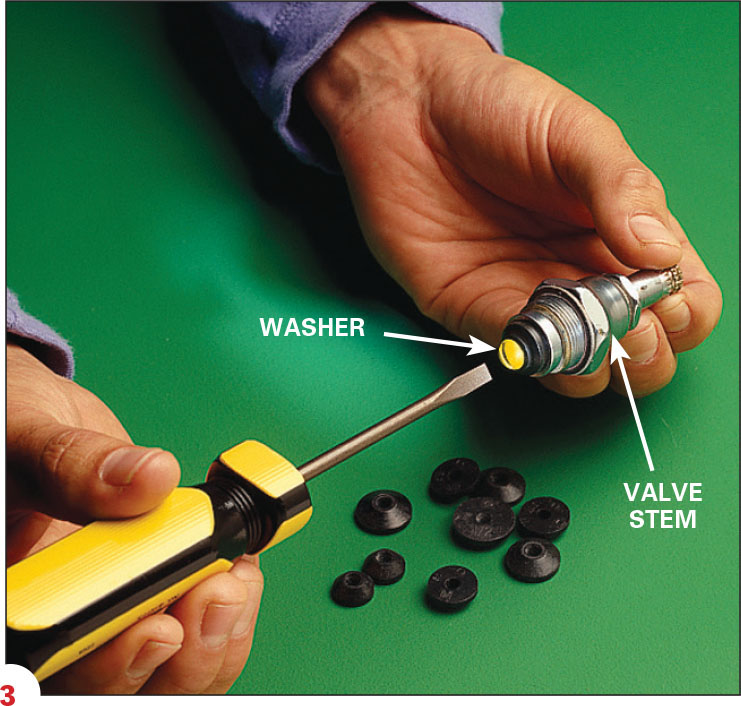
3. Remove the worn washer on the end of the valve stem and replace it with the correct type: flat or beveled. The new washer should fit snugly without being forced.

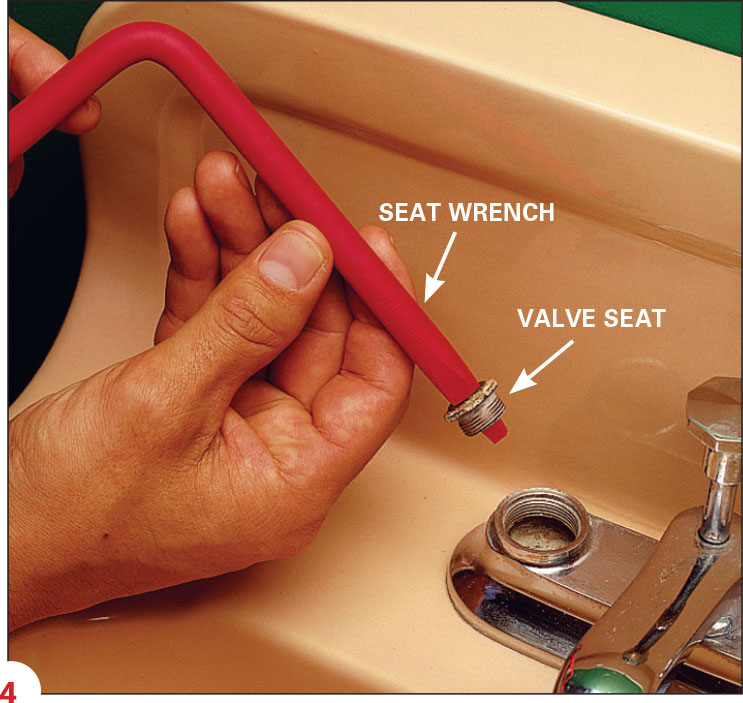
4. Use the seat wrench to remove worn valve seat. The new seat must match the old one exactly in diameter, height and number of threads.

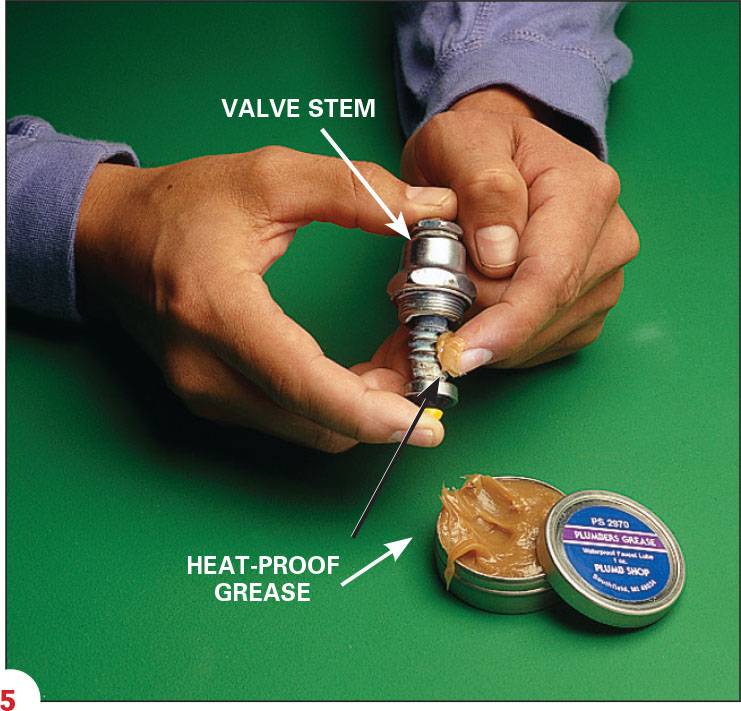
5. Lubricate the working parts of the stem assembly with heat-proof faucet grease. Reassemble faucet.