If your windows or doors are a source of chilly drafts all winter long, the problem could be worn-out seals, weather stripping or thresholds. Then again, sloppy installation might be to blame. When cold weather arrives, hold the back of your hand near the edges of windows or doors to track down the source of leaks. If you feel cold air flowing out from behind the trim, chances are the spaces around the window and door jambs weren’t properly sealed.
Plugging these leaks is a time-consuming job: You have to pull off the interior trim, seal around the jambs and then reinstall the trim. But if your doors and windows are otherwise fairly airtight, the payoff can be big, too. Stopping drafts not only makes your home more comfortable but also cuts energy bills (air leaks are a major source of heat loss in most homes).

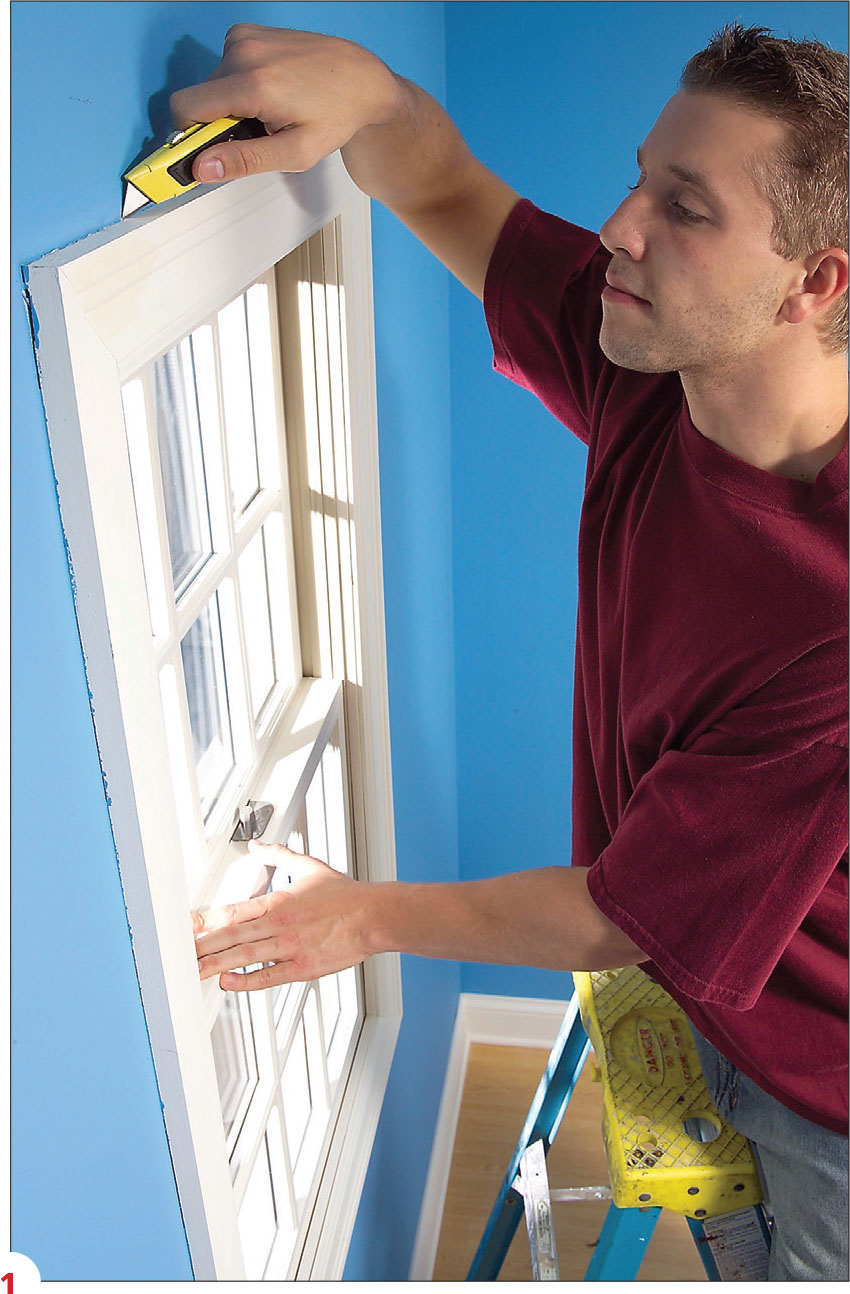
1. First investigate: Remove one piece of trim from a window or a door. To prevent chipping or tearing paint, slice through paint where the trim meets the wall and jamb. Put a new blade in your utility knife and make several passes over heavy paint buildup.
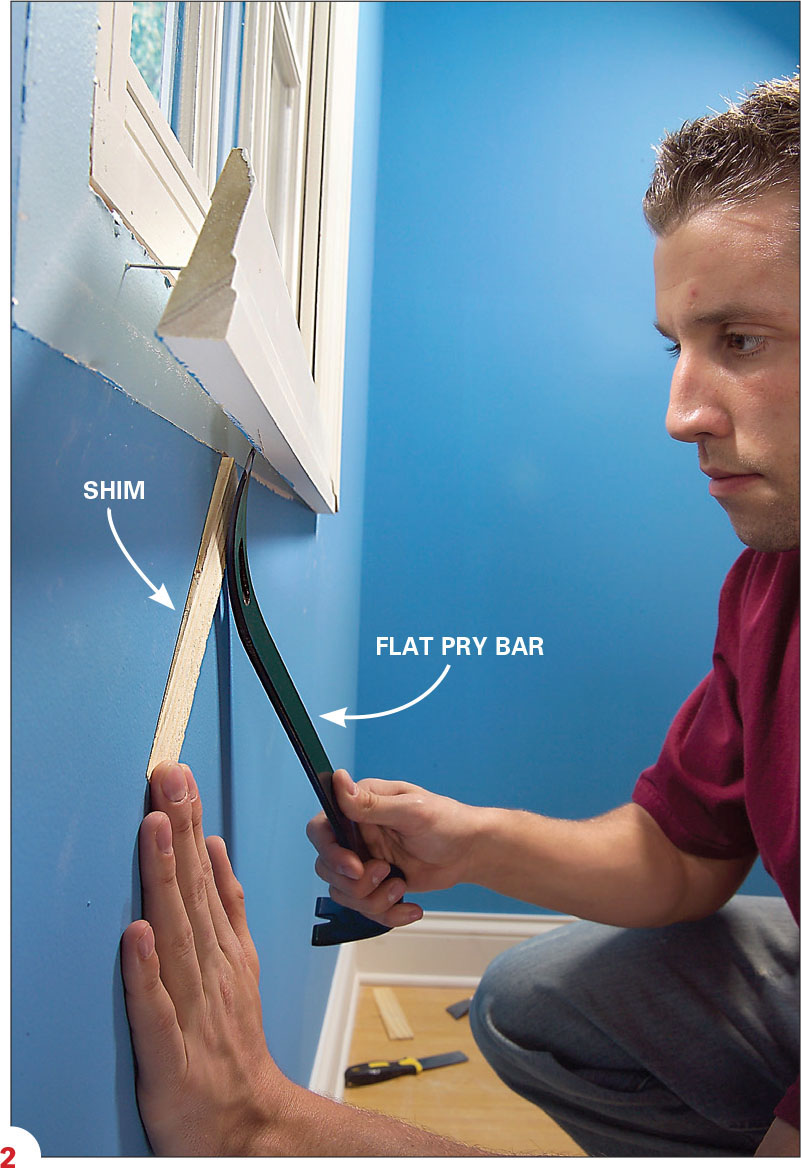
2. Slip a stiff putty knife under the trim and lift it enough to insert a flat pry bar. Don’t simply force up one end of the piece. Instead, work along the length of the piece, moving your pry bar and lifting the trim off gradually. Protect walls with a shim or a scrap of wood as you gradually work the trim away from the wall.
At mitered corners, watch for nails driven through the joint. To prevent these nails from splitting mitered ends, pry up both mitered pieces together. Then pull them apart.
3. With one piece removed, examine the space between the jamb and the wall framing. If the drywall covers the space, trim it back with a utility knife. If you see only a few loose wads of fiberglass insulation or no insulation at all between the jamb and framing, it’s likely that all your windows and doors are poorly sealed and need sealant. Continue to remove the remaining trim.
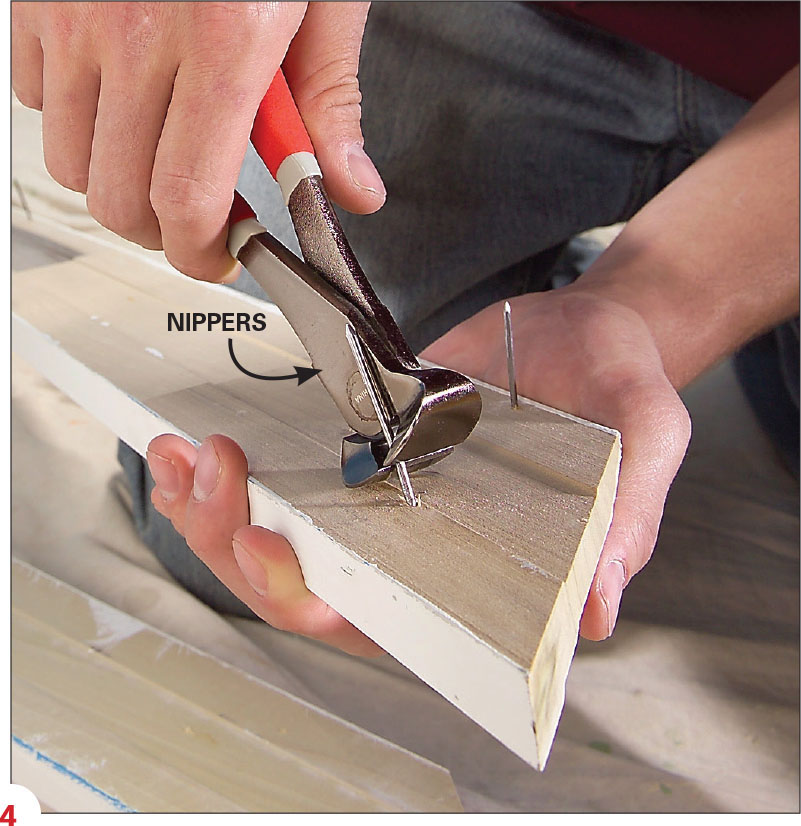
4. Pull nails out through the back side of trim with nippers or pliers to avoid damaging the face of the trim. Also write the location of each piece of trim on the back side.
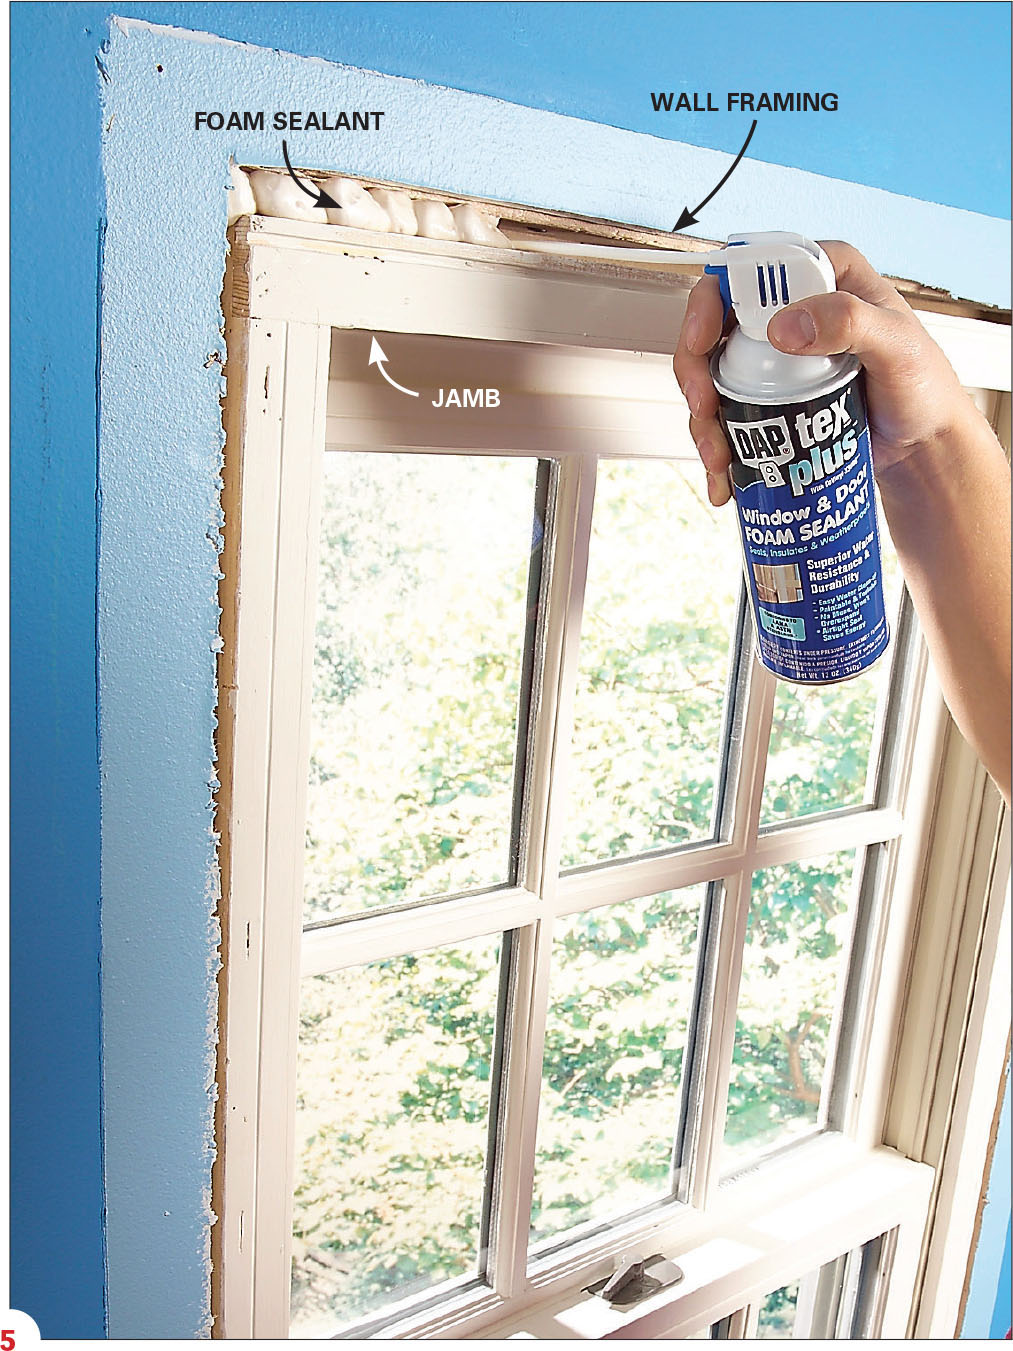
5. Fill gaps with foam sealant. Pull insulation from between the jamb and the wall framing. Seal the gap around the jamb with foam sealant. Some sealants will push jambs inward as they expand, so be sure to use one that’s intended for windows and doors (check the label). We chose DAP Tex Plus because it’s easy to clean up with a damp rag. Most expanding foams are nearly impossible to clean up before they harden.
Let the foam harden and trim off any excess foam with a knife before you reinstall the trim.
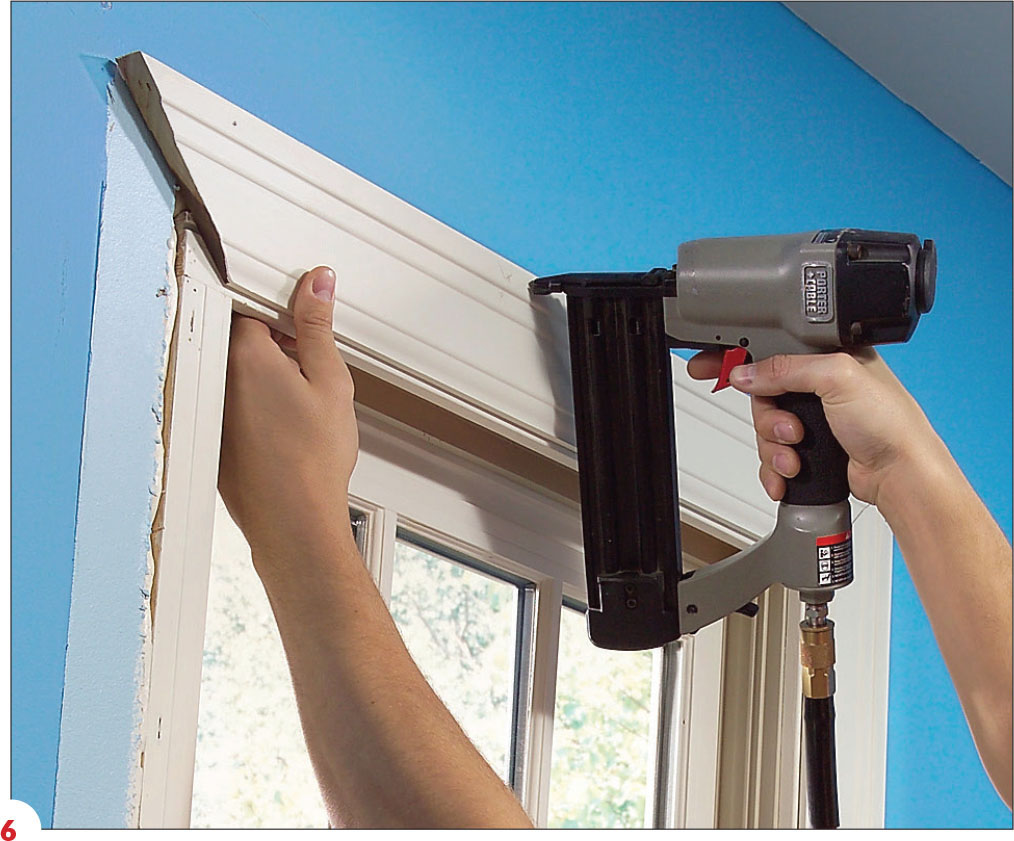
6. Position each piece exactly as it was originally and tack each one up with only two nails. Ridges in the wall paint can help you align each piece perfectly. With only a couple of nails in each piece, you can make small adjustments by holding a block against the trim and tapping it with a hammer. Then add more nails. If your trim has a clear finish, fill the nail holes with a matching colored filler such as Color Putty or DAP Finishing Putty. With painted trim, it’s best to fill the holes with spackle and repaint.