The great thing about hollow wall anchors is that they provide a cheap, fast method for attaching heavy stuff to drywall. There are at least a half dozen wall anchor devices; each works on a slightly different principle. What happens when you want to change the location of a family photo or a mirror? Some plastic, cone-shaped, expanding anchors can be pulled out from the front of the wall. But the T-nut head wall anchor shown here can’t be pulled out intact, because its four expanded flanges lock up against the backside of the wall. What’s the trick to remove one? Punch it through the wall which does minimal damage and simplifies wall patching.

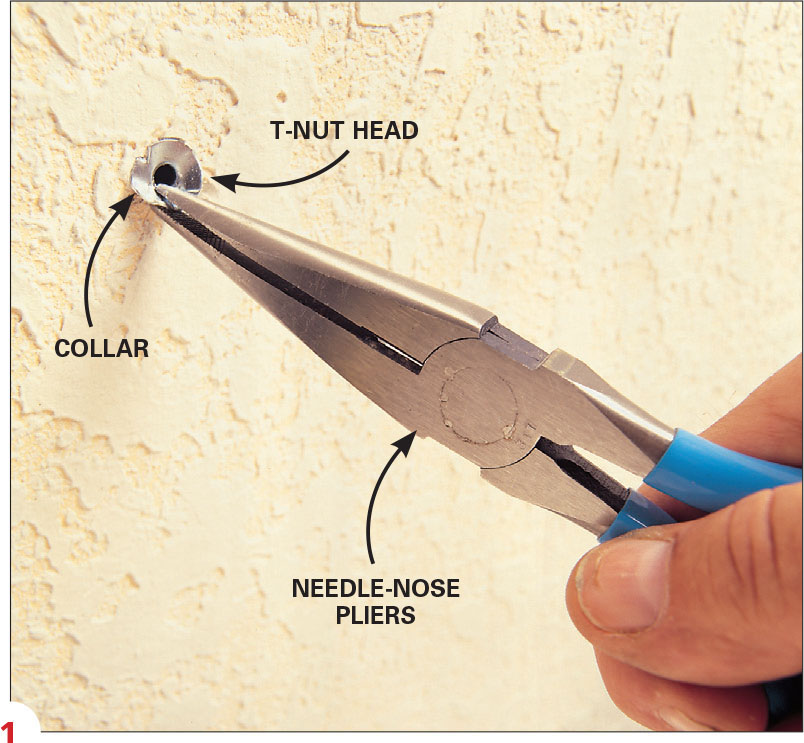
1. First, remove the threaded bolt that attaches your accessory to the wall anchor. Now, grab the T-nut head firmly with needle-nose pliers, then bend and pull the collar back and forth until the head snaps off. To minimize wall damage, avoid digging the nose of the pliers too wide of the collar.

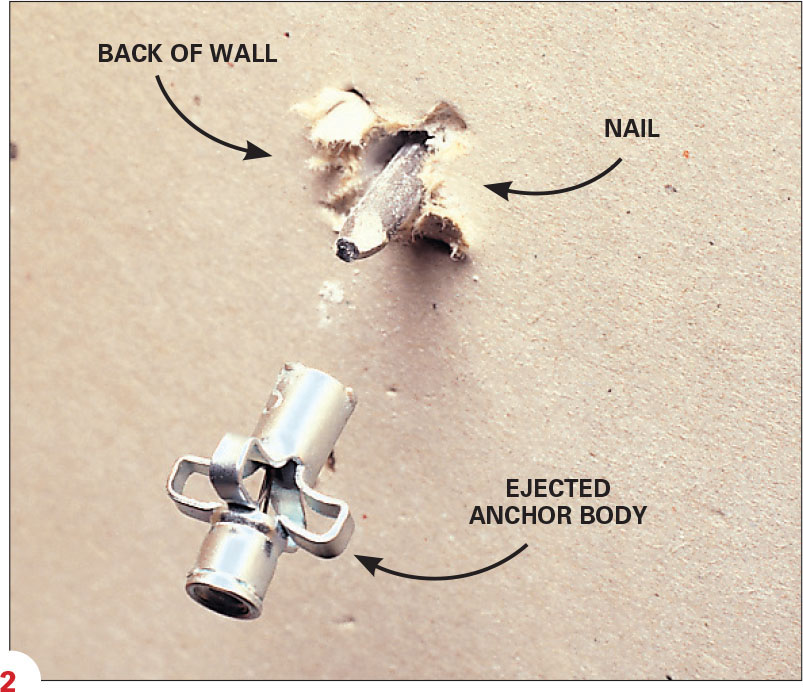
2. Push the anchor body into the wall cavity with a nail. Repair the wall with patching compound and then paint the spot.