When the caulking around a bathtub starts to crack and become a cozy home for dark stains that signal mold, it’s time to replace it. The caulk is the watertight seal between the bathtub and the wall. Once the caulk’s integrity is compromised, water can invade the wall, causing rot in the framing around the tub. Save yourself an expensive repair—you can replace old caulk in less than an hour at almost no cost.

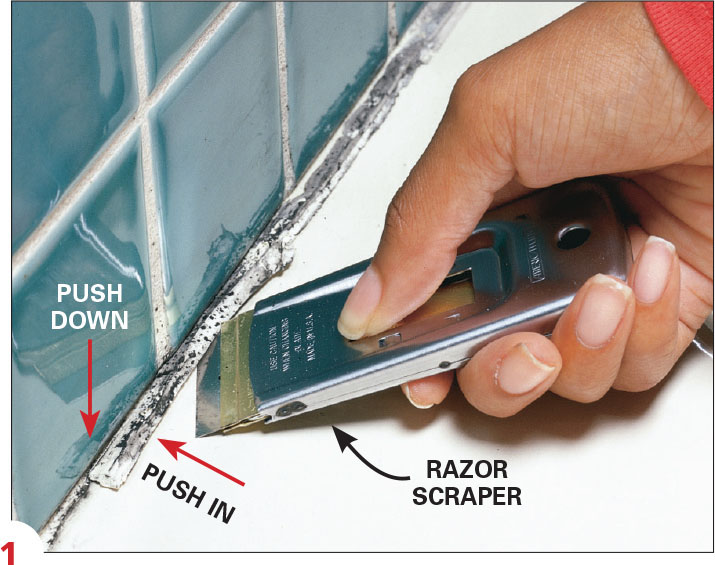
1. Loosen the old caulk. Push a razor scraper in all the way under both edges of the old caulk bead to release its grip. Don’t pry the caulk with the scraper because you could break off the razor blade.
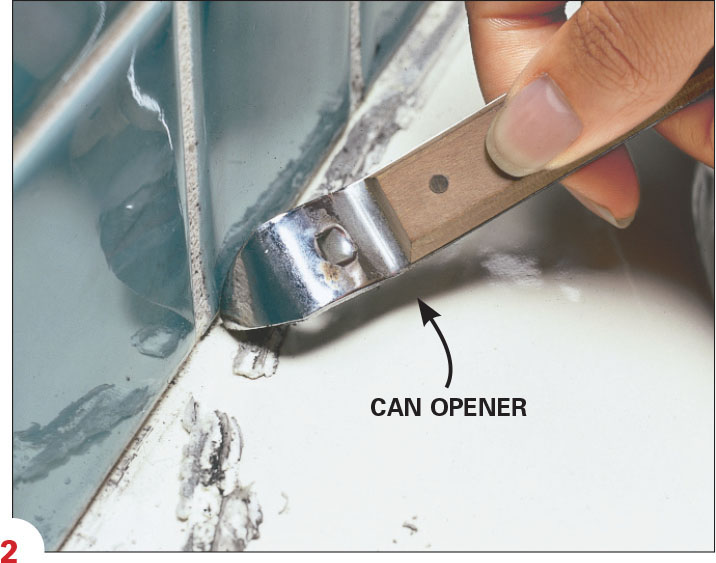
2. Scrape the loosened caulk out of the joint with the pointed end of a can opener or putty knife. Once the old grout is removed and you have a clean, dry surface you can apply the new caulk.
3. Tubs sink a bit when full, so fill before you caulk, and leave until the bead has cured. This will keep a seal joint from cracking when weight is applied.
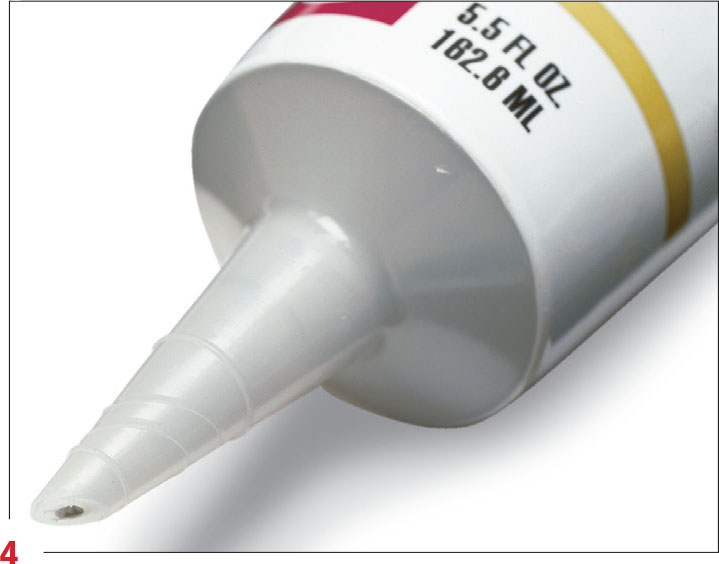
4. Using a utility knife, cut the nozzle tip of the caulk tube at a 45-degree angle so the opening is about the diameter of a wire coat hanger. Smooth and round the cut tip with sandpaper.
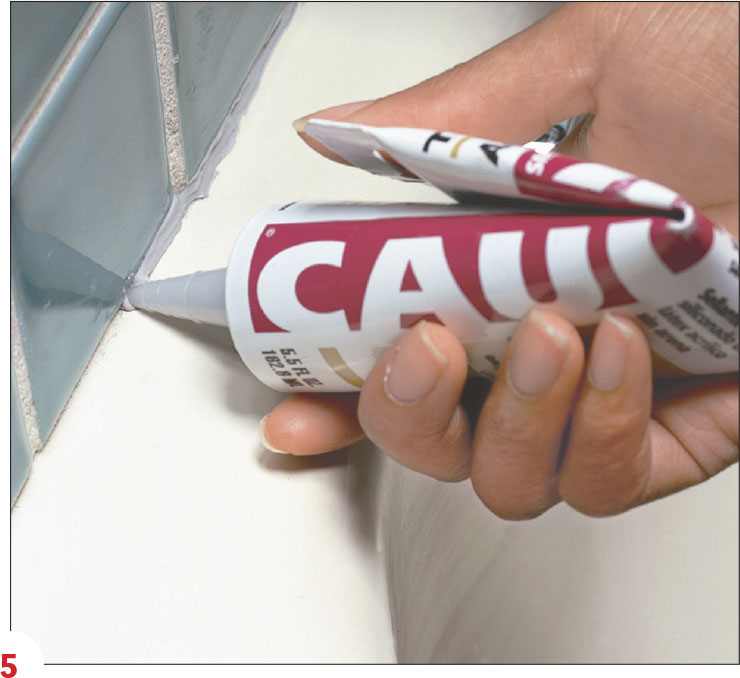
5. Pull the caulk tube down the tub joint from the inside corner of the tub. Keep even pressure on the tube by pushing the caulk forward and folding over the empty portion. The bead should be sized so only a slight amount wipes off when you drag your finger over it.
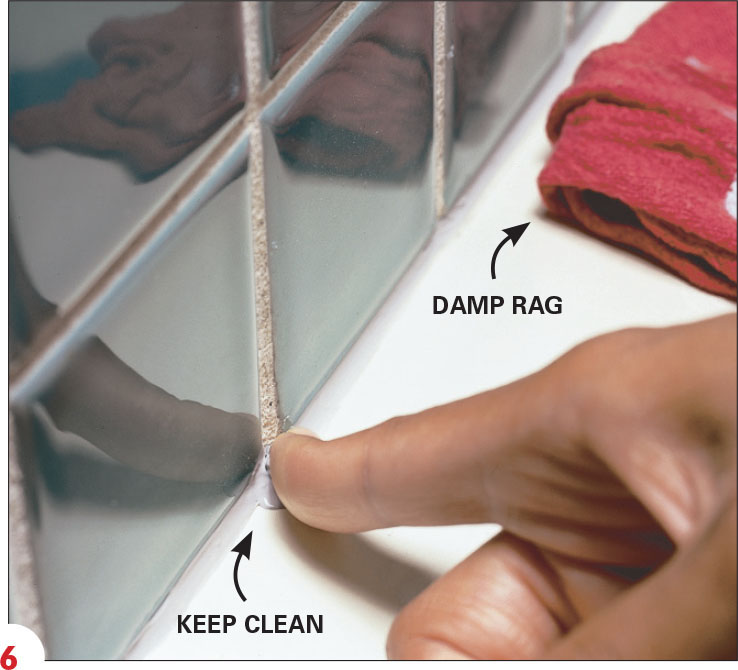
6. Dampen your finger and drag it over the freshly laid bead of caulk. Press the caulk into the joint with the tip of your finger and scrape away the excess with the sides of your finger (it may take a few swipes). Wipe excess caulk off your finger with a damp rag. Note: For acrylic/latex caulk, dip your finger in water. With silicone, slip on a surgical-style glove and use alcohol.
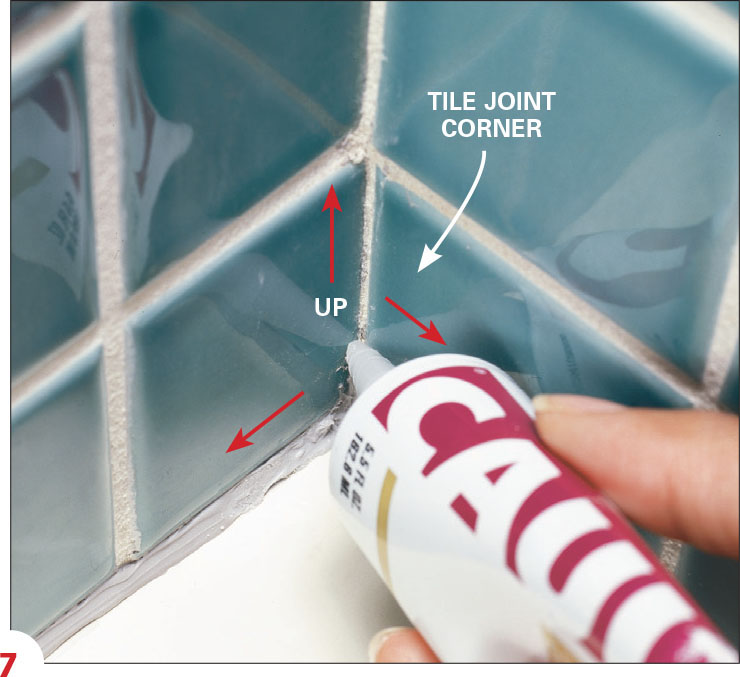
7. Include the tile corner joint. Caulk up the tile corner joint if the old caulk has cracked or deteriorated.
8. Allow the caulk to dry. Then empty the tub but wait 24 hours before using.