As you might have guessed, doing a wash doesn’t refer to laundry. It is the basic act of getting paint to paper in whatever way works best for the effect you’re after.
The process itself is simple: Dip your brush (either a flat or round) in clean water, rub it on your pigment, carry the brushload of liquid to the mixing area of your palette and rub it around a bit to mix well. Repeat until you have a nice-sized puddle of water and pigment. (If you want to mix colors, simply alternate between the two pigments until the color is right.)
The white surface of the palette will help you judge how strong or how bright your wash is, but the amount you mix up depends on how big an area you need to cover. A larger painting will need a larger wash. Judging that amount is mostly just practice, but it’s better to mix too much than too little! You’ll soon get the feel of it.
Some artists wet their paper before the initial washes for soft, misty, wet-into-wet effects. Tape your paper to a board with masking or drafting tape, then run it under a faucet or use a sprayer. Aim for uniform wetness, then lay in your color(s), allowing water and pigment to blend on the paper surface.
Once you’ve finished your painting, let the paper dry thoroughly before removing the tape, or it may tear into the painted area. Pull the tape away gently and firmly at a shallow angle to the paper’s surface.
If you’re working with moist-pan watercolor, or if the mounds of paint have dried on your palette, you may want to spray your paint with clear water to soften it and assure good, smooth mixtures.
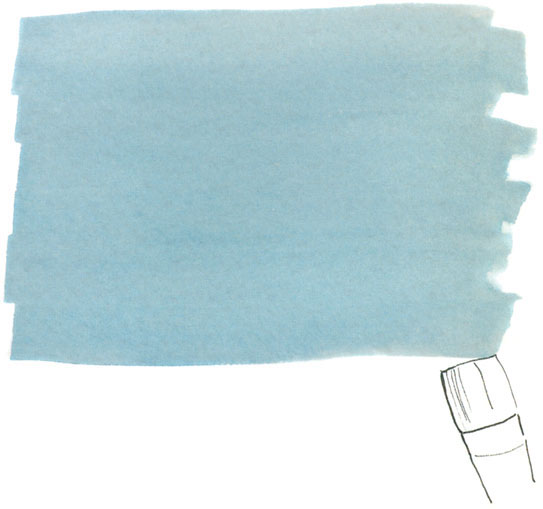
Just as the name implies, a flat wash involves putting down as flat an area of color as possible. It is most easily done on rough or cold-pressed paper (the color averages out in the little hills and valleys!).
There aren’t too many times when you need a totally featureless expanse of color, but it’s good to know how to make one. Make a line across the top of the area to be painted with a brushload of your color mixture. Tip your paper a bit so that a “bead” of color collects at the bottom of the stroke. Fill your brush again, touch that line just where the bead is formed and make another, slightly overlapping stroke. Pull the bead of color downward with each stroke (gravity’s a big help here!) and fill the area you need with color. Pick up the last bead of liquid with a damp brush or tissue, or you’ll get backruns as it dries.
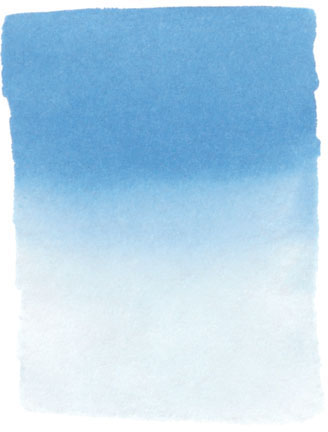
This wash is made in the same way as the flat wash, but you progressively add more clear water rather than pigment. Pull the diluted wash down the page with each stroke, and it will get lighter and lighter. Again, pick up that last bead of water to prevent backruns. This wash is nice for skies and still water.
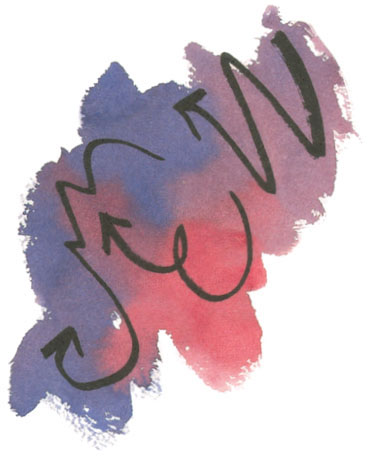
This wash is my favorite and, I believe, the most versatile. Here, you use two or more colors and mix them partly on the paper for a wonderful, exciting vibration or a subtle blending. Your brushstrokes can go every which way, with great abandon.
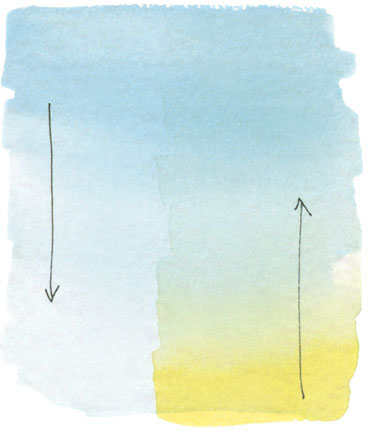
This wash is very similar to the graded wash, but you let the initial wash layer dry thoroughly first, then turn the paper upside down and do a wash in a different color in the other direction. (You can suggest a lovely sunset glow this way!)
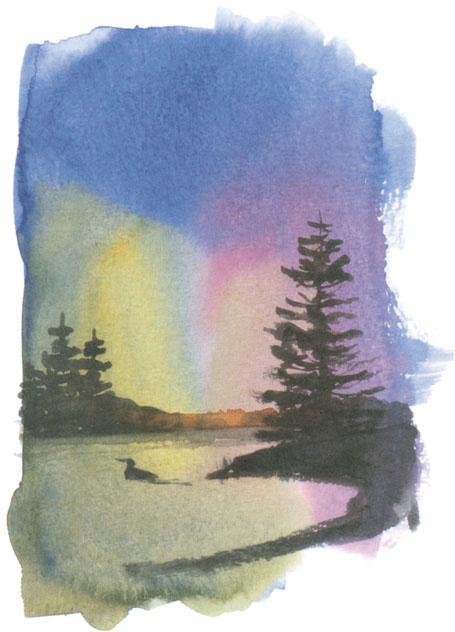
Here you can see one of the many, many ways washes can be used!
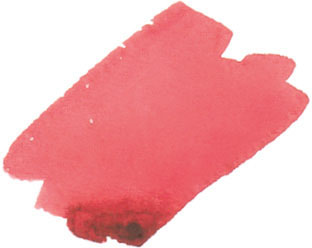
This little pink blob shows how paint can run back into your wash as it dries, making a “flower” you don’t want. Lift excess liquid with a brush or tissue to prevent this effect (unless you’re using it intentionally, as I did in some of the illustrations for this book).
For all but the variegated wash, some artists work back and forth across the page rather than making their strokes all in the same direction. Try it both ways!