You can layer as many colors as you like to get the effect you’re after. If you mix too many, however, you run the risk of creating mud. Often it’s better to put down one or two colors, let them dry, add another color layer or two, then wet them and dry again, and so on until you achieve the depth or subtlety you want.
For a different, spontaneous and somewhat less predictable approach, try wetting the paper before applying your color, either dry-into-wet or wet-into-wet. Don’t be afraid to be a bit out of control. In watercolor we refer to things like this as “happy accidents.” If the effect startles you a bit, put it aside for a while and come back—you may find you really like what you see, or perhaps you then can find a way to incorporate what you thought was a mistake into a fresh, exciting effect.
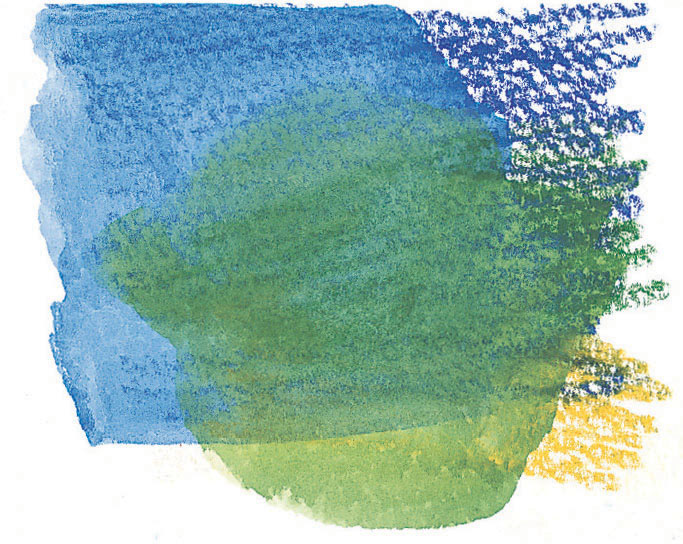
In this example, blue, green and yellow worked well to make subtle variations of greens and blue-greens. Layering after your preliminary layers have dried allows maximum control and works well with a more formal application.

In this sketch, I soaked the paper thoroughly so it would stay good and damp through my drawing. I drew the warm sienna colors with a dry pencil point into the wet area of my paper. For the darker browns, I wet the pencil point first before touching it to the paper for stronger, more emphatic lines in this drawing of my grandmother Annie Kelley.
Wetting art after you put it down on paper creates a completely different effect, more controlled but somewhat less exciting.
You can, of course, use watercolor pencils just like ordinary colored pencils, that is, on dry paper and without blending them with water at all. They are not quite as intense as wax-based colored pencils and are a bit more delicate, but the effect can be very satisfying. Try this approach if drawing is your first love.

I tried Annie again (with somewhat less success at a likeness), going for the mood of a delicate old sepia photograph. I used a smooth Arches hot-pressed watercolor paper for greater control over details as I drew, then wet each area separately and carefully, lifting and blending as I went. I left a bit on the right side of the head untouched to show the extent of coverage needed to achieve that effect.

When you work dry-on-dry, you’ll need to protect the surface because, unlike a wax-based colored pencil drawing, an inadvertent spill on a watercolor pencil painting will cause the paint to run. I deliberately spilled a bit on this example to demonstrate.