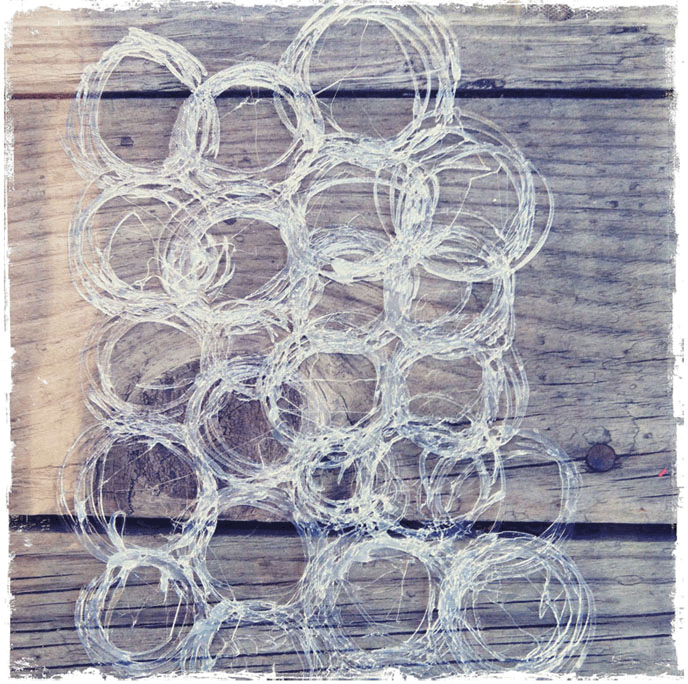

The mark of a brushstroke that dances across the page, the drizzle of paint as it flows from the bottle, a stick wrapped with yarn, a silkscreen design made with Collage Pauge, drips of paint from balloons popped with darts, vintage lace and trim suspended in an embroidery hoop, wooden pyrogravure stamps, textured printing plates made from melted wax and toothpicks, the bottom of a water bottle, hot glue stencils and craft foam inscribed with a skewer. What do all these have in common? Each one makes a unique mark, an impression on the canvas that helps express a window into our creative soul. I’ve always longed to find ways to incorporate different found objects into my art—items that you would not necessarily think to use as a painting tool. I am open to the world of possibilities and am always asking “what if?” I encourage you to take that same point of view and look with new eyes at the materials in your everyday life, things that are sitting right in front of you, and start to imagine all the ways you can creatively use nontraditional items to make expressive marks in your art.
In this section you’ll be encouraged to create a variety of handmade mark-making tools from found objects. I share a few ideas on how to use these tools to create colorful layers on various substrates. The painting techniques are creative jumpstarts and are meant to lead you to explore intuitively to make the next mark without question. Rummage through your drawers and look for items that can be dipped into paint, formed into stamps or rubbed with crayons to create textural layers. Go on a creative tool scavenger hunt and be ready to paint!
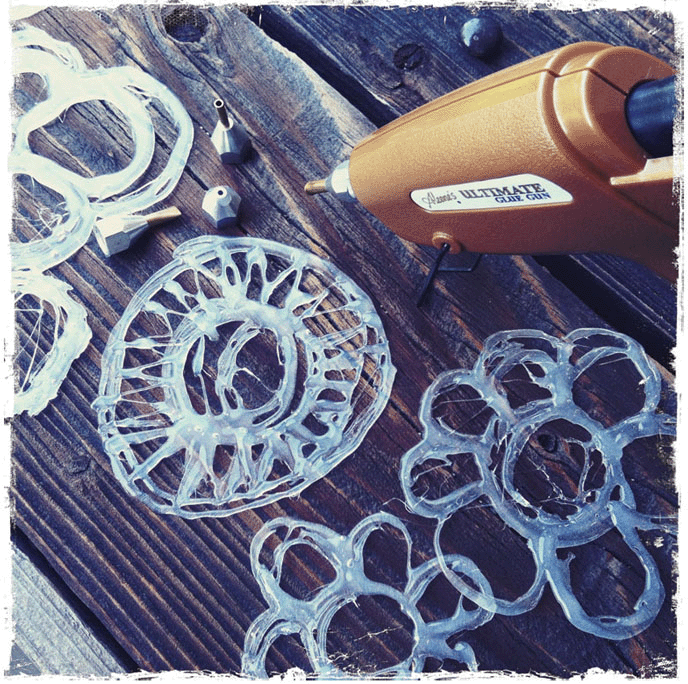
Create one-of-a-kind stencils and masks by doodling with a hot glue gun. Hot glue creates a durable plastic stencil that dries quickly and is great for masking off areas in a painting and incorporating a unique mark as a stamp. Once you’ve created one stencil, experiment with creating a variety of shapes and sizes.
hot glue gun
hot glue sticks
sheet of Teflon or parchment paper
small piece of Plexiglas or a printmaking barren
paint, dye or ink
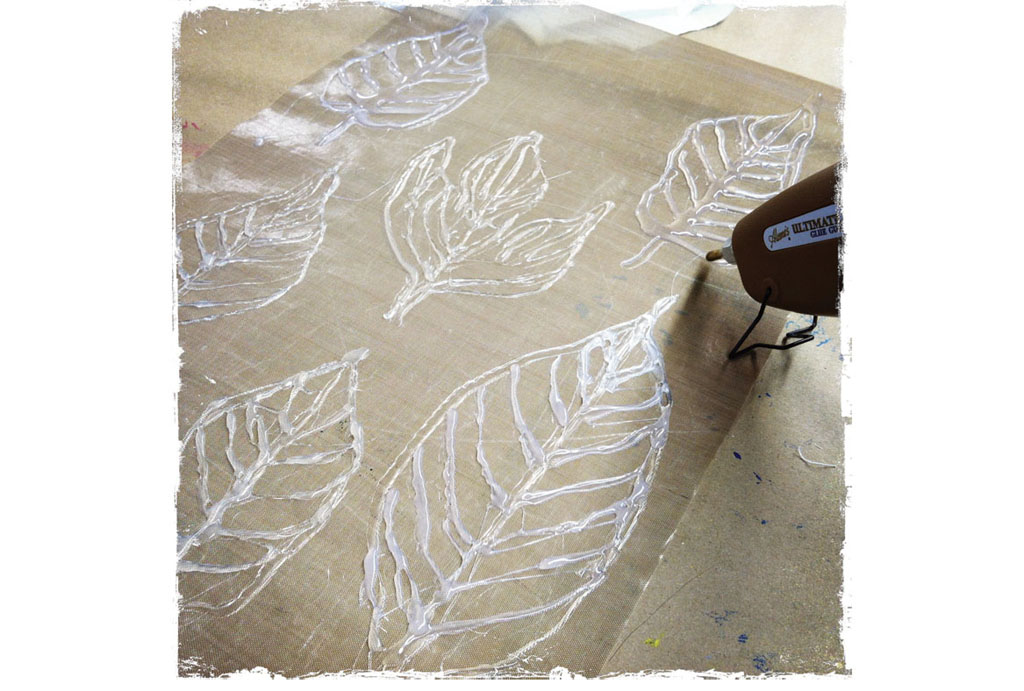
Turn on the glue gun and let it heat up. Place a Teflon sheet on the table to use as a base for the hot glue. This will prevent it from sticking to the surface and protect the table.
Place the tip of the heat gun lightly to the surface and press the trigger while drawing interesting designs onto the Teflon sheet. Let the glue dry. Make sure that the stencils are connected in one piece. If the glue does not fully connect, the stencil will be too delicate and fall apart. If this happens, place the stencil back onto the Teflon sheet and add more hot glue.
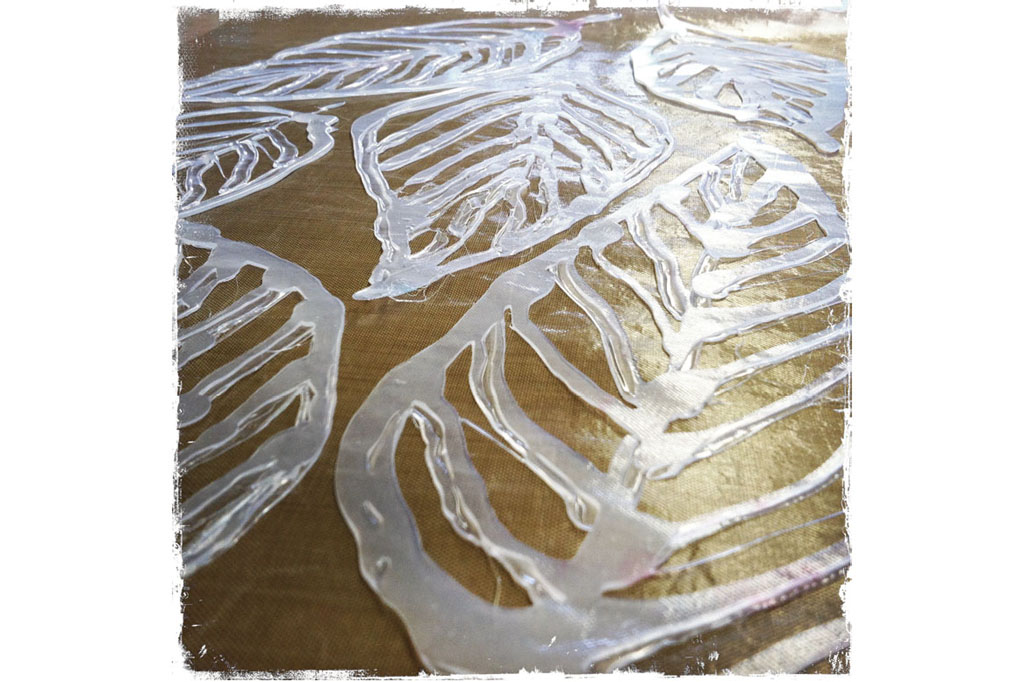
To create a flat surface on both sides of the stencil, place another Teflon sheet or piece of parchment paper over the top of the glue while it’s still hot and burnish over the top with a small piece of Plexiglas (5" × 7" [13cm × 18cm]) or a printmaking barren. When completely cool, use your fingers to slowly peel the stencils from the Teflon.
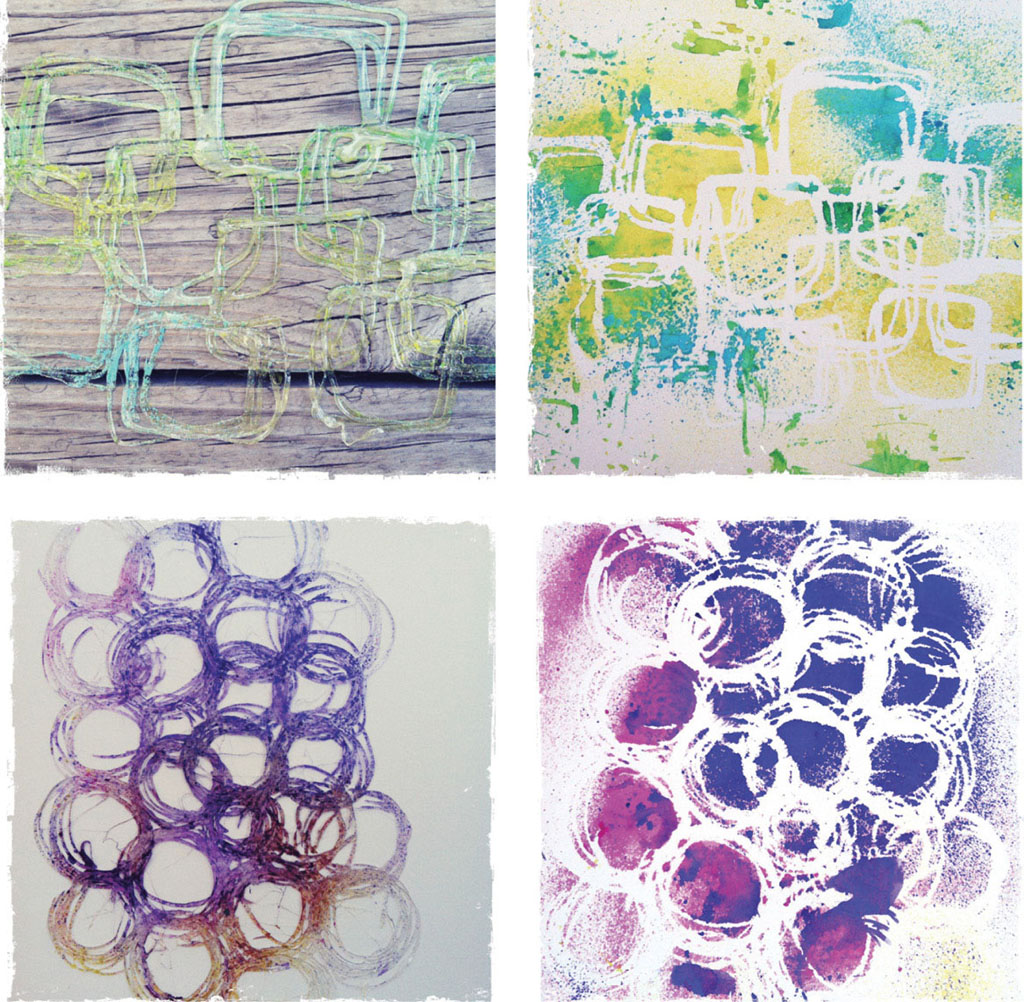
Place your stencil onto a surface and spray over the top with acrylic, fabric, watercolor or dye ink sprays. The colors will blend when wet, so start with just two colors and let the painting dry before adding a third color. This will help avoid creating brown or “muddy” colors.
Experiment with a variety of glue guns. The mini guns create smaller lines and more delicate stencils. I prefer Aleene’s Ultimate Glue Gun because it comes with a variety of interchangeable nozzles for unique marks.

