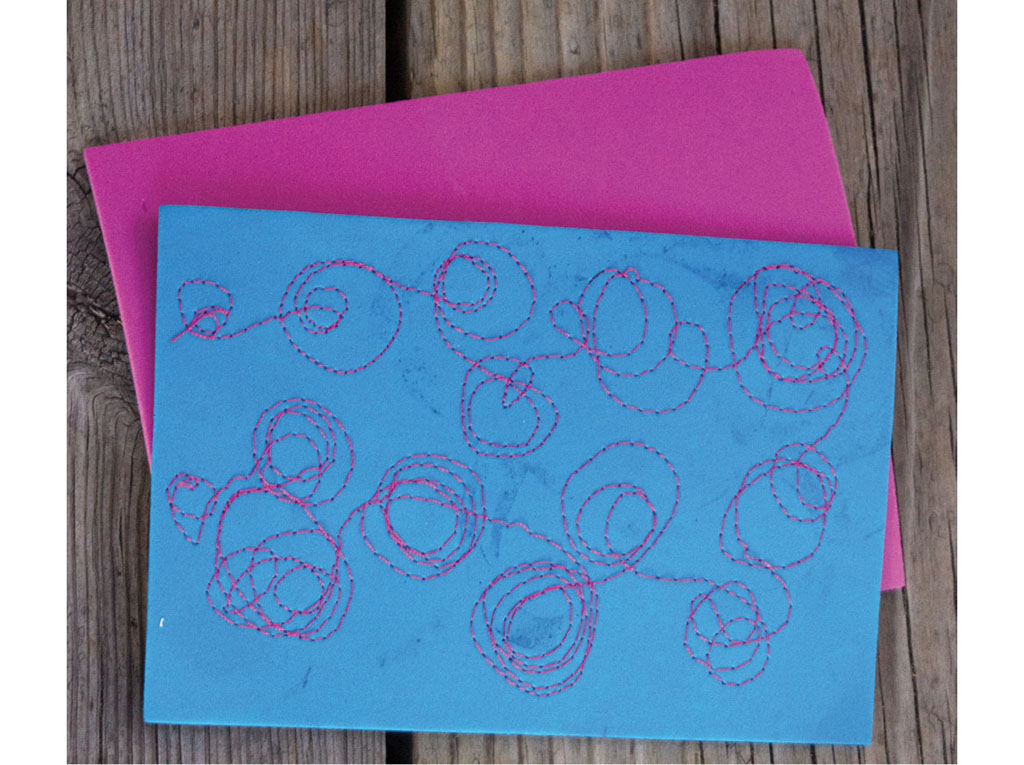
For a twist on stamping with craft foam plates, add free-motion stitching to create textures in hand-cut stamp.
adhesive and regular craft foam
sewing machine and thread
embroidery floss and sewing needle (optional)
darning foot
scissors

Set your sewing machine to free-motion stitch according to manufacturer guidelines. Drop the feed dogs and use a darning needle to free-motion stitch interesting designs onto craft foam. Move the craft foam slowly around to doodle designs with the thread. I like to stitch random shapes as well as flowers and geometric shapes.

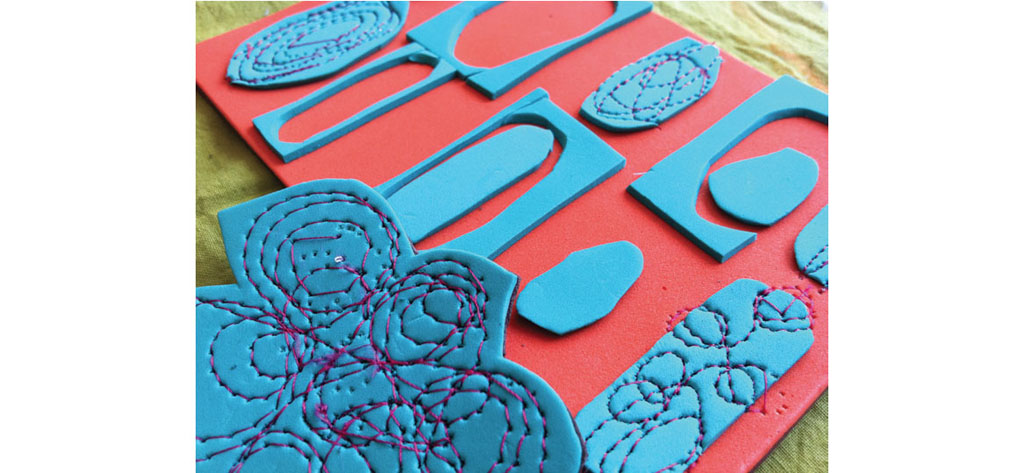
Use scissors to cut the stitched craft foam into circle or flower shapes creating unique stamps. Cut pieces of adhesive craft foam to match the shapes of the stitched foam and adhere to the backs. This gives the stamp a heavier base and makes it easier to use.

Cut rectangles and elongated circles out of stitched and plain adhesive craft foam. Use both the positive and negative shapes to create a larger stamp. Peel off the backing and adhere the pieces to a 5" × 7" (13cm × 18cm) sheet of craft foam. You can also create a double-sided stamp by etching into the backside of the craft foam.