
The geometric designs of plastic needlepoint are perfect for creating unique stencils. Cut and create custom shapes to use as stamps, texture plates and masks. In this exercise, let’s use needlepoint canvas with spray inks to paint an art journal page.
painted substrate
plastic needlepoint canvas stencils
various spray inks, watercolors or homemade acrylic sprays
spray bottle
heavyweight construction paper
acrylic paint
soft rubber brayer
scissors
1-inch (25mm) foam brush
Collage Pauge matte
fine-tipped black pen or marker

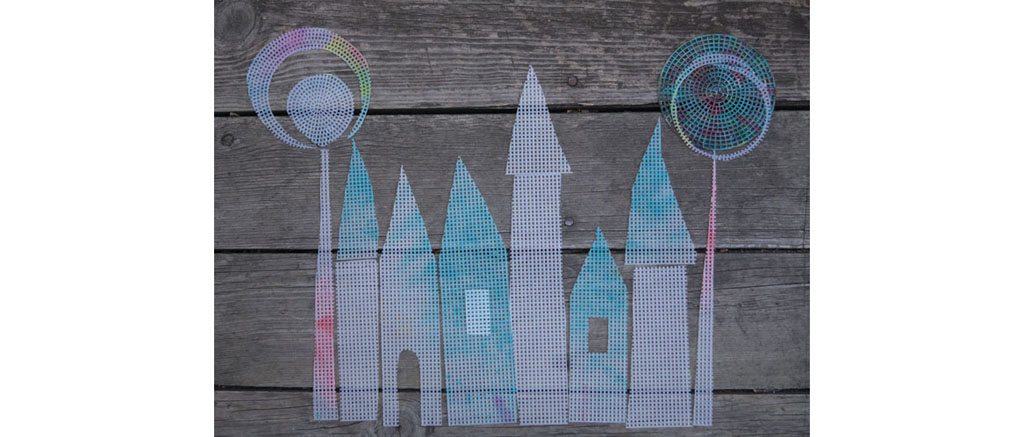
A variety of shapes cut out of plastic needlepoint canvas: flowers, circles, a house and other fun designs.

Using a dark painted background as the substrate, place various needlepoint stencils over the top. Here I used paper painted with the balloon splatter method (see page 39).
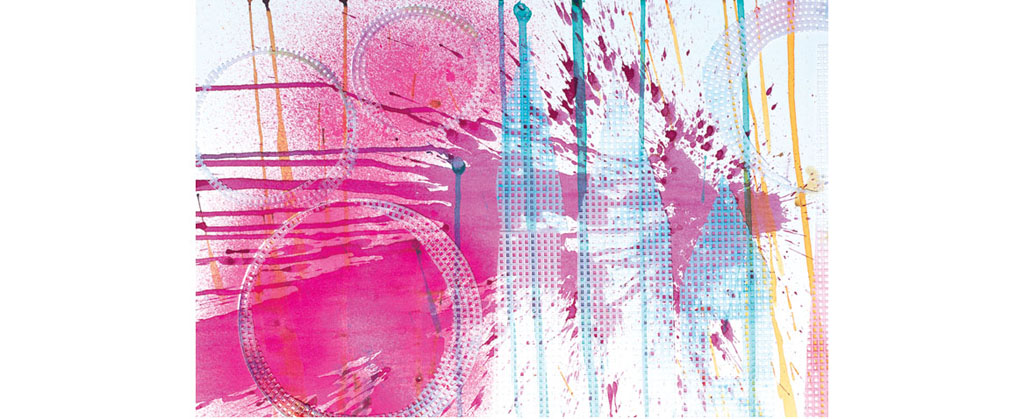
Spray the stencils with either spray ink, liquid watercolor or water-downed acrylic in a spray bottle. To produce an even coat of color, press the nozzle of the spray bottle as you move over the page from right to left. This helps avoid puddles in one area.

While the stencil is still wet, flip it over onto another section of the paper to make a print. Continue to print the stencil until all paint is removed.
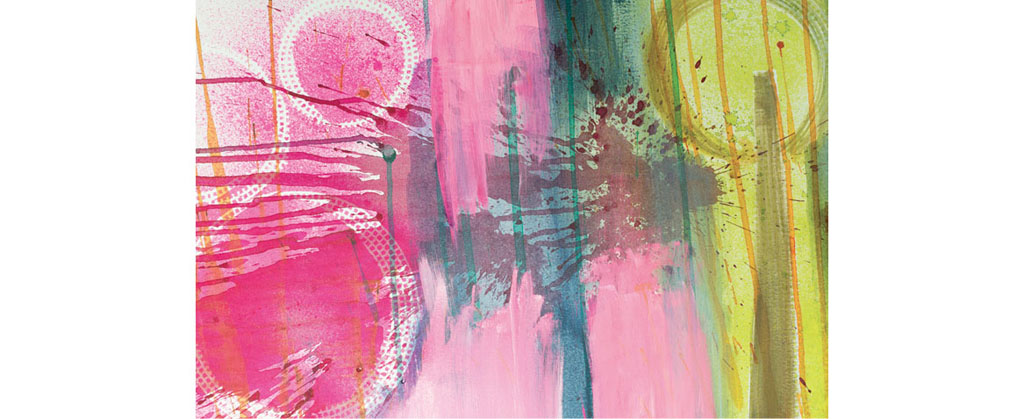
Spray through more stencils and let dry. Paint a wash with a wet brush dipped into ink or acrylic paint and add blocks of color with full-strength acrylic paint and a foam brush. Set aside to dry.
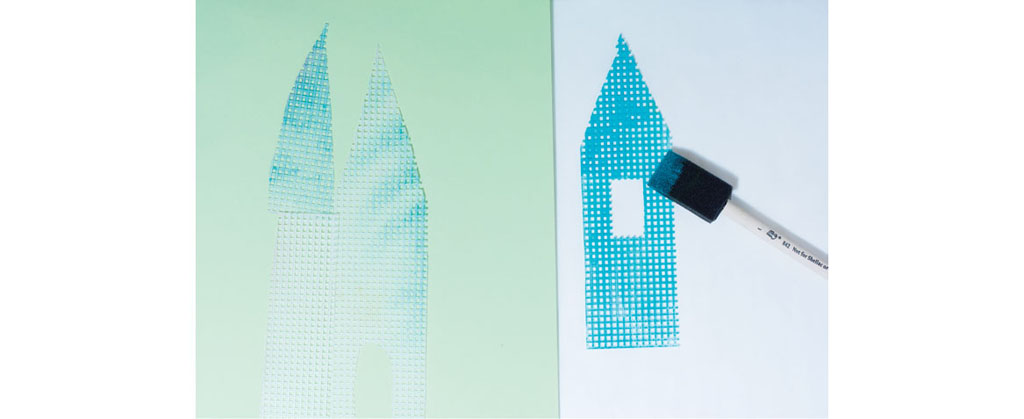
Place house-shaped stencils on a separate sheet of colored construction paper. Coat one side of a house-shaped needlepoint canvas stencil with fluid acrylics using a foam paintbrush.
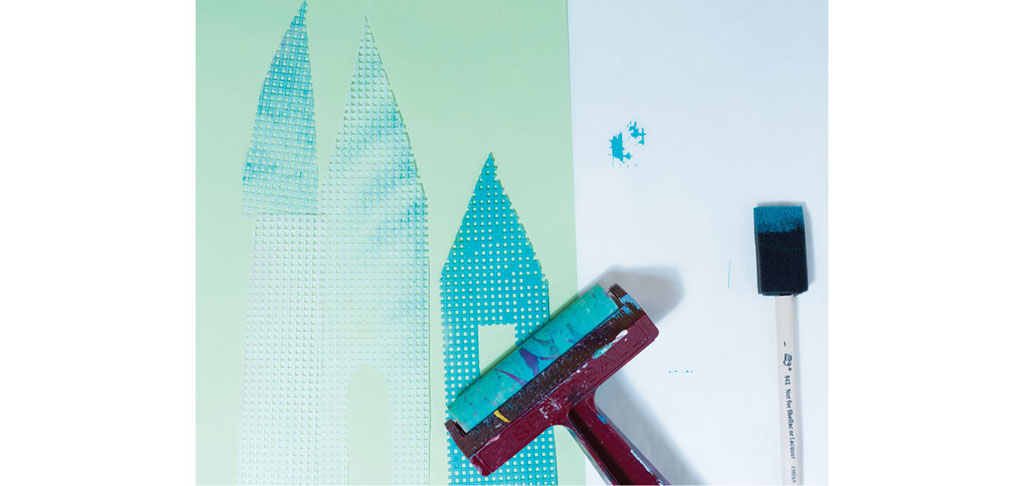
Turn over the painted side of the stencil and roll over the top with a soft rubber brayer to transfer the print to the paper.

Use the remaining house stencils as masks and spray ink or acrylic mix over the top. Remove the stencils and let dry.

Add more detail to the house shapes by painting with a darker color. Let them dry, then cut out the house shapes with scissors.
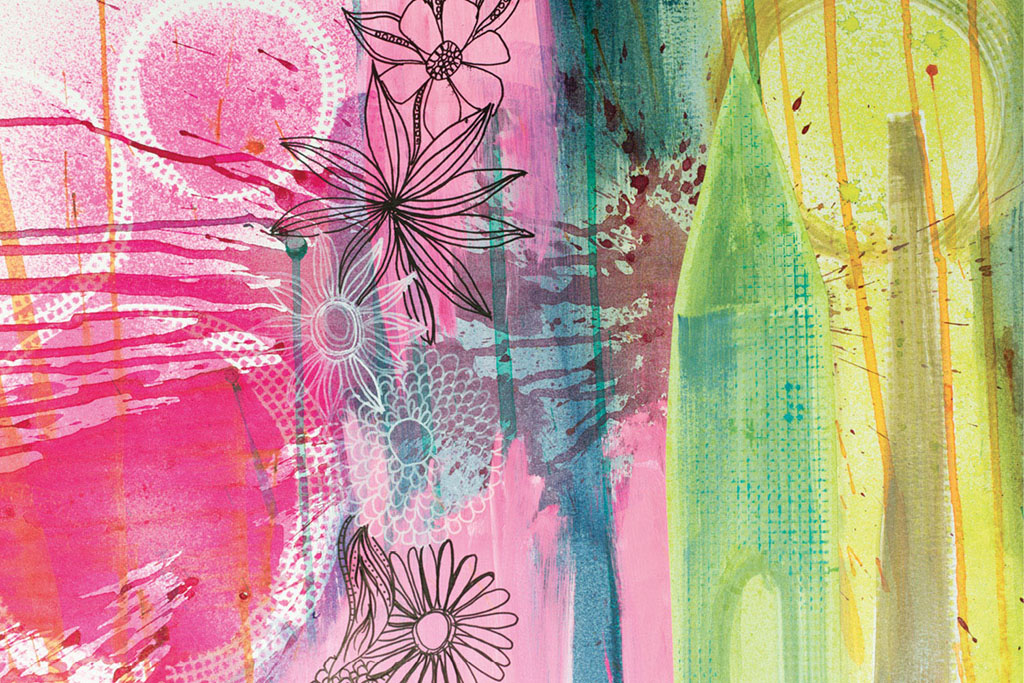
Using a foam brush, evenly spread a layer of Collage Pauge matte onto the surface. Place the cut-out house shapes over the Collage Pauge, then coat with another layer of Collage Pauge. Use your fingers to smooth out the surface and remove air bubbles. Let it dry.
Let the freestyle painted background inspire your mark making. Here I drew flowers on the page with a black permanent pen. Make sure the paint is completely dry before you draw to avoid ruining the pen or marker.