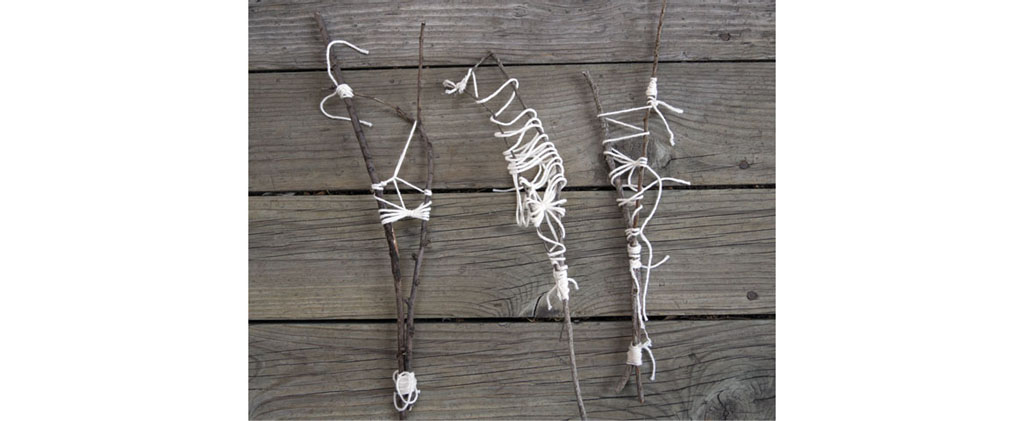
Sticks and branches have always been tools in my mark making. I especially love the marks that they make when dipped into India or sumi ink. Objects found in nature are great for giving artistic marks an organic look and feel. Collect sticks and fallen branches and twist yarn or twine around them to create a tool.
sticks
yarn
embroidery floss
construction paper
fabric and ink sprays
fluid acrylic paint
small plastic cup

Tie yarn around the branches to create a web effect. Wrap it around one area of the stick a few times. Continue to loosely wrap yarn around sticks and weave it over and under each branch. Wrap some of the woven yarn areas with embroidery floss or more yarn to tie it off.

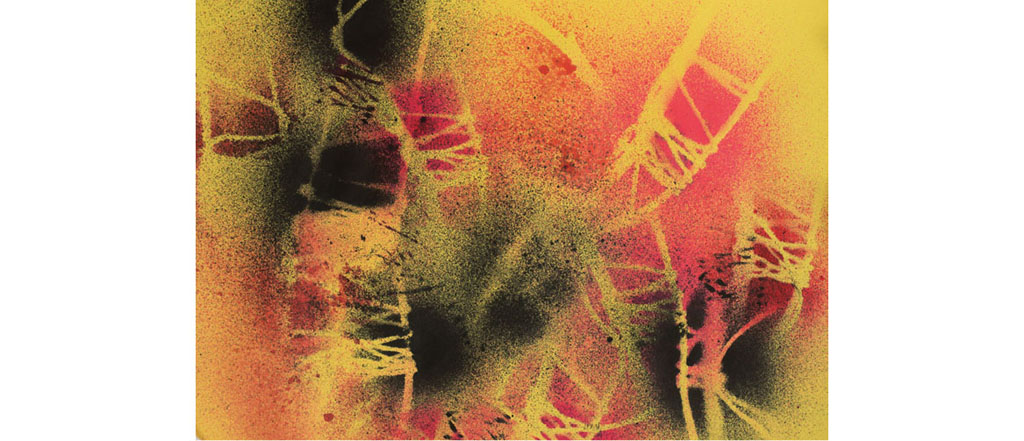
Place the stick and yarn tool onto a piece of construction paper. Spray ink from the bottle over the top of the tool.

Turn over the stick tool so the wet yarn touches the paper. Press it into the surface to make a print. Continue moving the stick and yarn tool around the paper and alternating ink spray colors until the page is full of the pattern.

Pour a little fluid paint into a small plastic cup and dip the end of a stick into the paint. Draw with the end of the stick, making marks across the page.

In another plastic cup, pour some fluid acrylic white and dip a stick into it. Make dots with the stick on the dark areas of the page to lighten it up and mix other areas of color. Using the sticks as resists and mark-making tools creates an organic expressive quality in the artwork. Experiment with various branches and objects found in nature to make interesting marks.