The encaustic plate created on the facing page is fully detailed but with an uneven texture. To obtain a clean even print, it helps to apply a lot of pressure. For this technique, I used a Fiskars Fuse letterpress machine. Experiment with any other die-cut or embossing machine as long as the encaustic plate will fit.
encaustic plate
letterpress machine
fabric ink
super muslin
large piece of chipboard
cardboard and felt pieces up to 12" × 12" (30cm × 30cm)

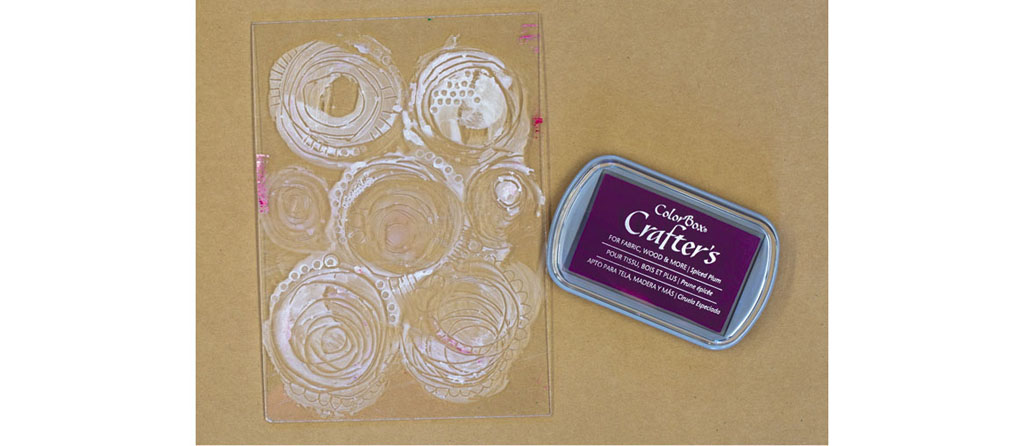
Apply fabric ink to the encaustic plate laid flat on your work surface. Place the entire face of the ink pad onto the encaustic plate until it is completely covered with ink. I used fabric ink because I’m printing on muslin.

Place the inked printing plate face up on a piece of 12" × 12" (30cm × 30cm) chipboard. Next place a piece of heavyweight muslin over the plate.

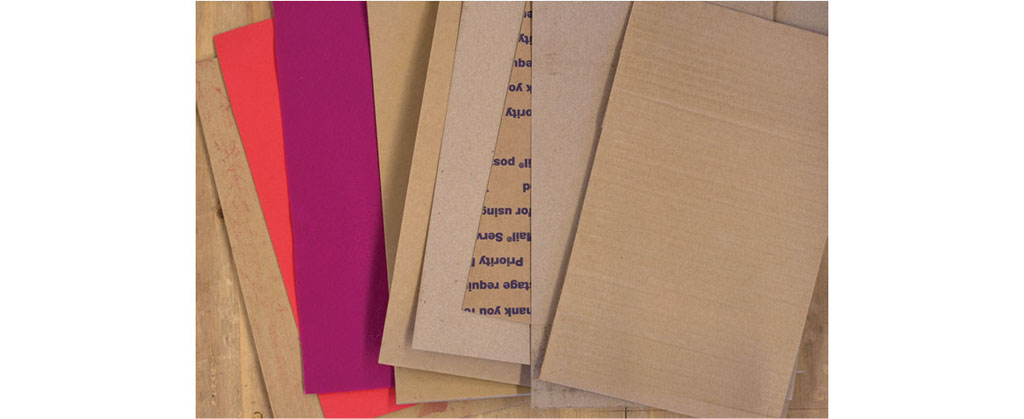
To run the plate through the letterpress machine, add 5 to 8 layers of recycled material like cardboard on top of the printing plate and fabric.

Here’s a sampling of all the materials I sandwich in between the press. Include a piece of felt to help absorb the pressure.

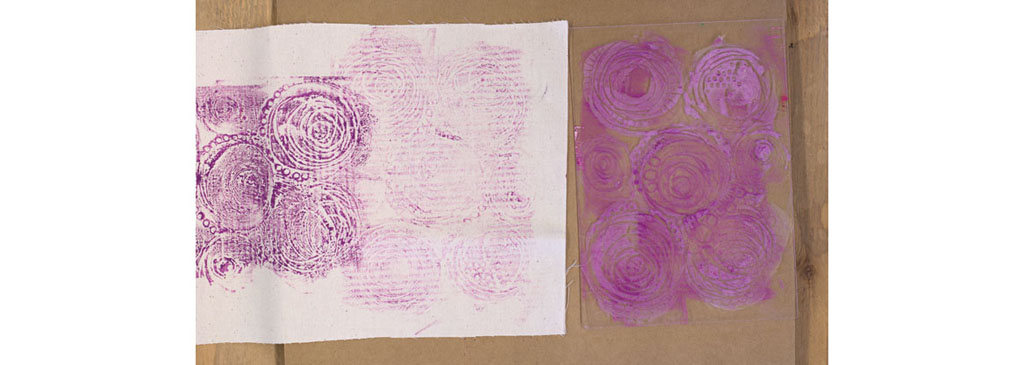
Turn the crank handle on the letterpress to move the printing cardboard sandwich through the machine. Pull out all the layers of cardboard, felt and chipboard. Here’s the first print.

Place the encaustic plate back through the machine and repeat steps 3 to 5. Each time will result in a lighter print.