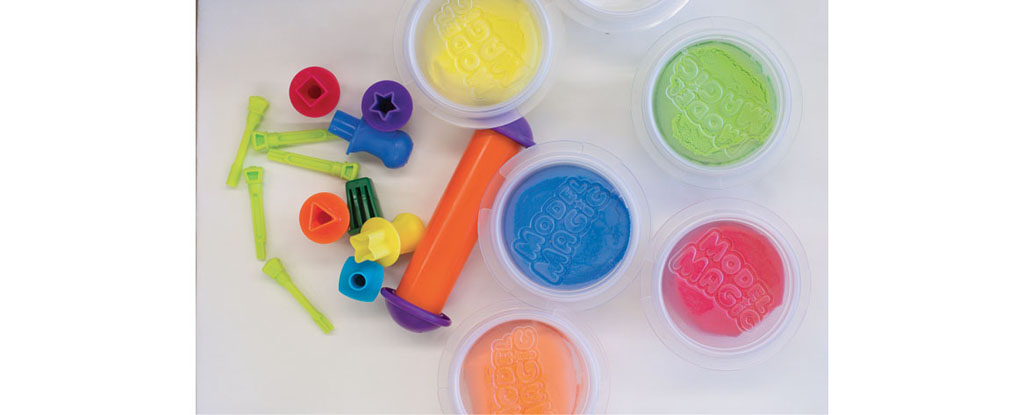
Modeling compound is lightweight and there are many ways to mold and shape it into DIY stamps and texture plates. It dries to a spongy, slightly flexible consistency which is perfect for stamping and printmaking. Experiment creating your own printing plates and stamps!
modeling compound
soft rubber brayer
comb
deli paper

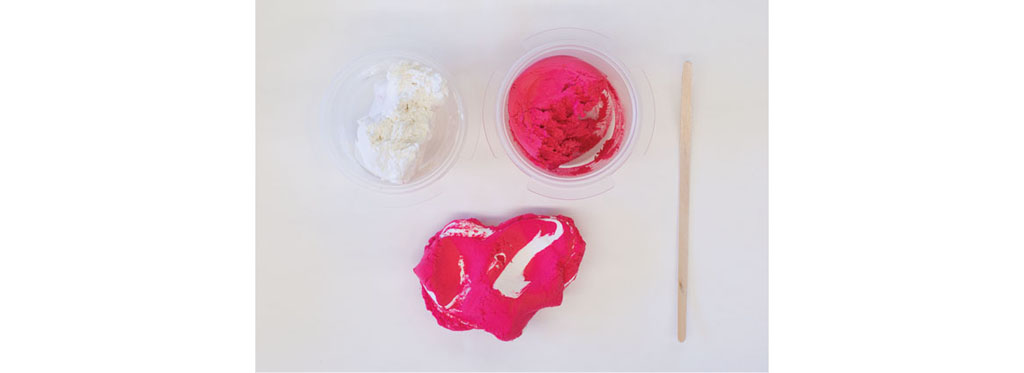
Select a bit of two colors of modeling compound and mix into a ball by kneading it with your hands. I chose pink and white.
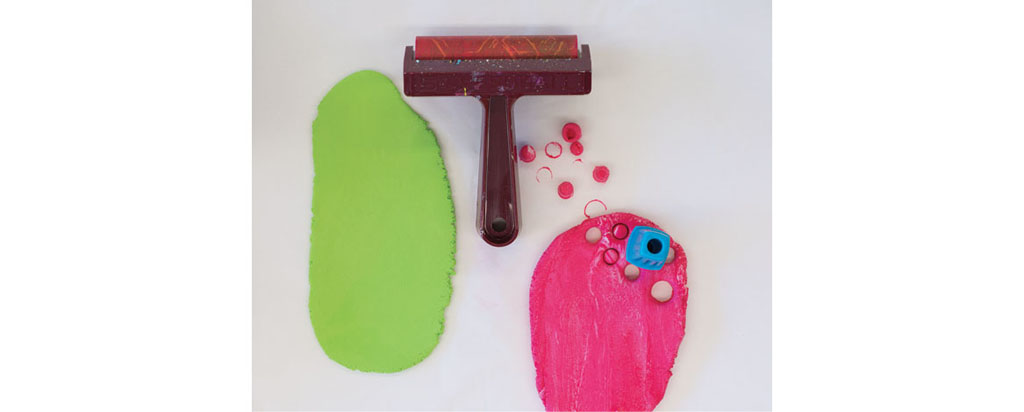
Place a brayer in the middle of the ball and roll back and forth until the compound flattens to ¼-inch (6mm) thick. Roll out into a smooth even plate. Use a small circle texture item to punch circles out of the modeling compound. Smooth out a second plate. Here I used green.
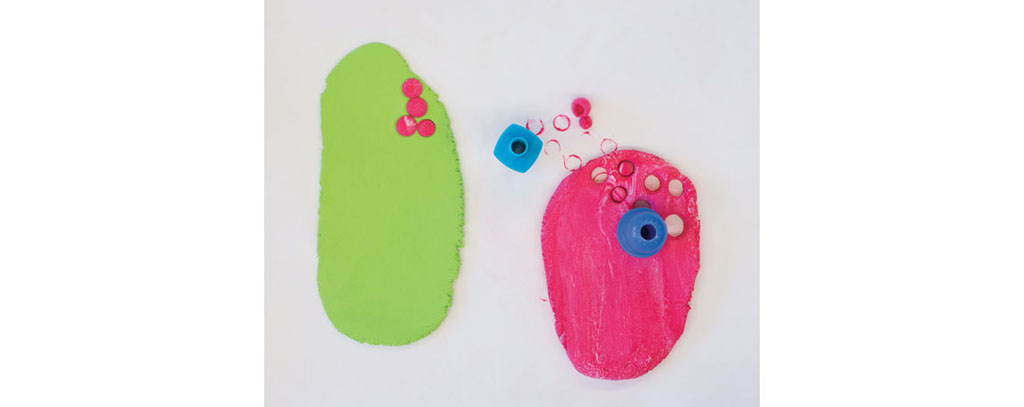
Place the cut-out circles from the first plate onto the second plate. Secure them to the surface.
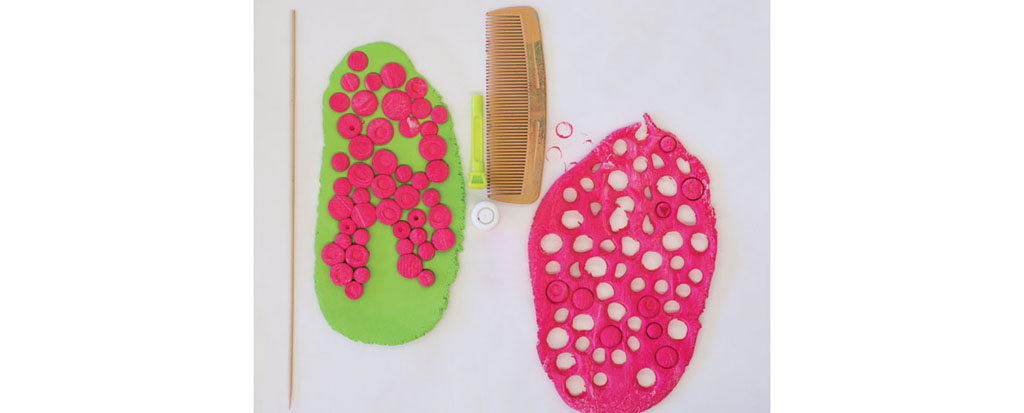
Continue to fill the second plates with dots from the first plate. Use tools like the bottom of a skewer or comb and press them into the compound to create textures.
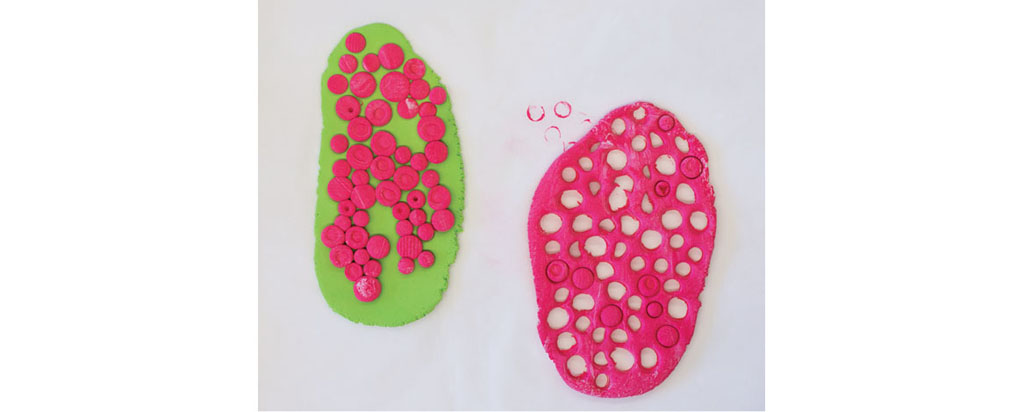
Here I’ve created both a stamp and another piece that can double as a mask/stencil or printing plate. Allow to dry completely.