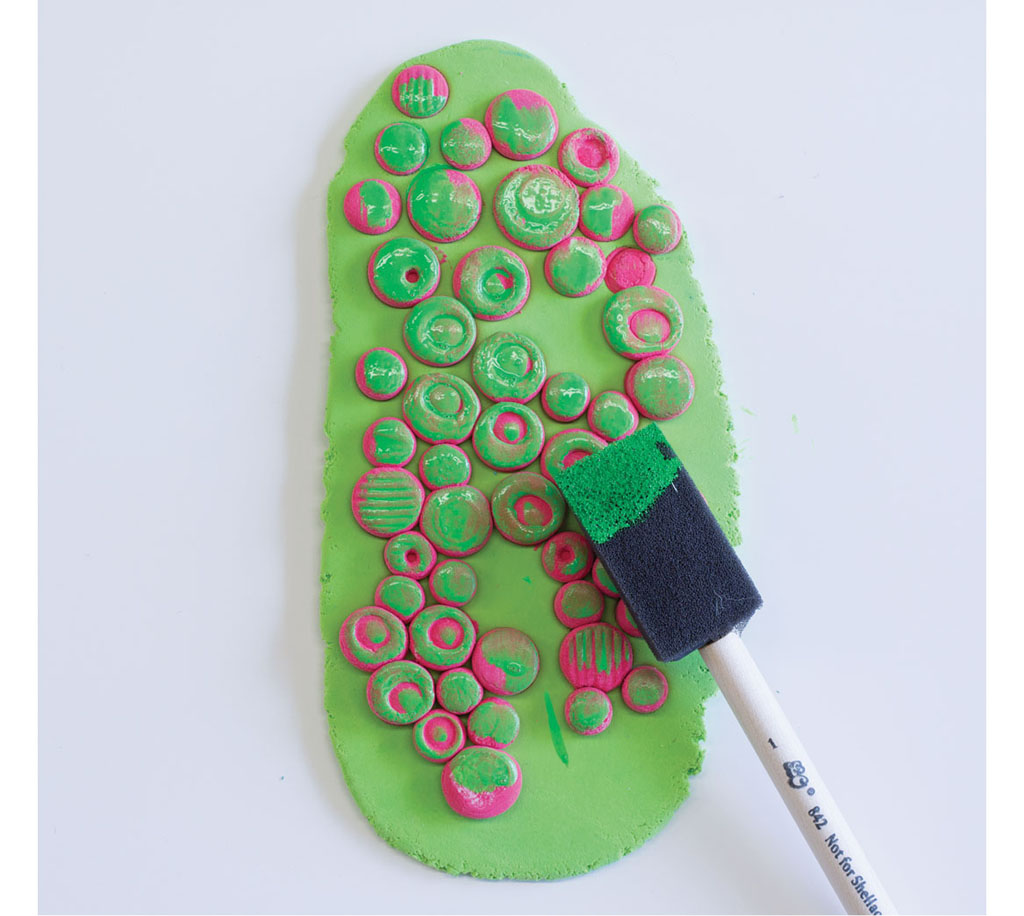
Now that you’ve created the printing plates, it’s time to experiment with using them. They can be used as stamps, stencils/masks or run through an embossing machine like the encaustic plates. Here are two simple ways to use your modeling compound plates. Combine them for creative results!
modeling compound plates
soft rubber brayer
1-inch (25mm) foam brush
fluid acrylic paint
plastic paint palette
gessobord

Place fluid acrylic paint on a palette and dip a foam brush into it. Brush paint onto a Model Magic plate.
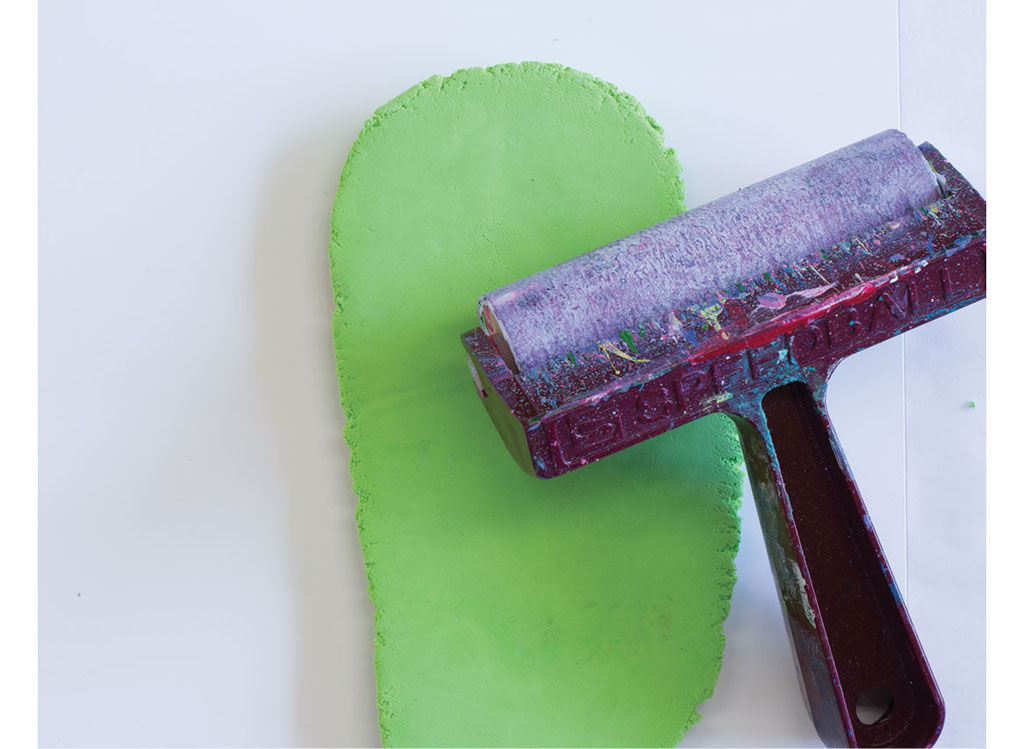
Turn the painted plate over onto the gessobord panel and use a soft rubber brayer to roll over the back to transfer the print to the surface.
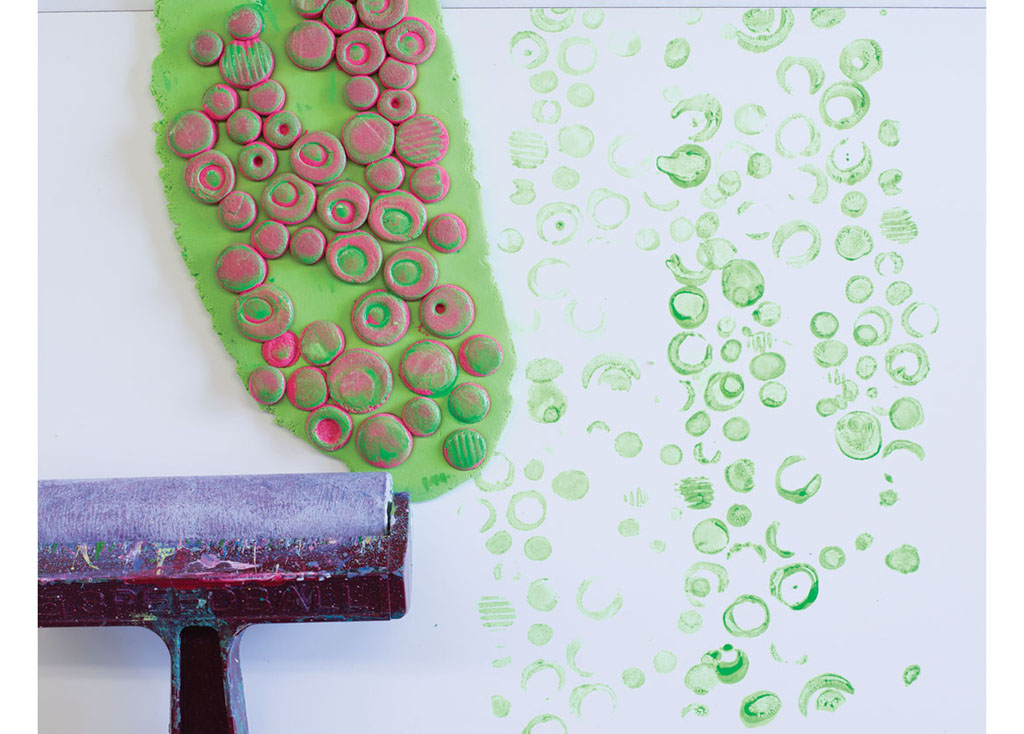
Print the stamp multiple times until all the paint is transferred from the plate.
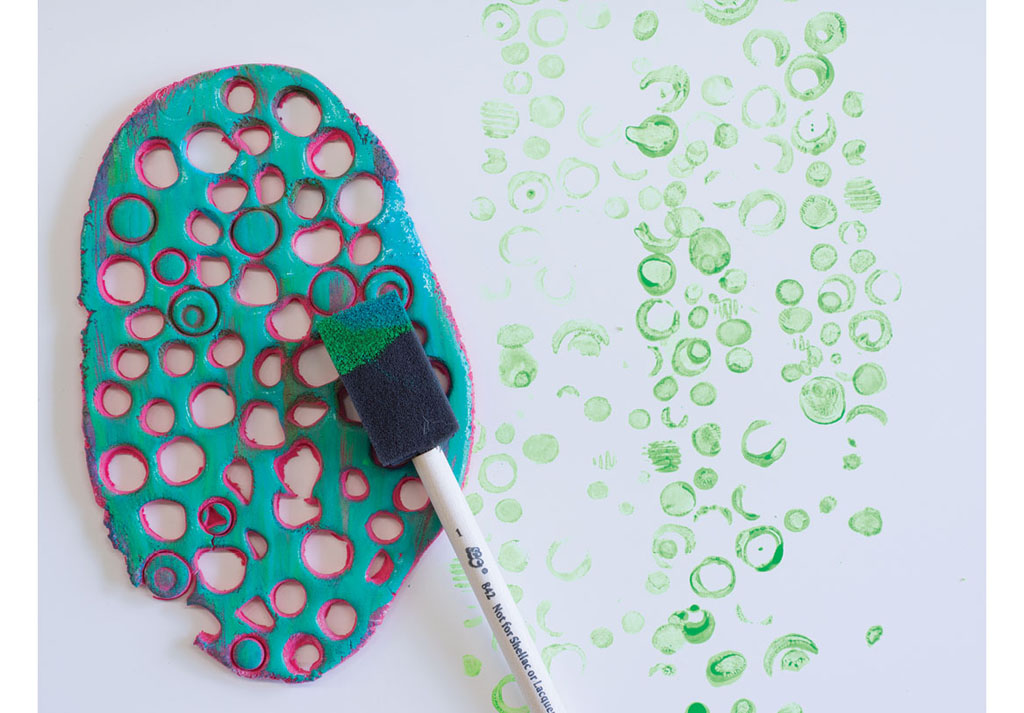
Use the same brush; don’t rinse it out to avoid getting excess water in the paint. Choose a color that will blend with the first and apply the color onto a different plate using a foam brush.

Place the painted plate face down on another area of the board and repeat the printing process using the brayer.
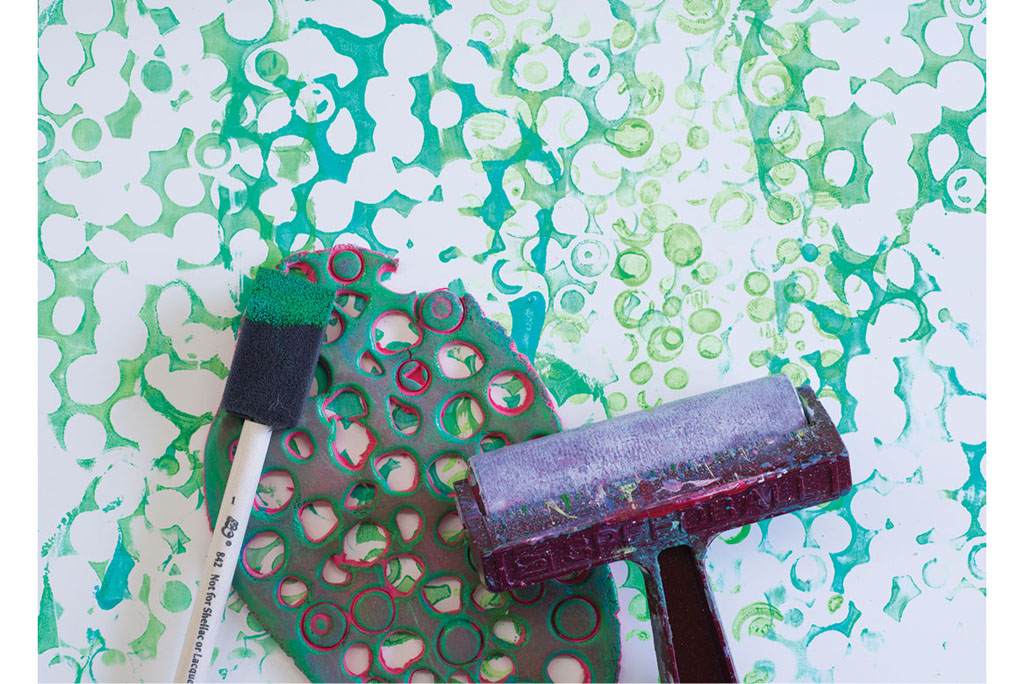
Pull up the printing plate and to see the image on the surface. Repeat, adding paint to the plates and stamp multiple times to create patterns on the board.
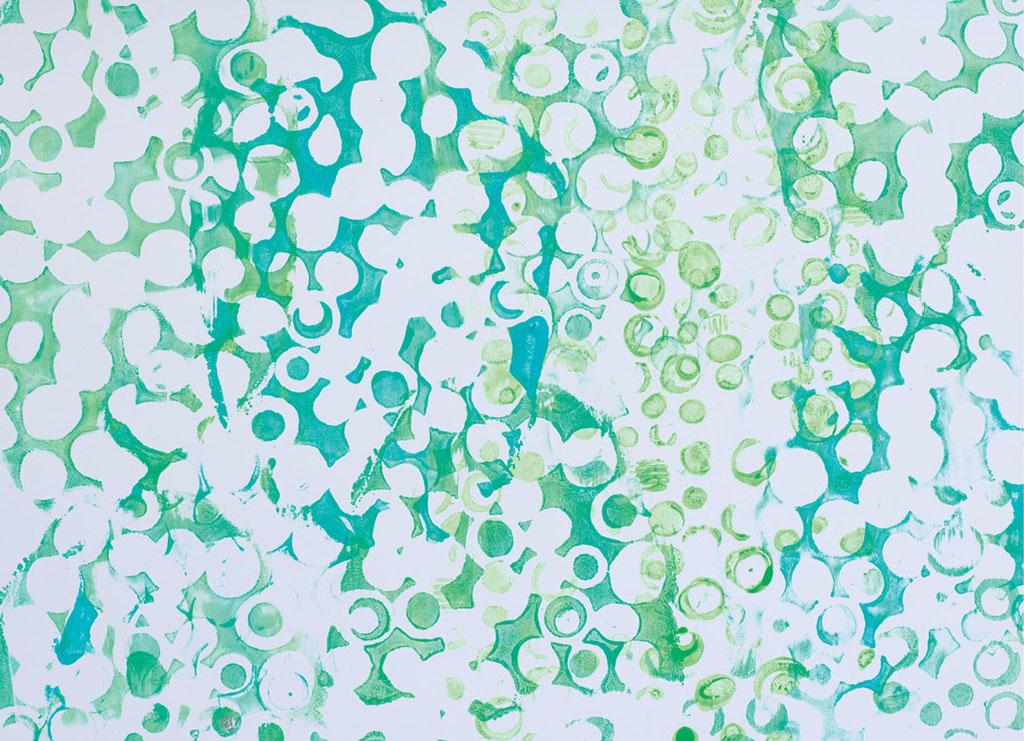
This makes a great background on the board. Now you can paint a wash and continue to paint layers over the top of the pattern.