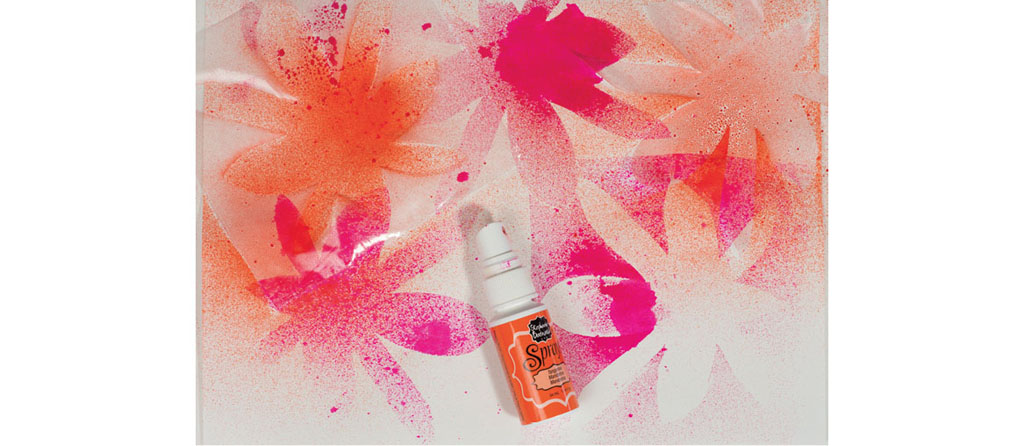
Plastic resealable bags aren’t only for storing your leftover food. They make great printmaking materials such as stencils and masks. The great thing about them is that after they are sprayed with inks, the ink stays wet on the plastic and monoprints can be taken of the leftover paint. Have fun creating multiple prints quickly using this easy technique.
gallon-sized freezer bag
scissors
drawing paper
fluid acrylic paint and spray inks
soft rubber brayer
deli and construction paper

Cut apart a freezer bag into large squares or rectangles that will fit over printing paper. Create symmetrical masks by folding the pieces of plastic in half, then cutting out half of the stencil shapes. I chose to cut flowers and leaves. Place stencils over paper, then spray with inks.
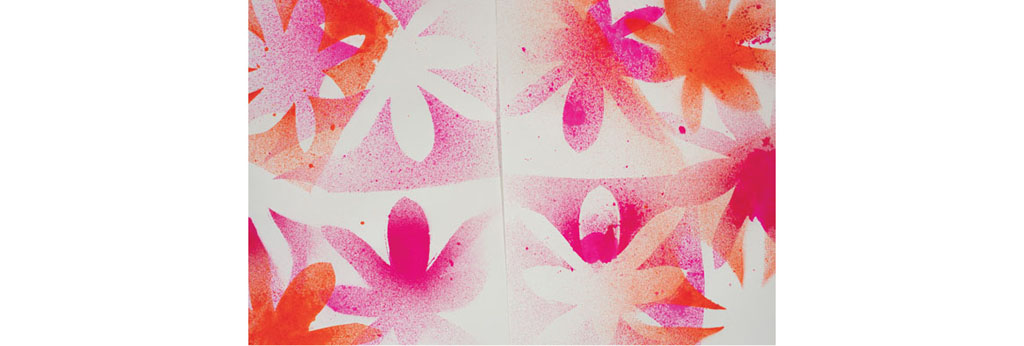
Place a second piece of drawing paper over the first sheet while the ink is still wet on the stencils. Roll over the back of the paper with a brayer or your hands. Pull apart the paper to reveal the print.

Place stencils over the middle of the two pages, then spray with yellow ink. Leave the stencils in place for the next step.
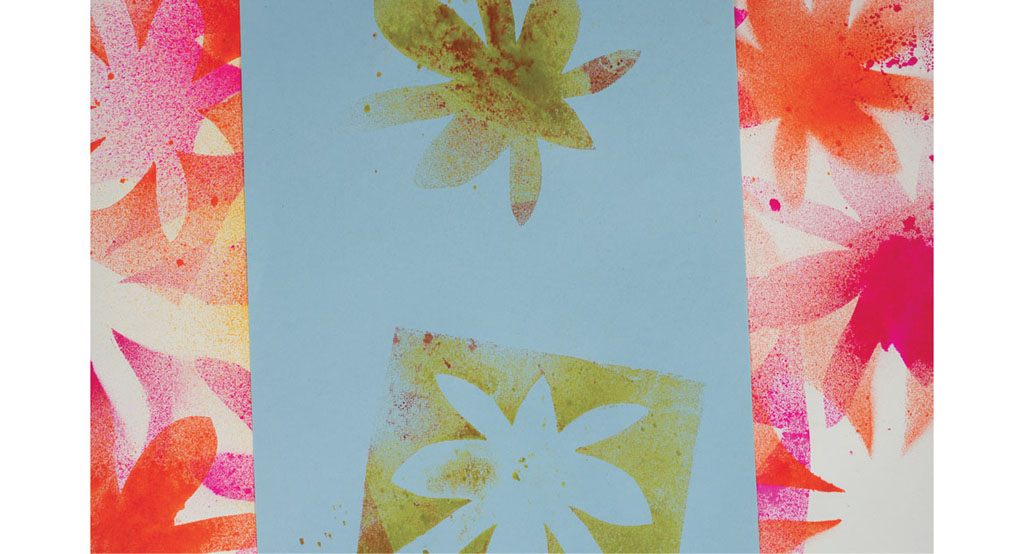
Before you remove the stencil masks, place another piece of construction paper over the sprayed stencils and rub to transfer the ink to the page. Reveal the print (shown here print side up) and let dry.
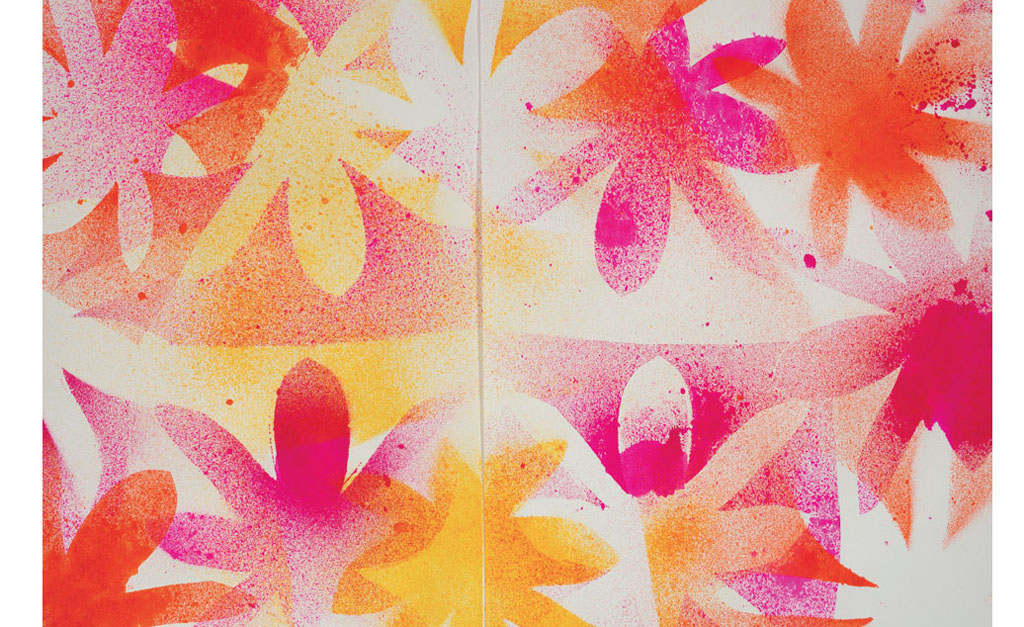
After the masks are removed, here is the print. While this is drying, continue to make more prints and build layers on the pages.
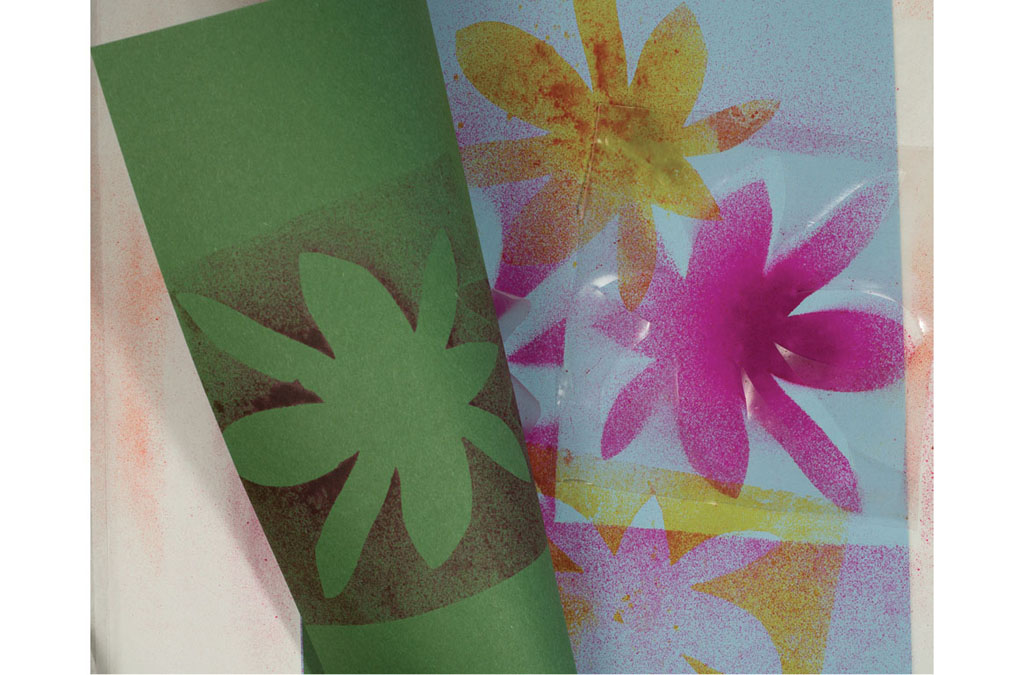
Place stencils on the ghost print from step 4, then spray ink and take another print with a different piece of paper (here, the green construction paper).

Roll out fluid acrylic paint on a piece of deli paper palette. Place freezer bag masks onto the painted background. Ink your brayer on the deli paper and roll over the mask. Repeat this with both the positive and negative flower shapes.

While the plastic bag masks are still wet, turn them over and use them as printing plates. Place them over the original first series of flower prints and roll over the back of the stencil masks using a clean, soft rubber brayer.

Work fast and build layers on the pages with contrasting colors.