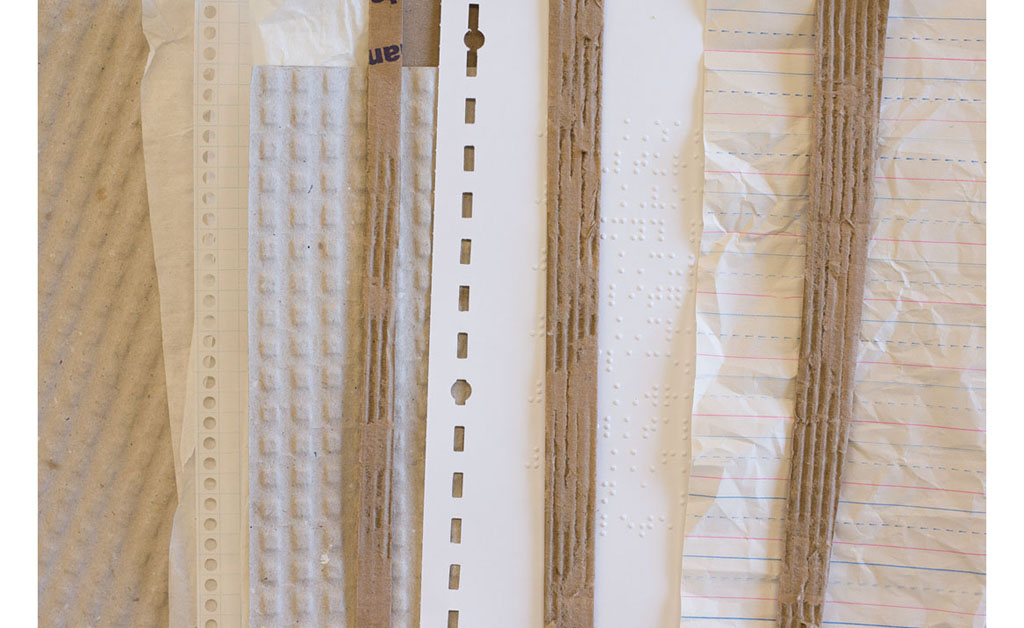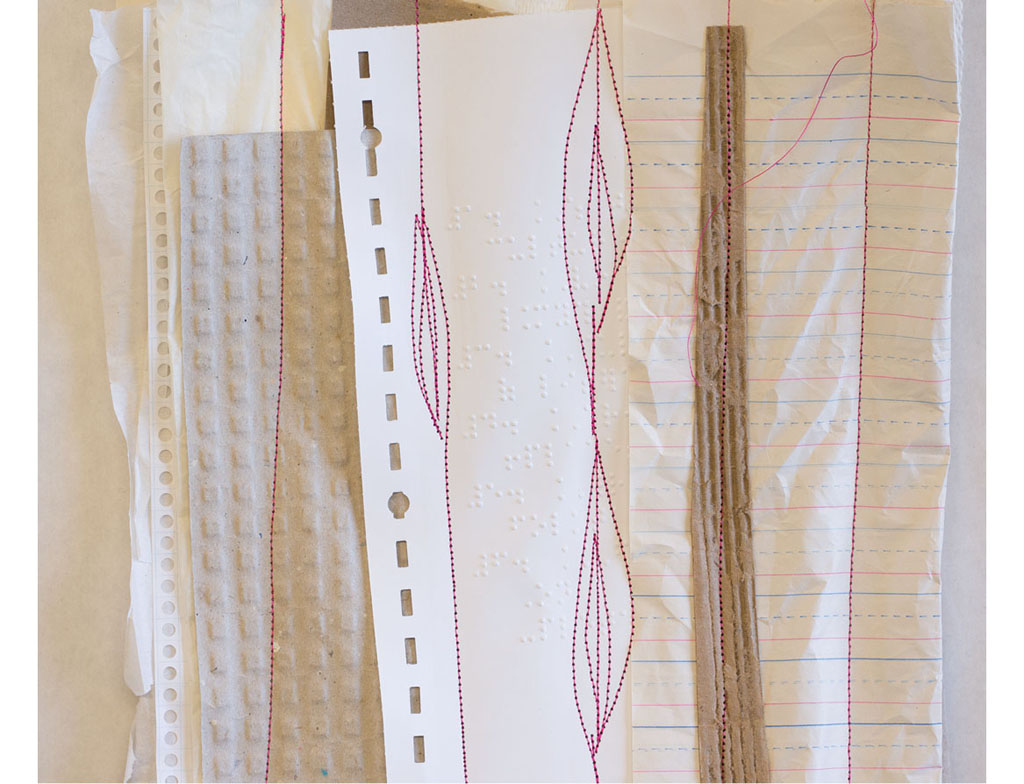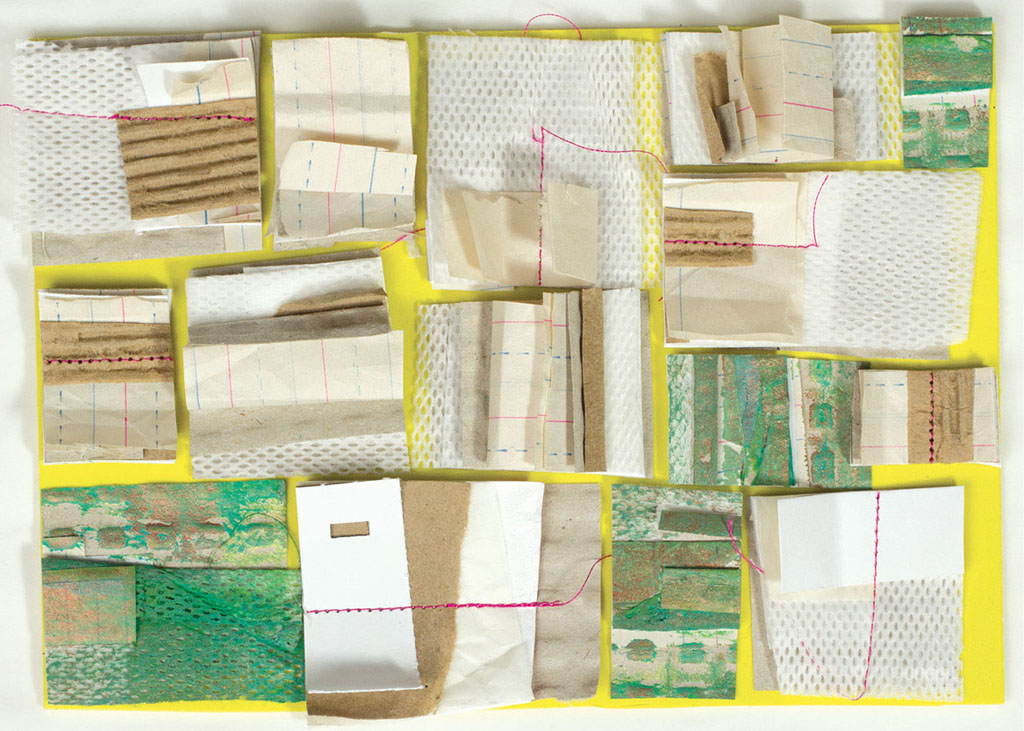
Create printing plates from everyday items like recycled paper. Use up all those odds and ends sitting around your studio. This technique starts with layering sheets of textured paper, torn cardboard and newsprint that is held together with free-motion stitching. Then the stitched paper is deconstructed by cutting into smaller shapes and adhered to a base to create a textured stamp and printing plate.
recycled cardboard
recycled paper such as binder, graph, rice, mulberry, newspaper and packing chipboard
sewing machine and thread
scissors
adhesive craft foam

Gather recycled paper, cardboard or anything with texture. Crumple some of the thinner paper to add texture, then flatten them out.
Create layers by placing various papers on top of each other. They don’t have to be the same size but it’s easier to sew if they are similar in length. Place the paper staggered with strips of corrugate cardboard over the top.

Start at one end of the stack and sew with a machine to secure the papers together. Add stitched designs, lines and zigzags.

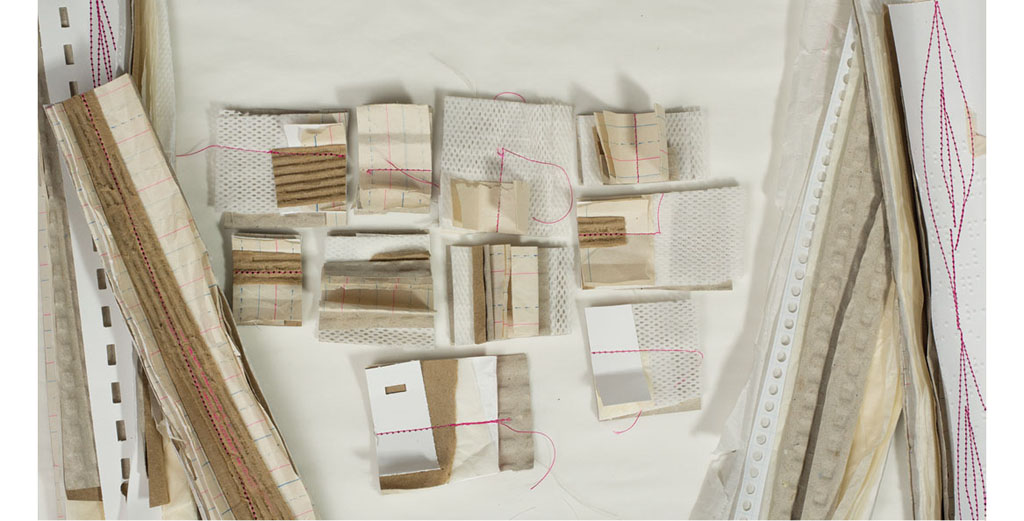
Use scissors to cut in between stitched lines through all the layers of paper.

Once the paper is cut, fan out the edges. This will create more textured areas in the paper. These pieces will be used to create a printing plate.

Cut square and rectangle shapes in different sizes from the deconstructed paper strips.

Begin to assemble a printing plate by placing cut paper squares onto the sticky side of a piece of adhesive craft foam. Continue to place all the paper shapes until the craft foam is full.