
Create colorful layered paintings using the deconstructed paper printing plate from the previous exercise. This plate has dual uses: as a texture plate underneath the surface to burnish the design or use it as a stamp to create interesting textured square patterned layers.
fluid and OPEN acrylic paint
deli paper palette
soft rubber brayer
1-inch (25mm) foam brush
spray bottle filled with water
deconstructed printing plate
gesso

Place some OPEN acrylic paint on a deli paper palette and roll it out to cover the brayer with paint. Place the deconstructed printing plate under a piece of drawing paper.
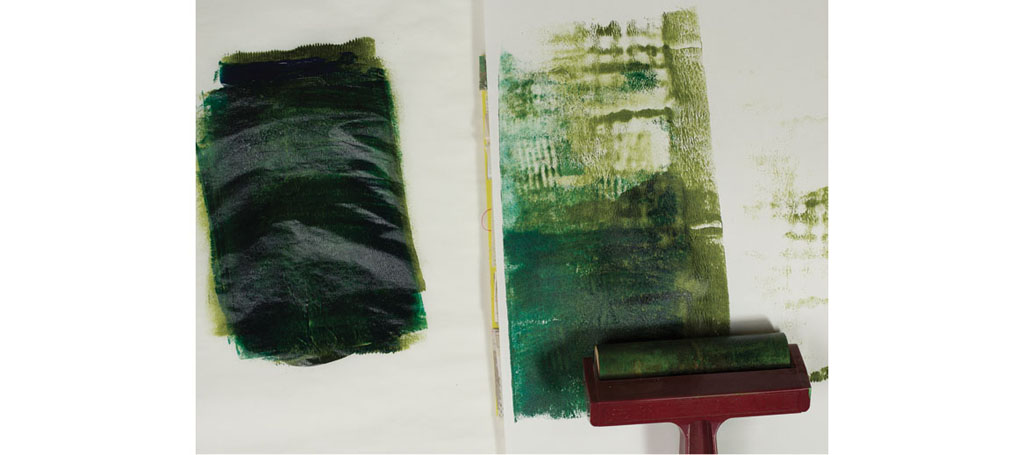
Roll a painted brayer over the top of the drawing paper. This will create a painting that picks up the texture from the plate on the surface of the paper.
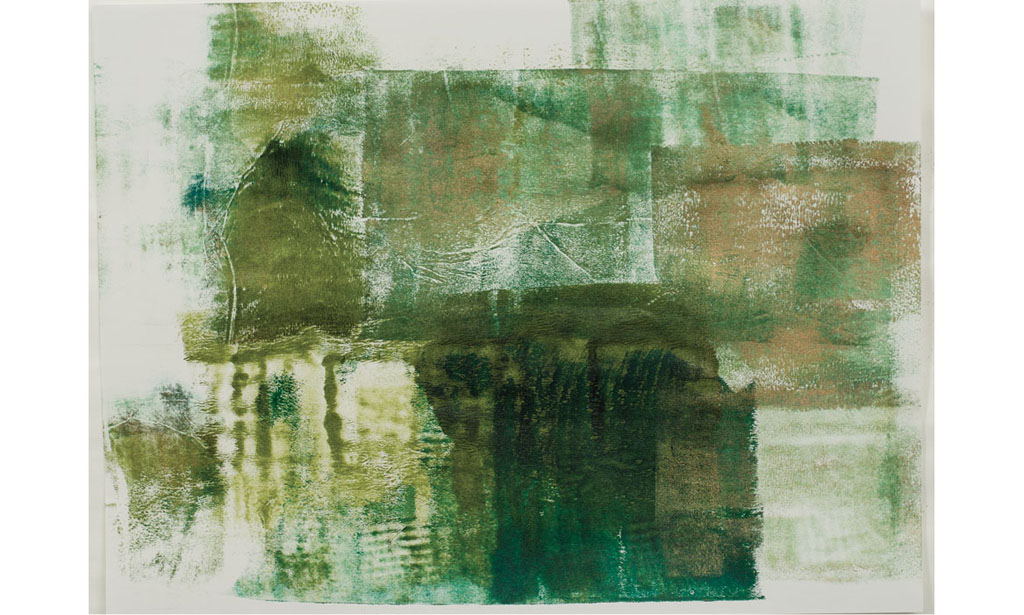
Add a few drops of bronze OPEN acrylic paint and roll the paint with a brayer. Move the printing plate to different areas while making prints and turn the paper a few times until you are satisfied with the first layer. Set aside to dry.
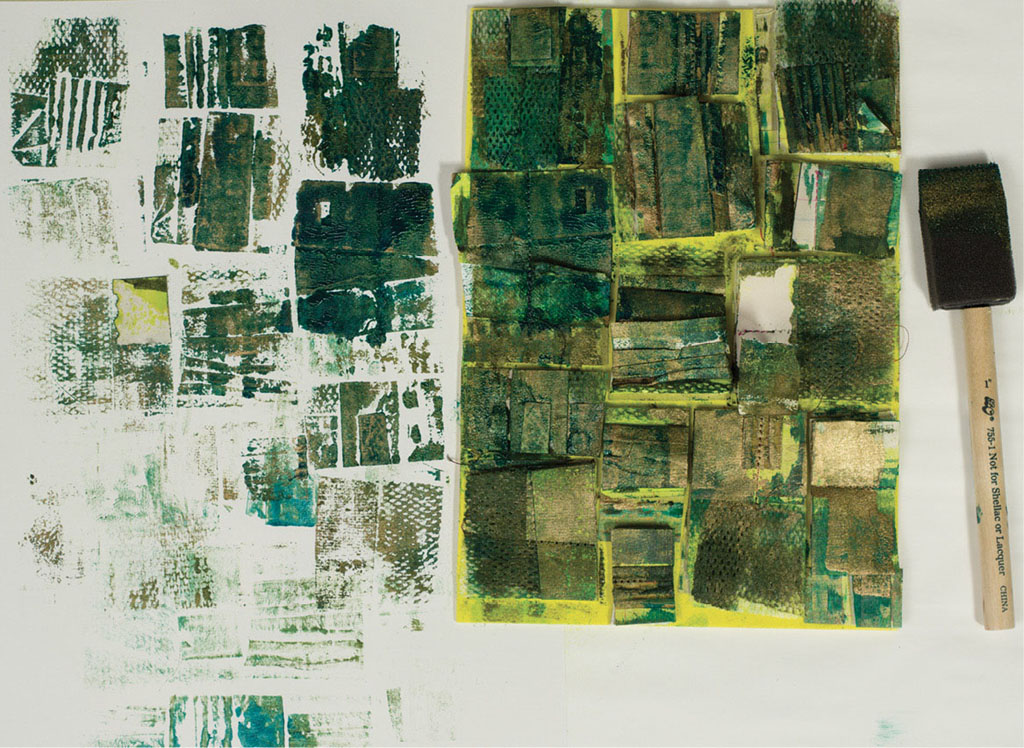
Apply more paint onto the plate using a foam brush. Since loose paper can be very delicate, apply the paint in a soft dabbing motion. Place another piece of drawing paper face down on the painted plate. Rub the back of the paper with your hands to transfer the print.
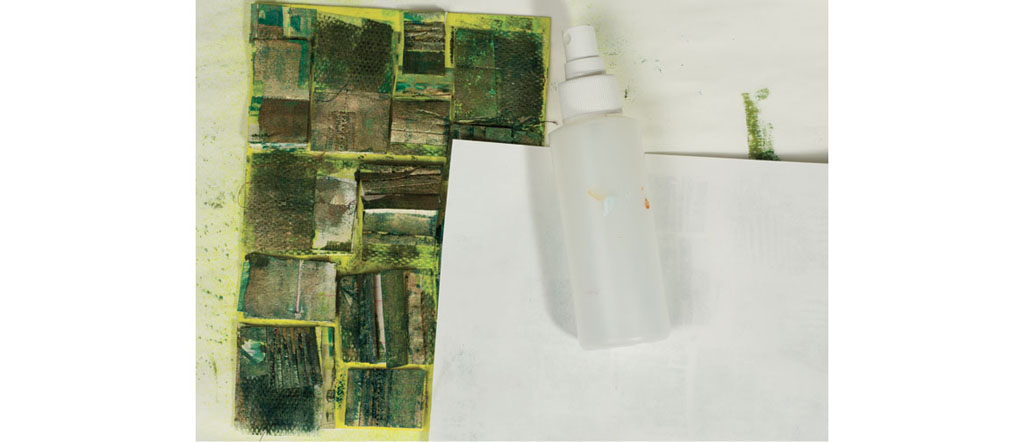
Spray a mist from the water bottle onto the inked plate. This will mix with the paint and reactivate it. Place the painted paper onto the wet surface to transfer the print. This will result in a lighter, almost watercolor-like transparent print.
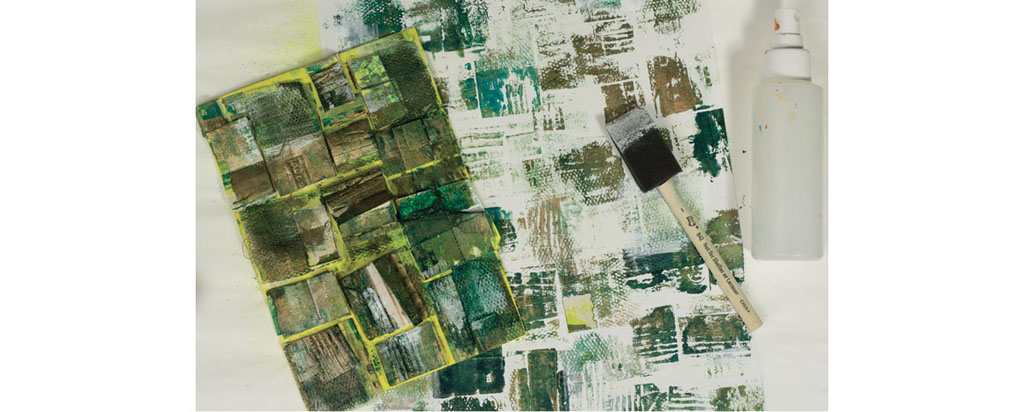
Dip the foam brush into gesso and apply it onto small areas over the painting. Press the printing plate into the wet gesso. This will create a tinted print of the plate on the paper. Repeat in different areas around the page.
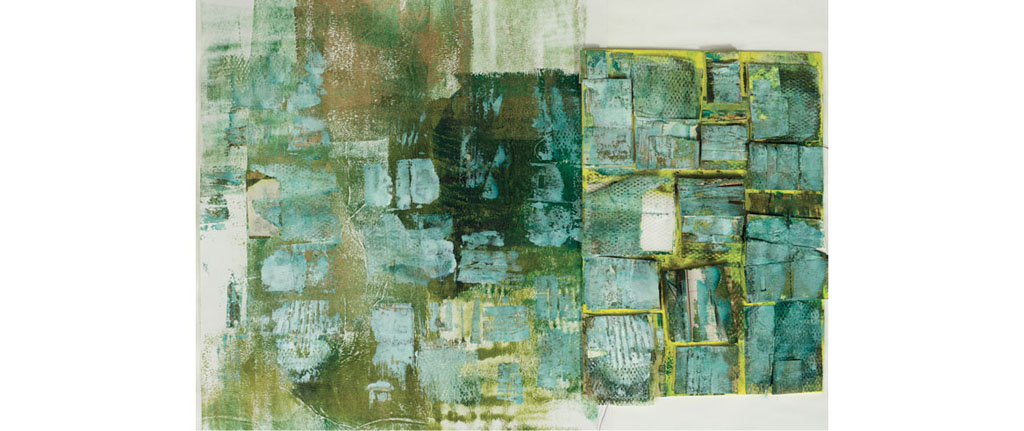
Don’t wash out the foam brush. Dip it into white paint. This will mix with the color on the brush and create a tint. Brush the paint onto the top of the plate. Keep the plate on the table. Pick up the print from step 3 and turn the painted side of the paper face down onto the plate. Rub the back of the paper with your hands to transfer the print.

Here are two different prints created by using the plate as a printing and texture tool.