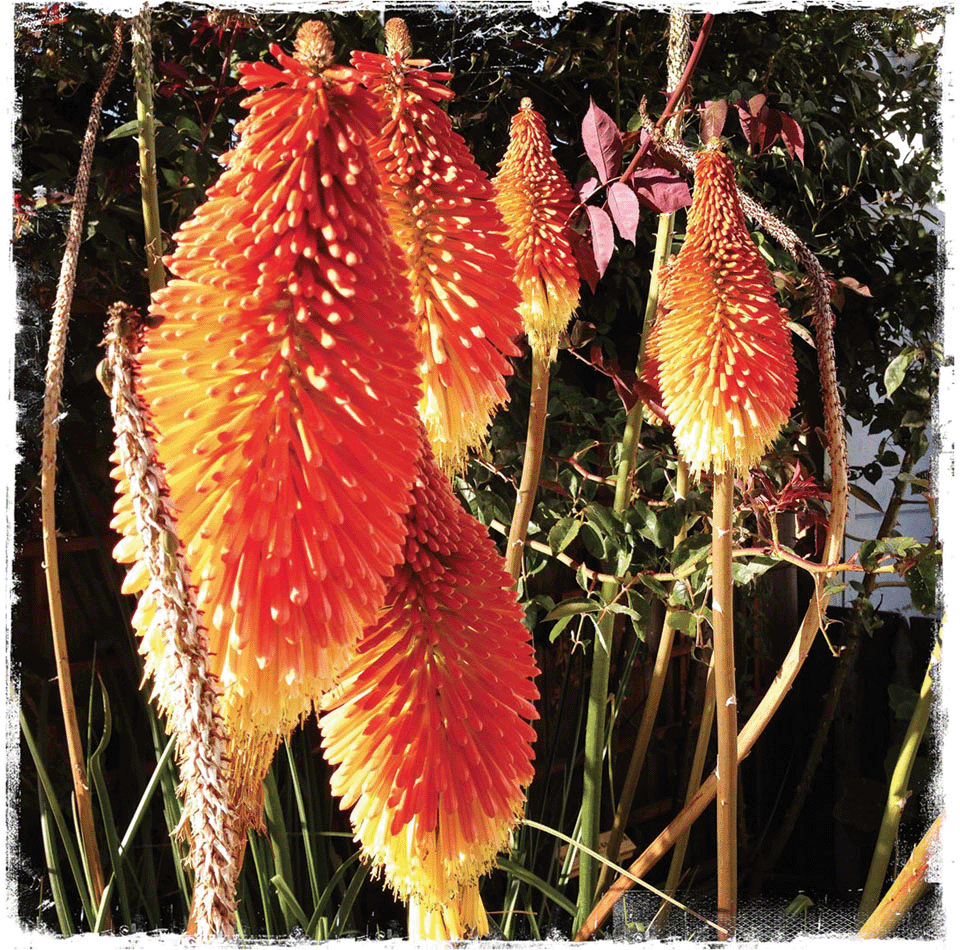
Photography is a big part of my art. I carry my smartphone everywhere and take inspirational photos during my walks, shopping excursions and while I’m creating art. Use these daily snapshots to create one-of-a-kind stencils for your mixed-media creations. In this exercise, we use Photoshop to create unique stencils from our digital photos!
black-and-white photographs
image editing software
inkjet printer
cardstock
cutting board
craft knife

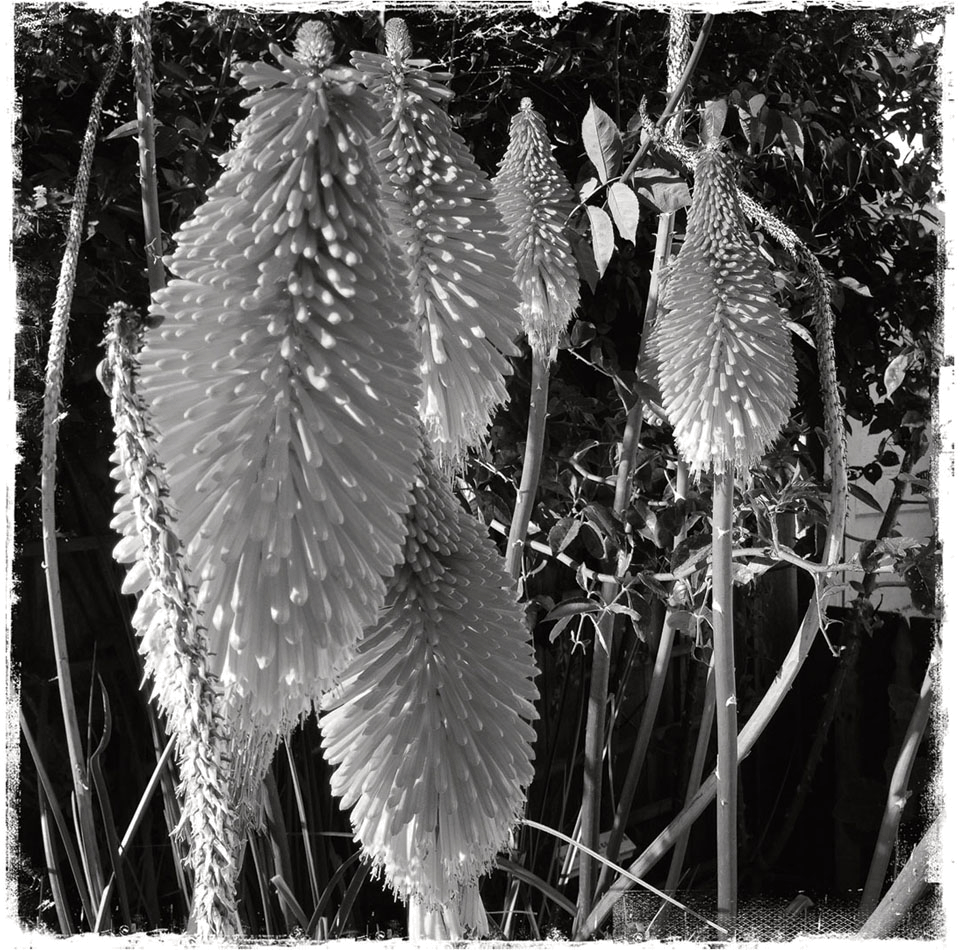
Alter a color photograph using Photoshop or your favorite image editing tool (see sidebar). Print the black-and-white photographs onto cardstock using an inkjet printer.

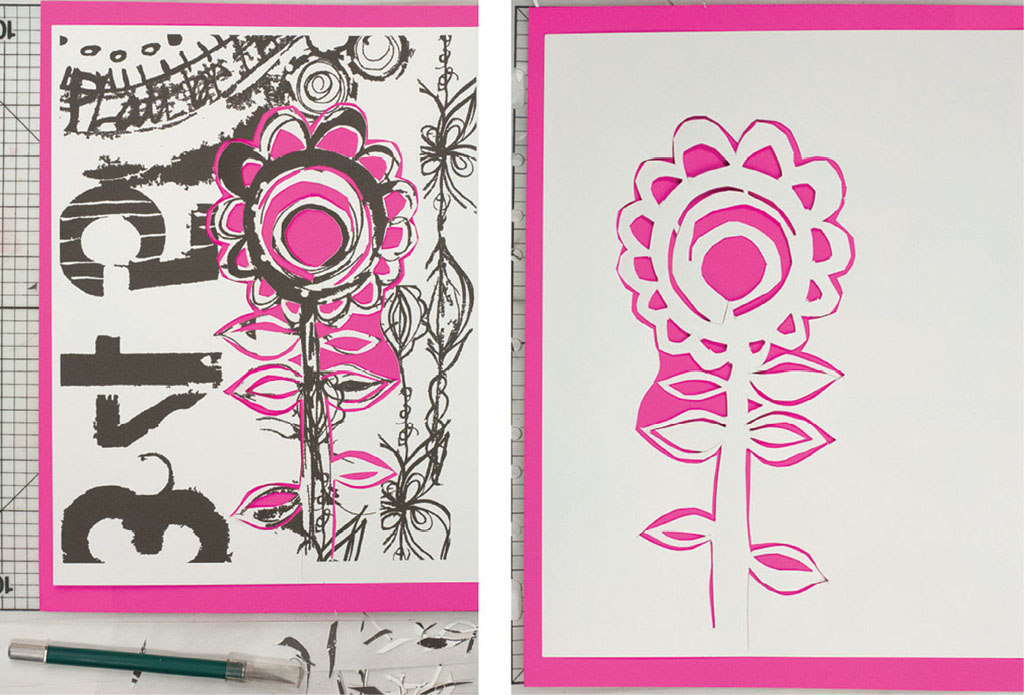
Cut out shapes, lines and designs from the black-and-white printed cardstock. Use a sharp craft knife and cutting mat to create the stencils.

Place a piece of colored paper underneath the cut area to help you see the progress of the stencil. Turn over the cut cardstock and place it over a bright colored paper to see the actual shape of the stencil. Continue to cut it down until you achieve the stencils you desire.

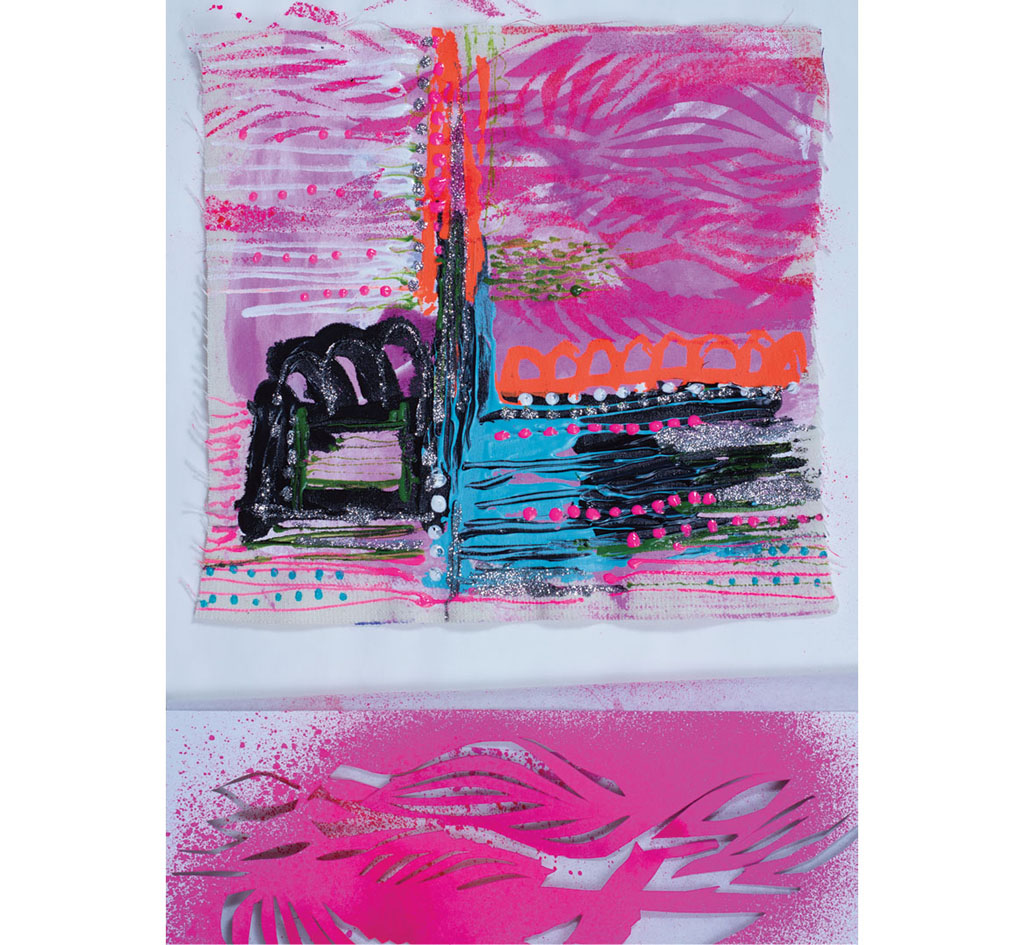
Another example of hand-cut photo stencils. Once you’ve finished cutting your stencils, place them over a piece of fabric or paper and color them with spray inks, paints or soft pastels to create colorful layers on your canvas.
Using a photo editing software such as Photoshop, it’s really easy to alter your digital photos to create high-contrast black-and-white images.


